
If you haven't seen it already, make sure you check out Alex Roman's short film The Third & The Seventh. Truly inspirational, and an incredible piece of work by just one person. His passion for architecture and photography shines through.
The GH House Render challenge

I'm on the judging panel for an exciting new architectural visualisation challenge on Ronen Bekerman's blog. The challenge will be to render a house design by Dunsky Kornhauser Architects and runs from the 15 Dec 2009 to 15 March 2010. Ronen has managed to assemble a really impressive list of prizes. Looking forward to seeing the entries!
If you haven't already bookmarked Ronen's site then make sure you pay him a visit, so many good tips and tutorials.
Chelsea Square Dusk
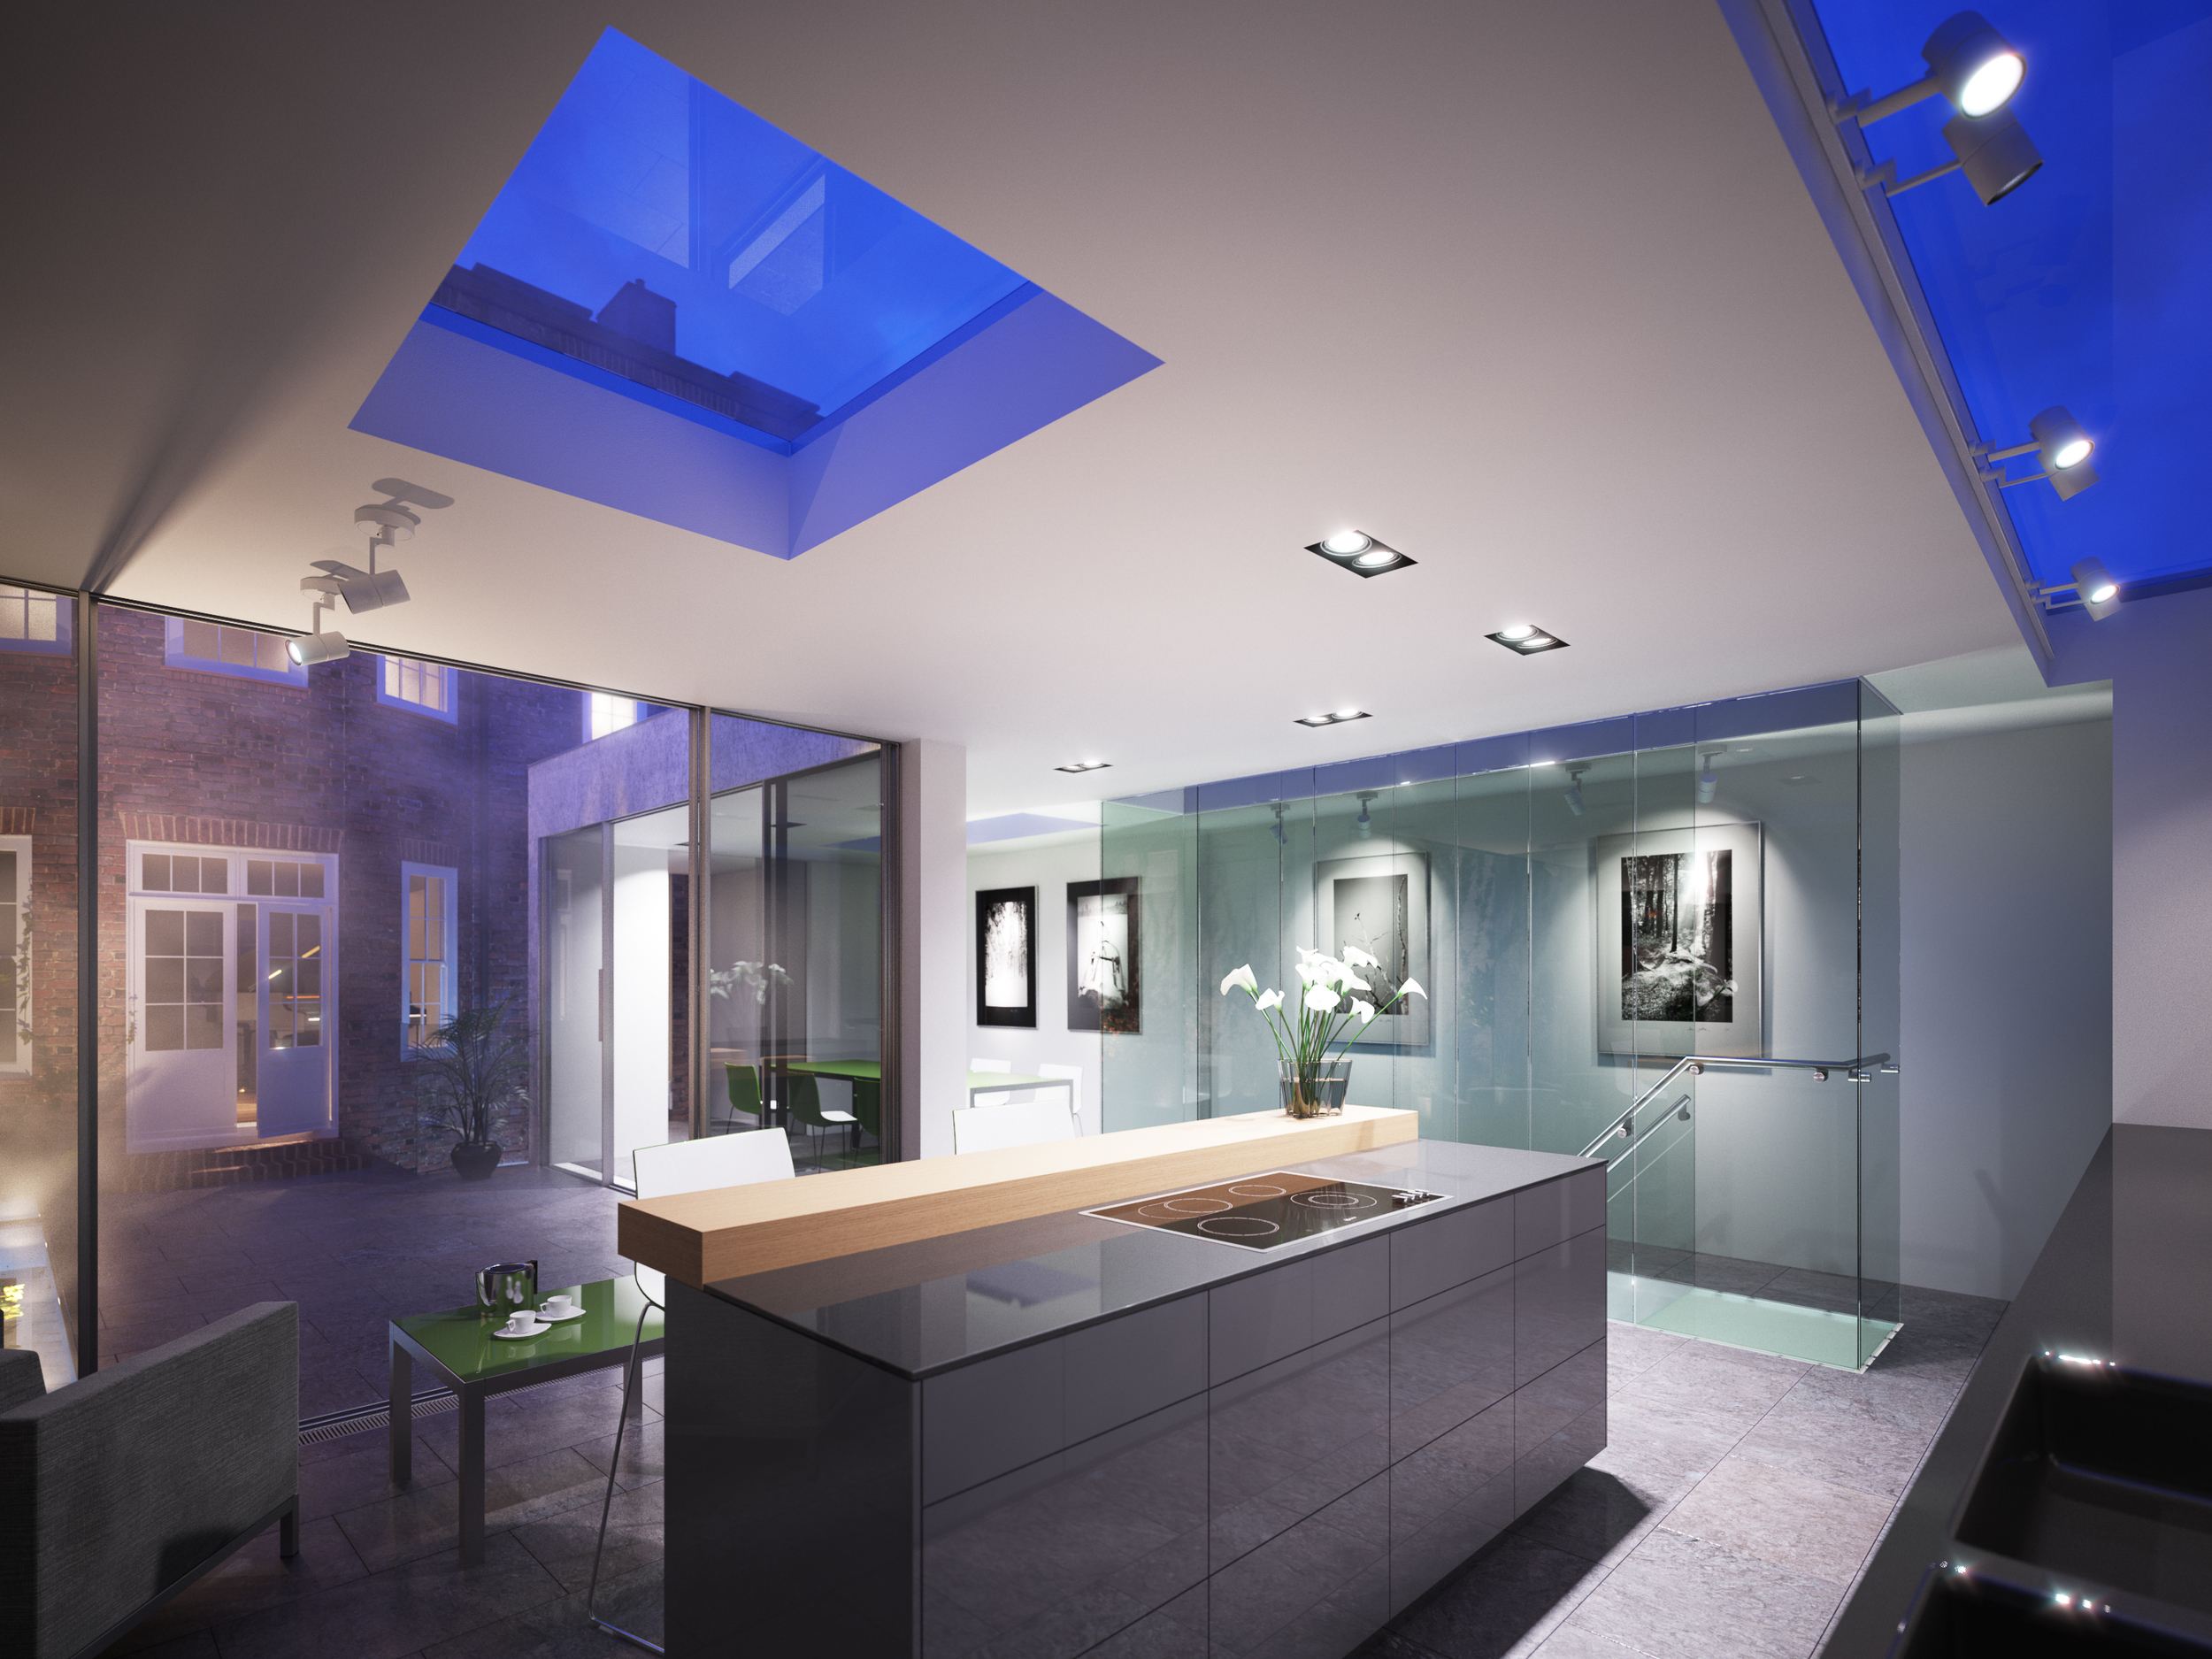
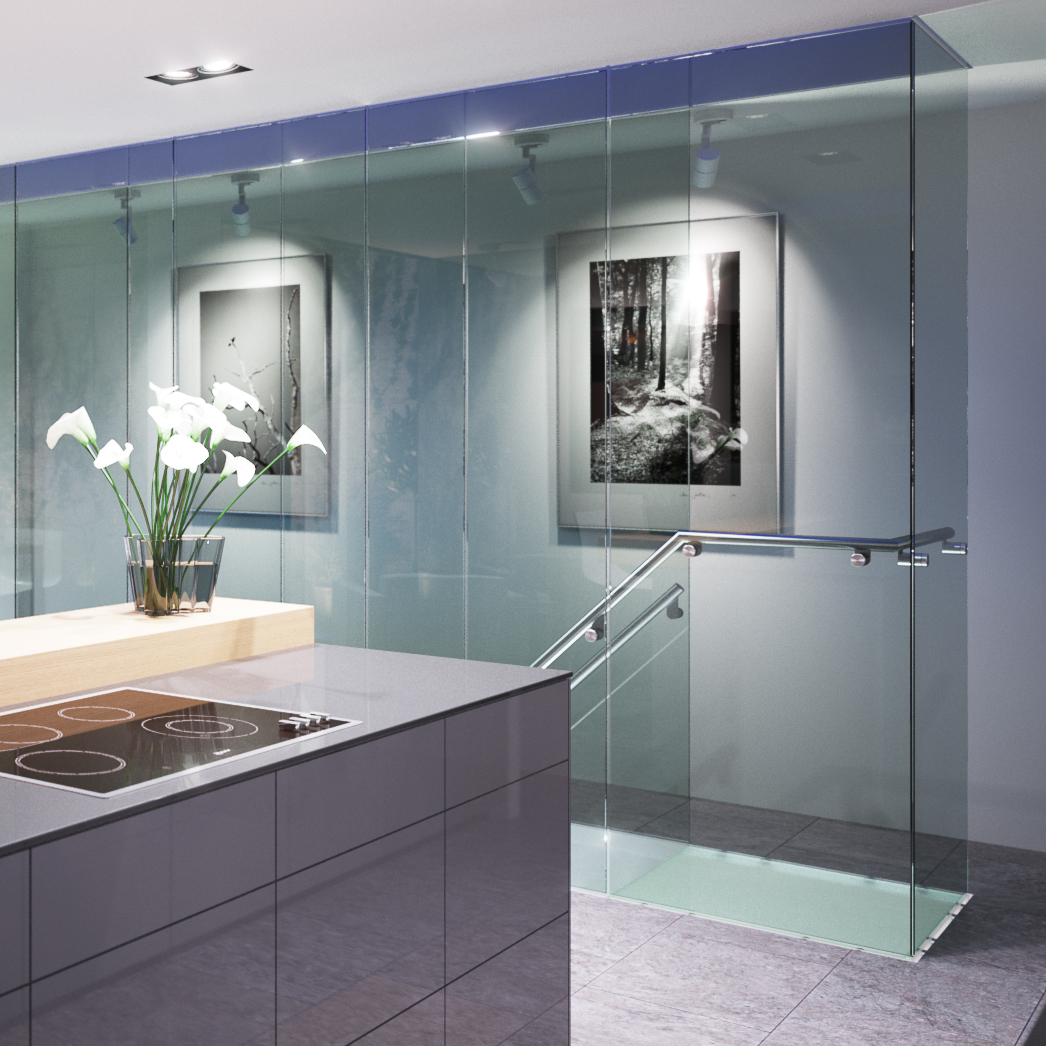
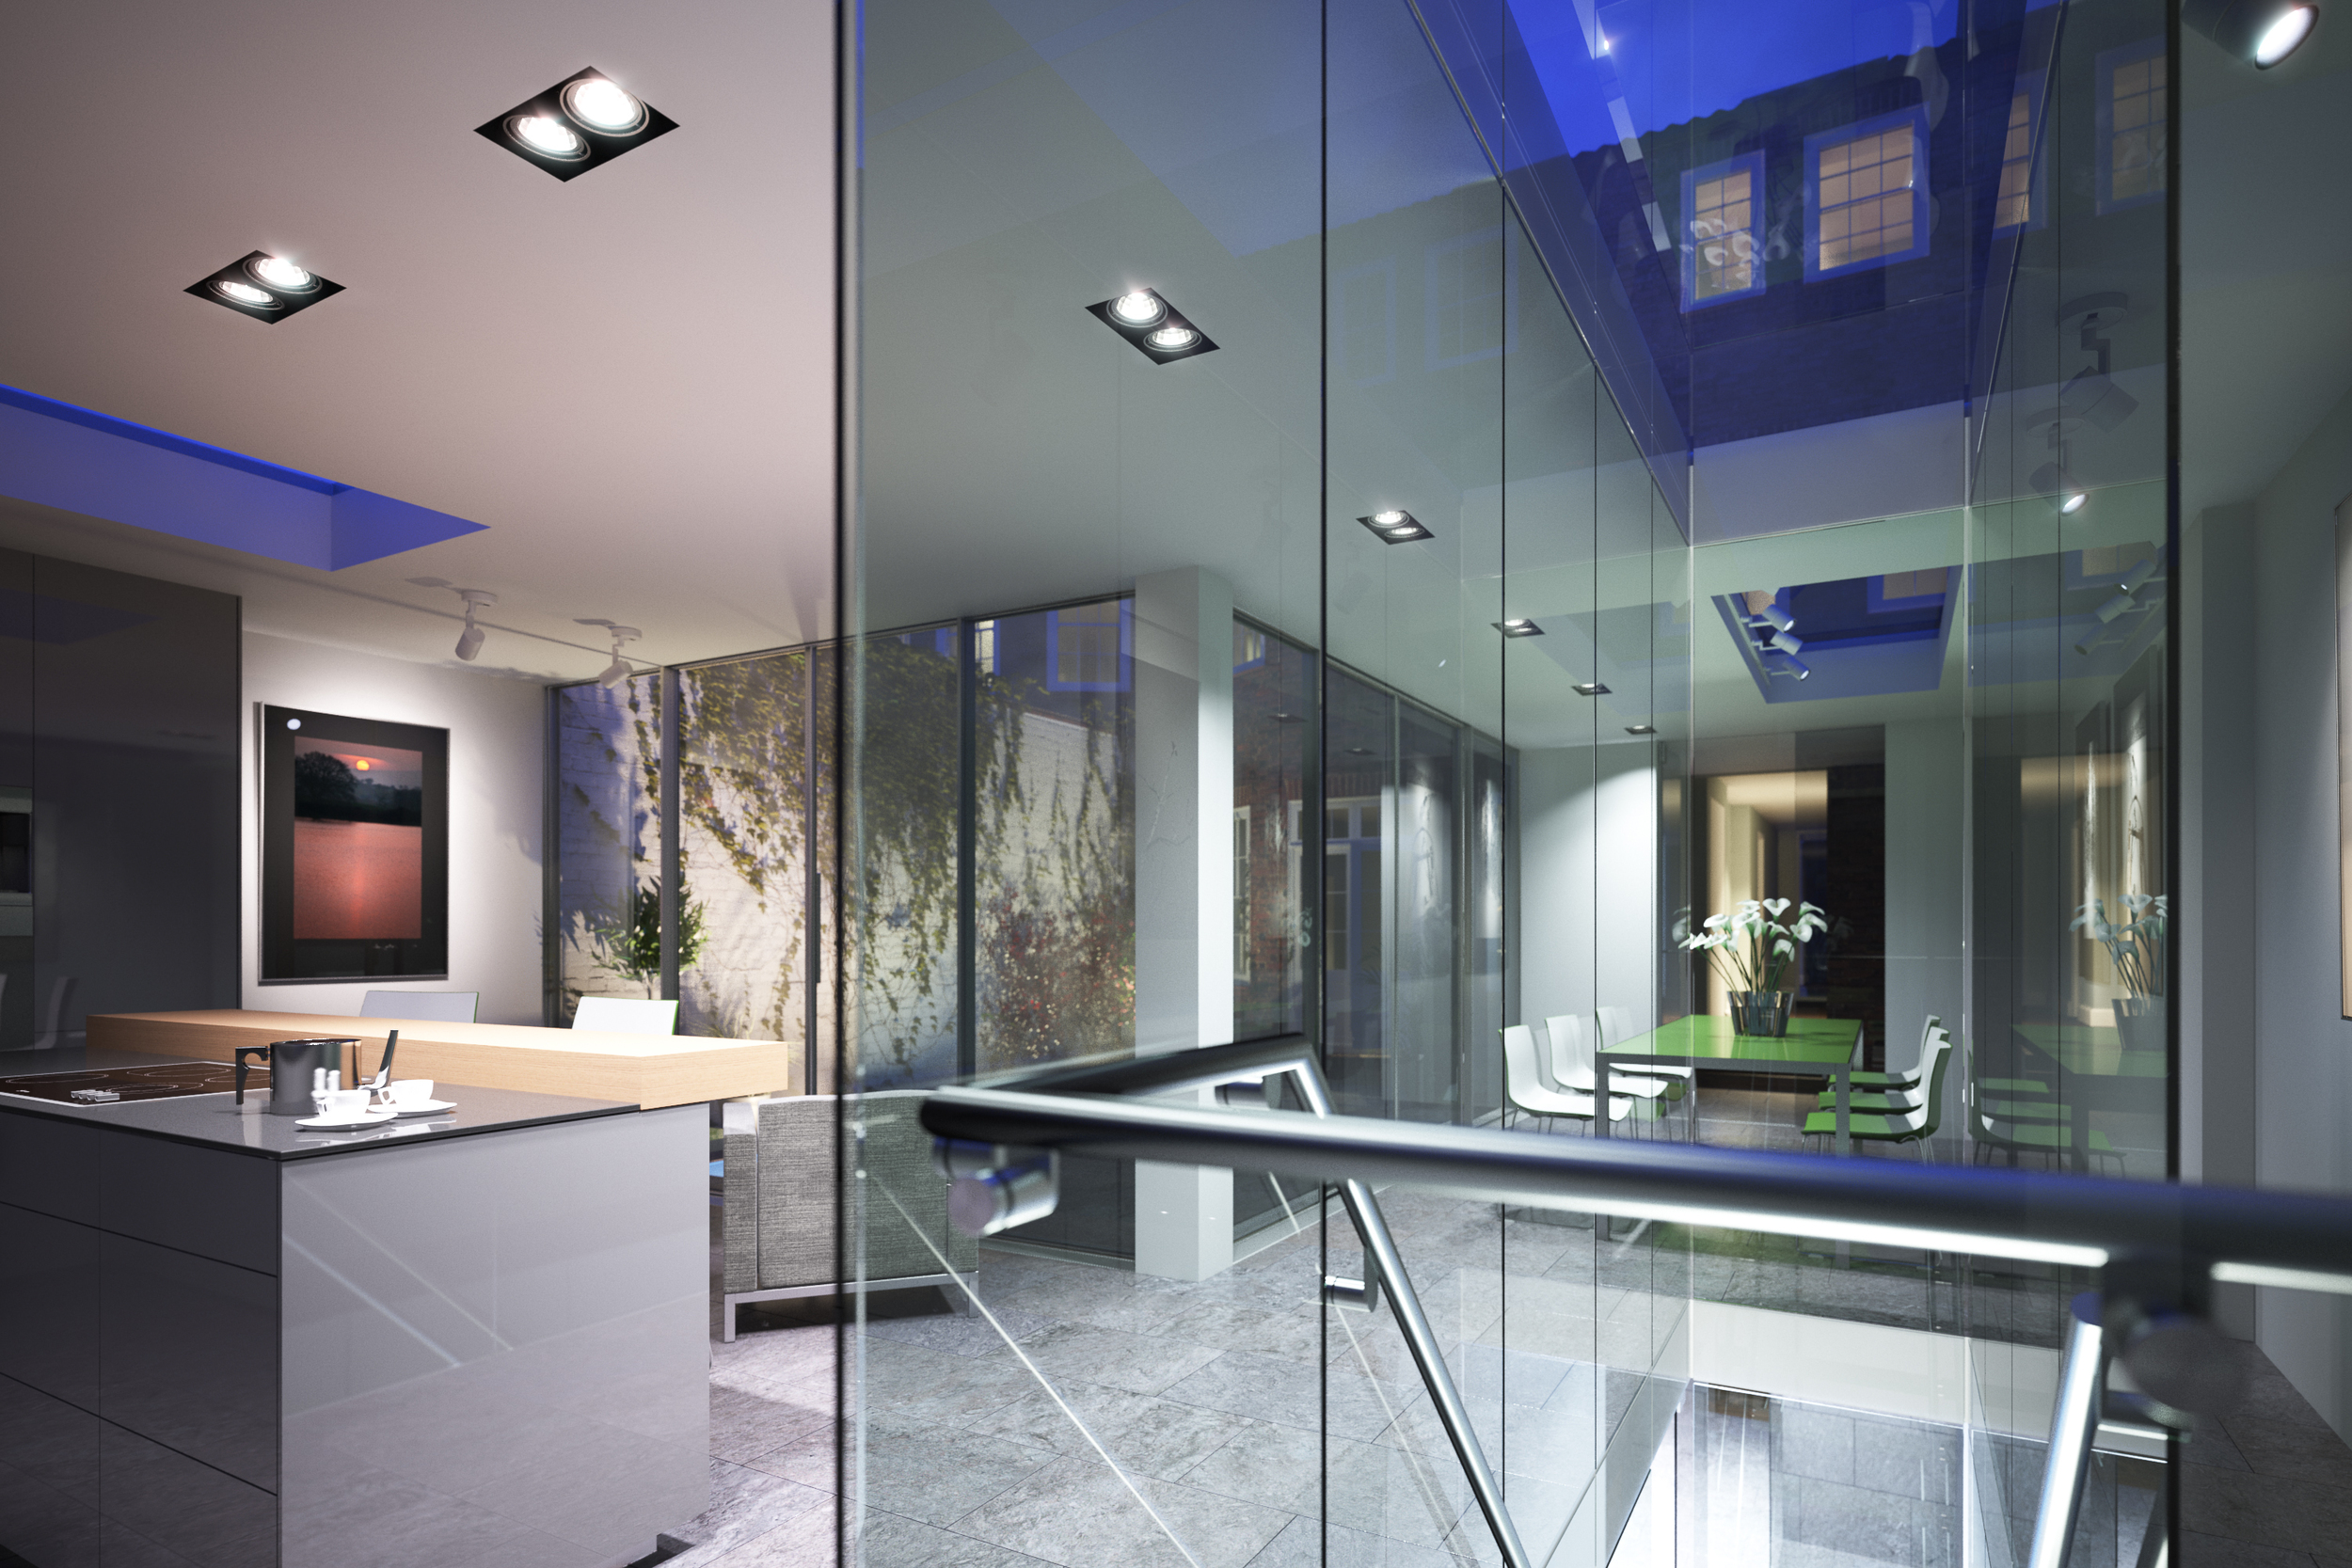
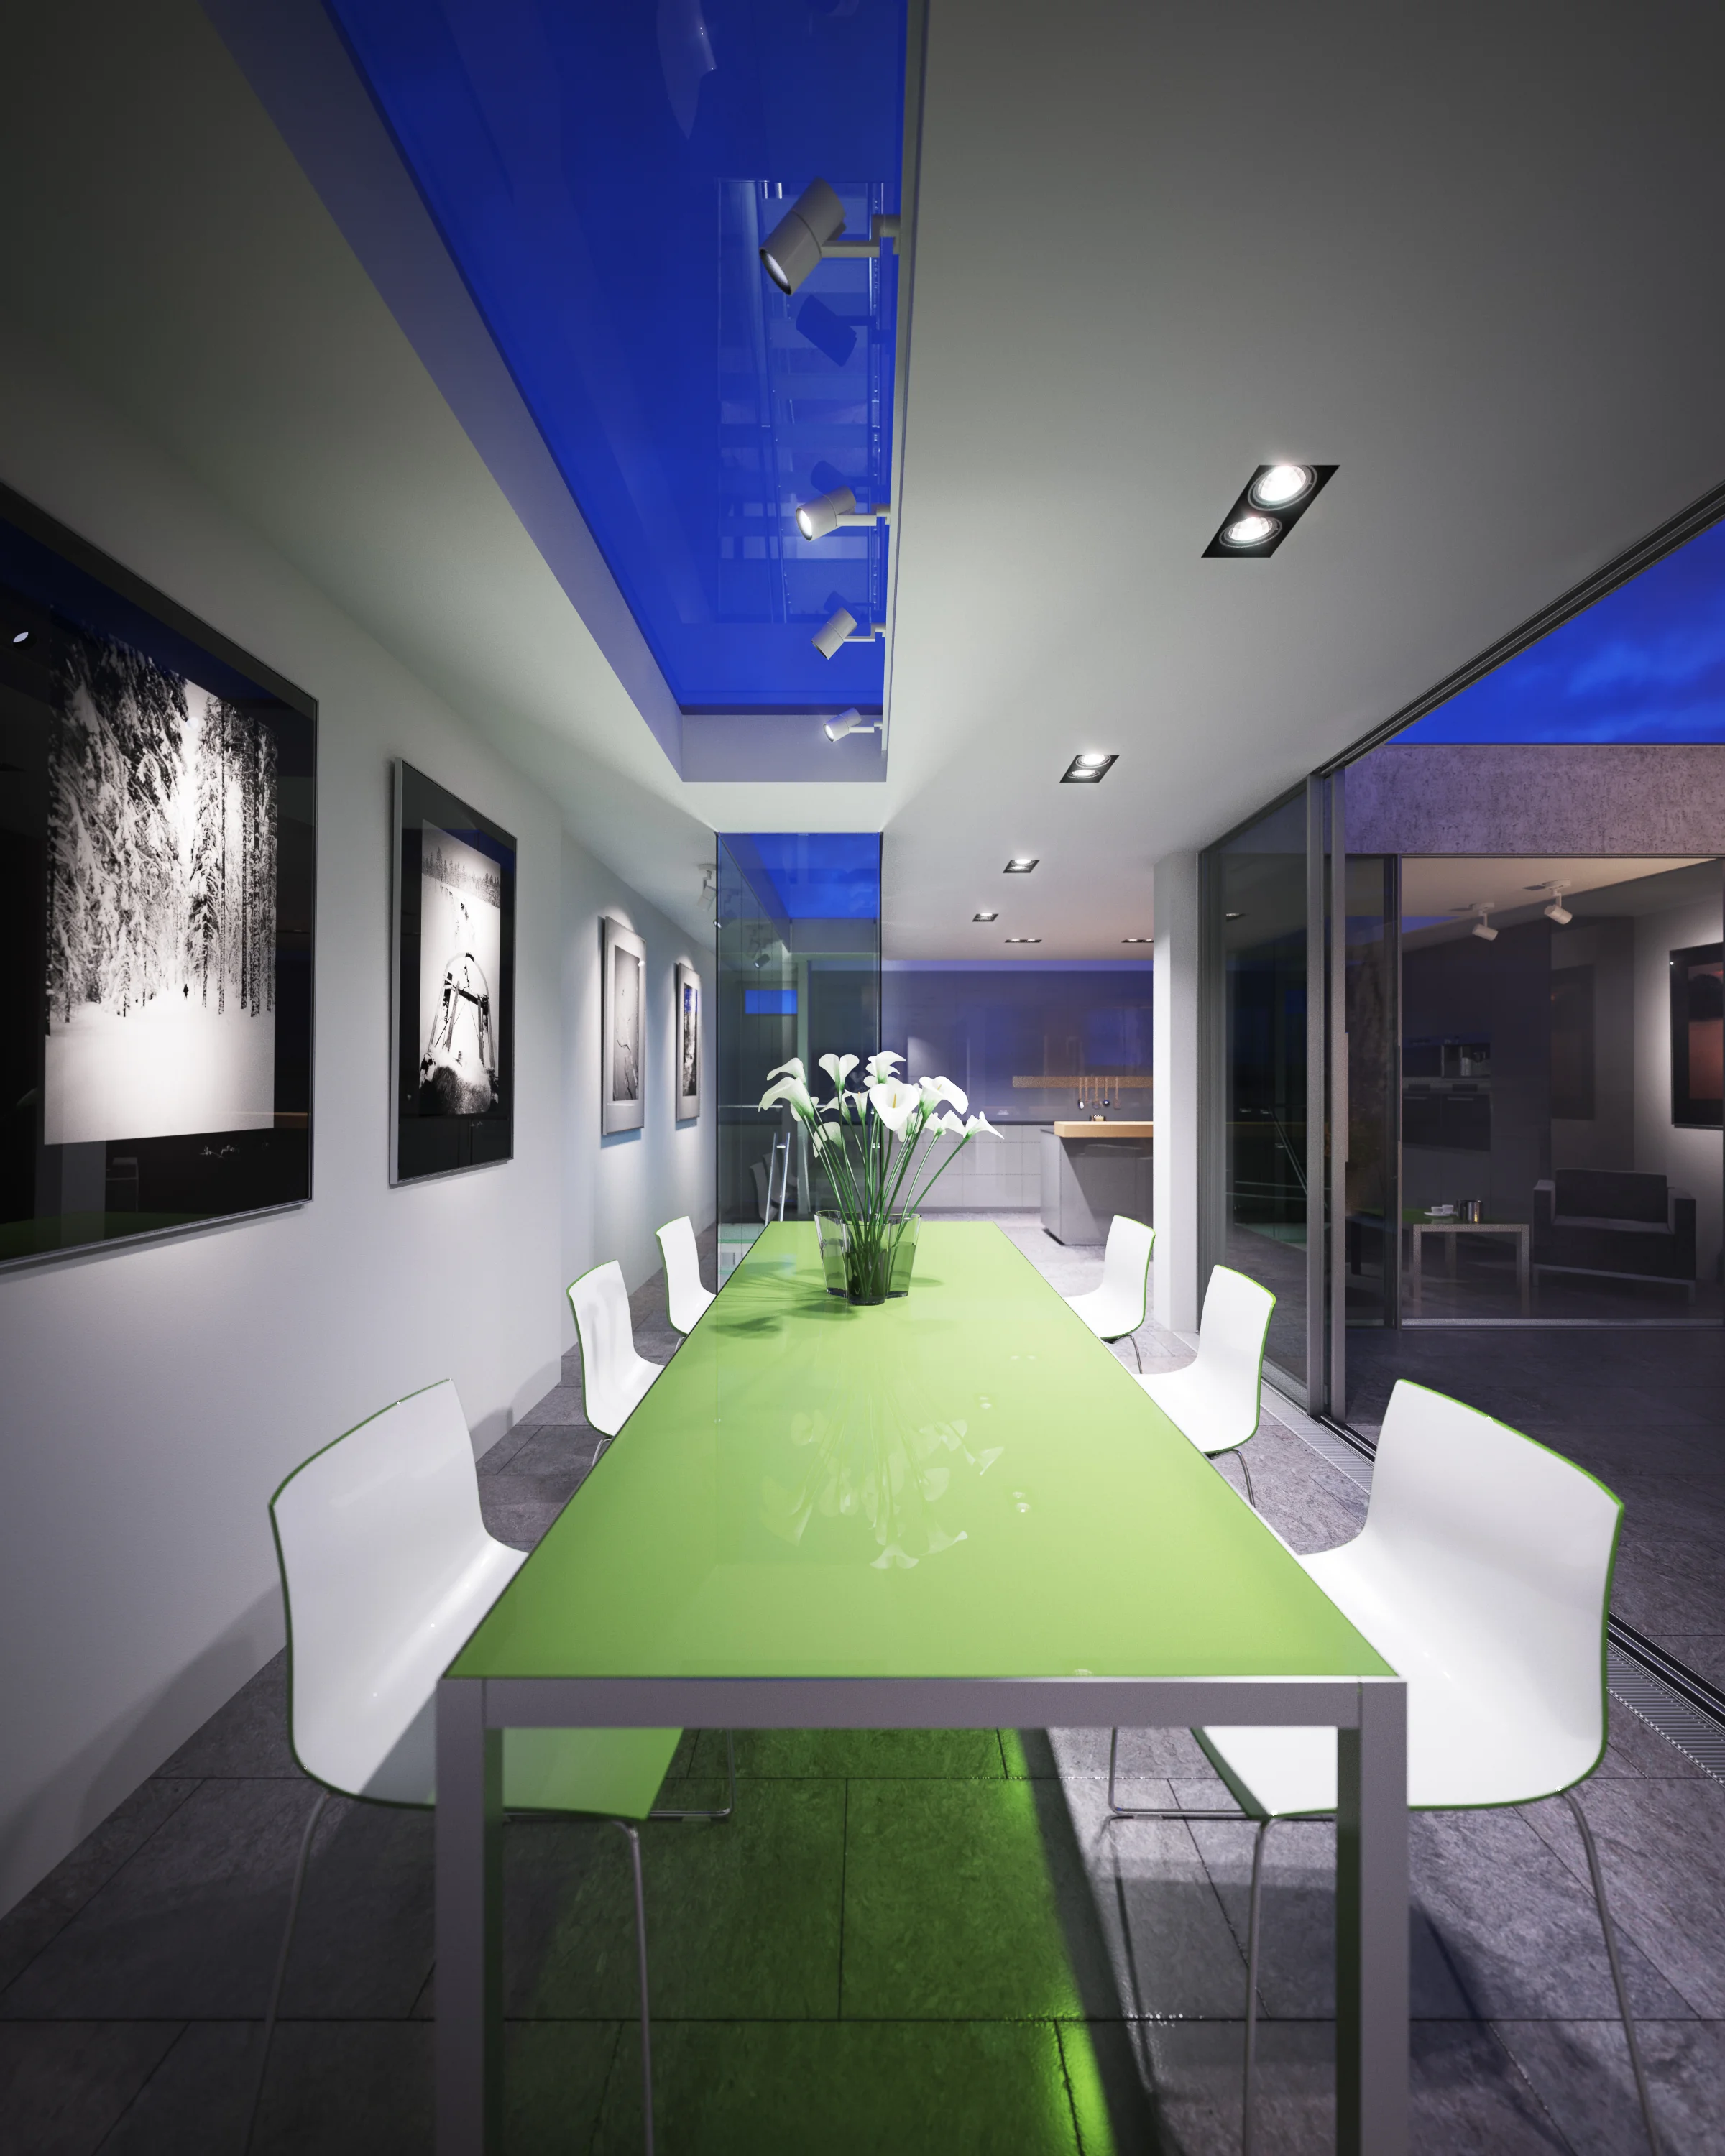
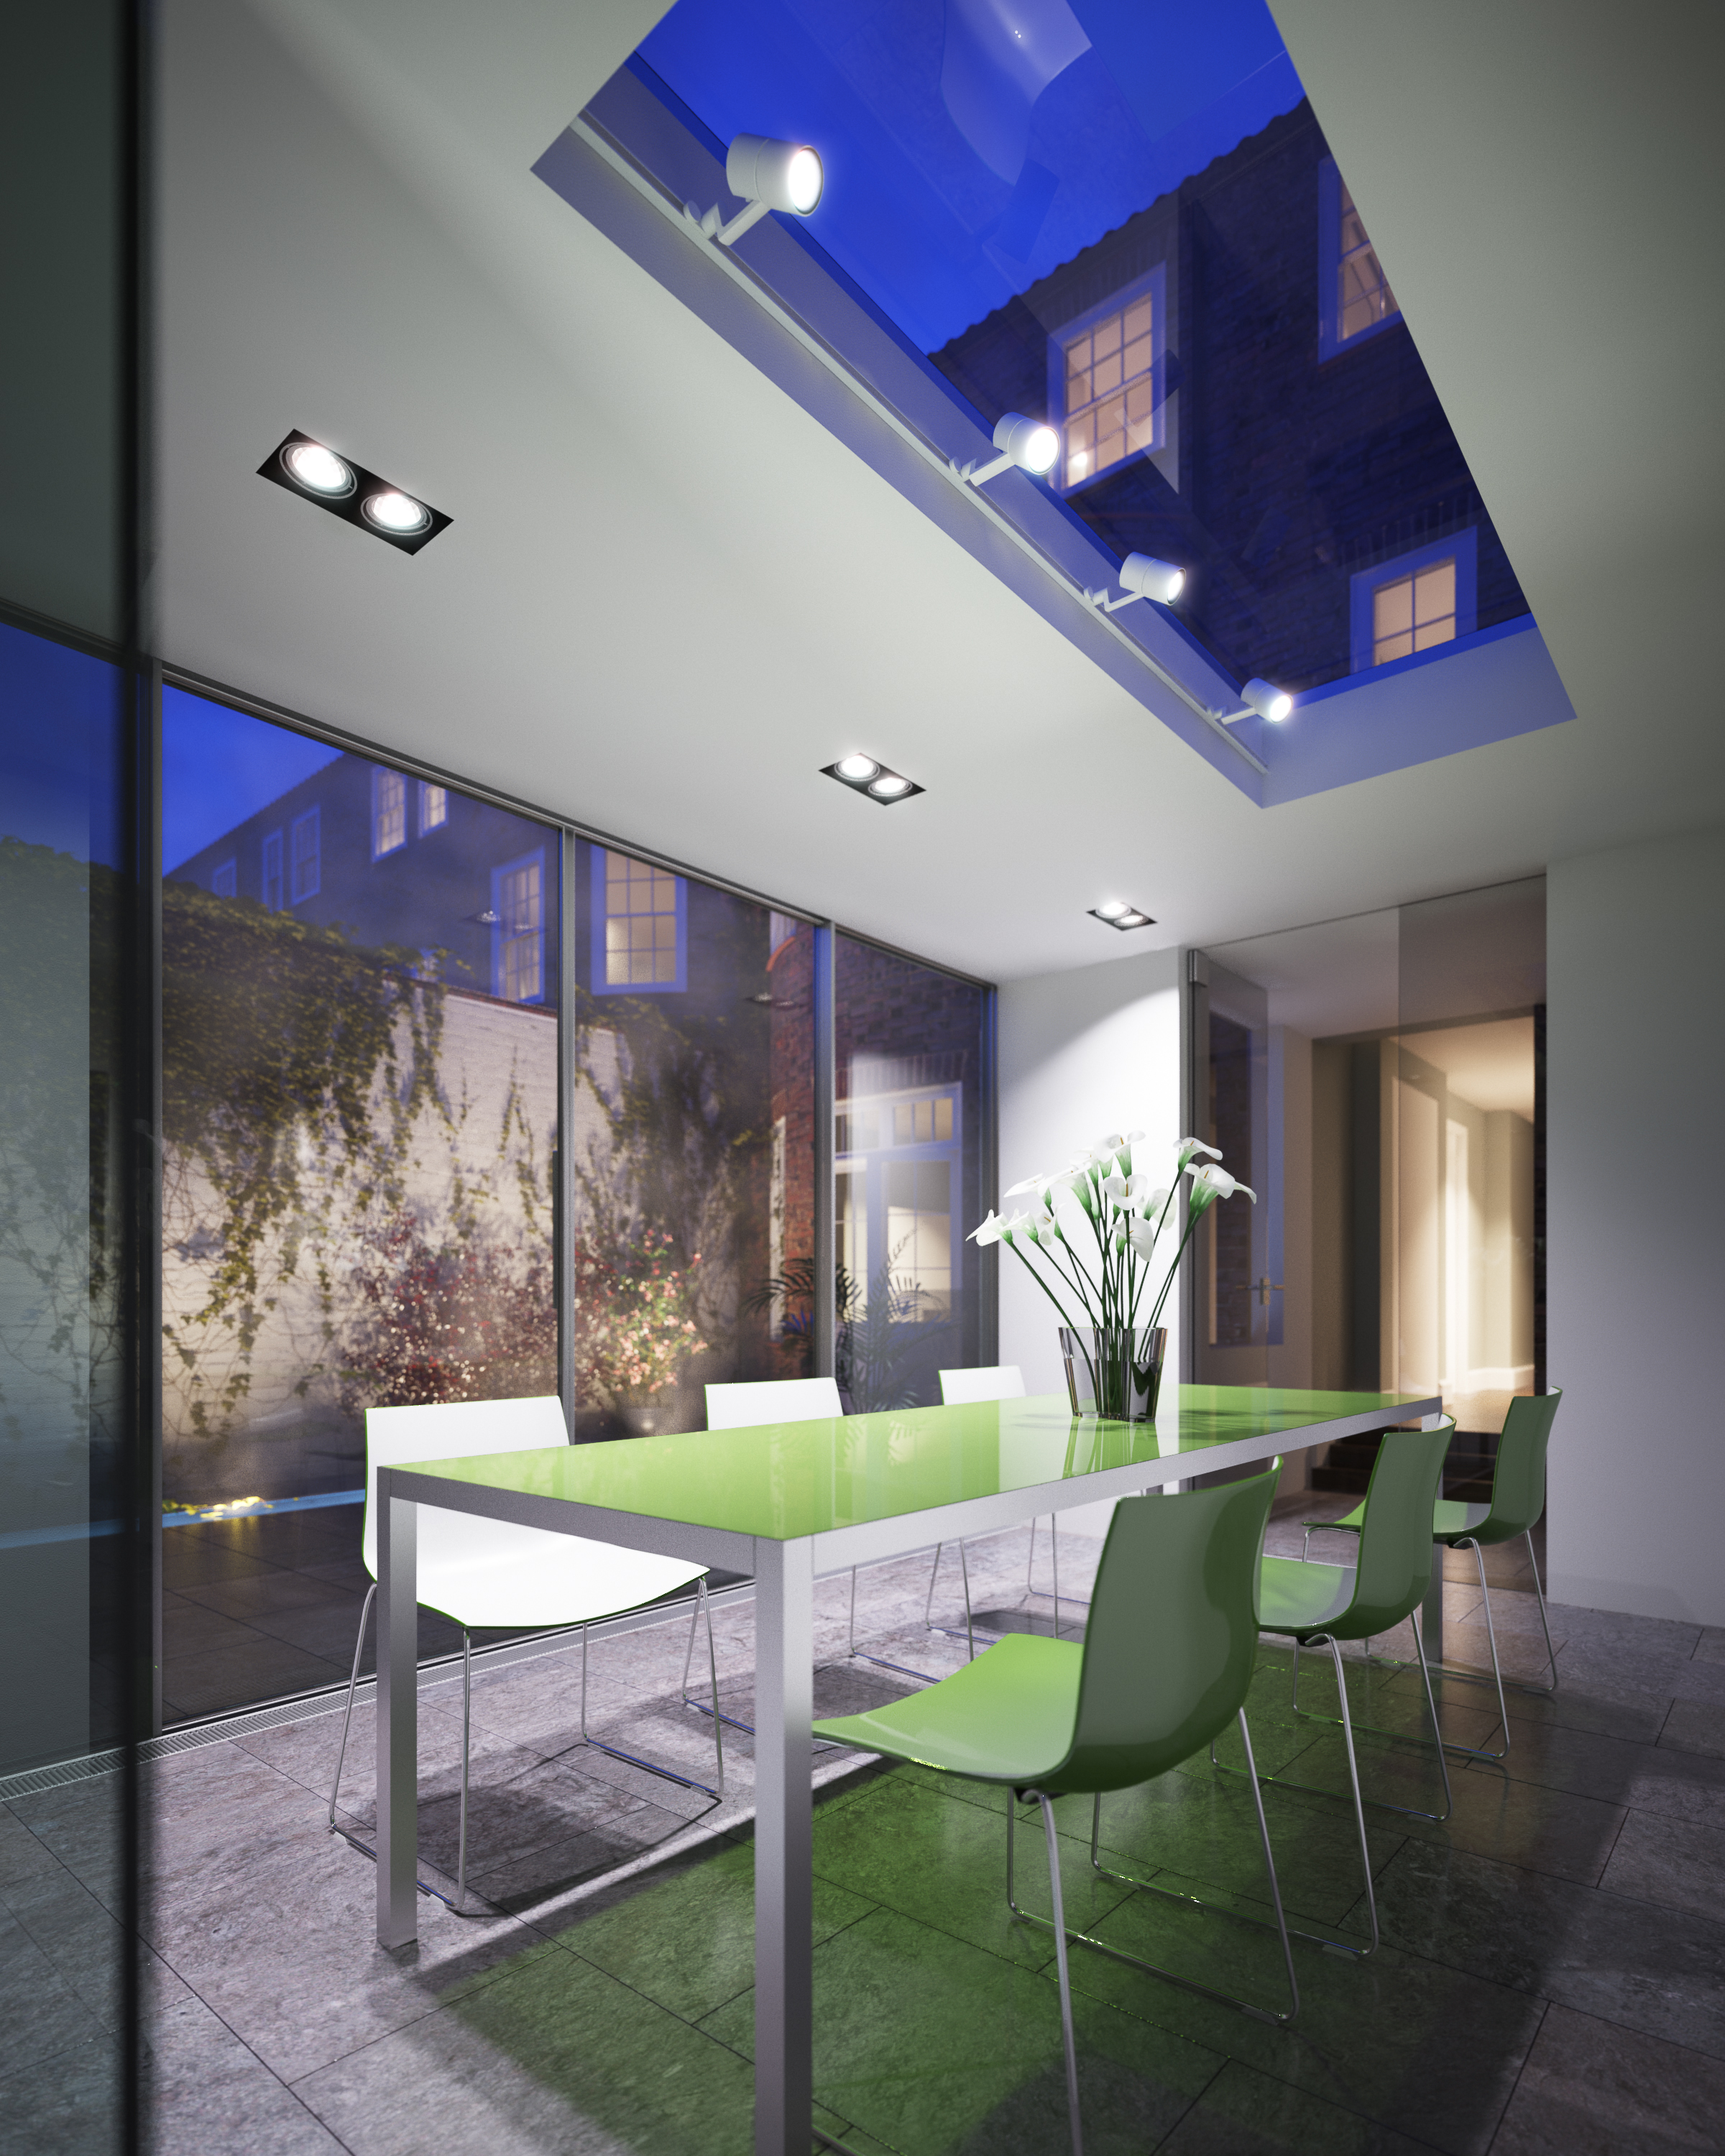

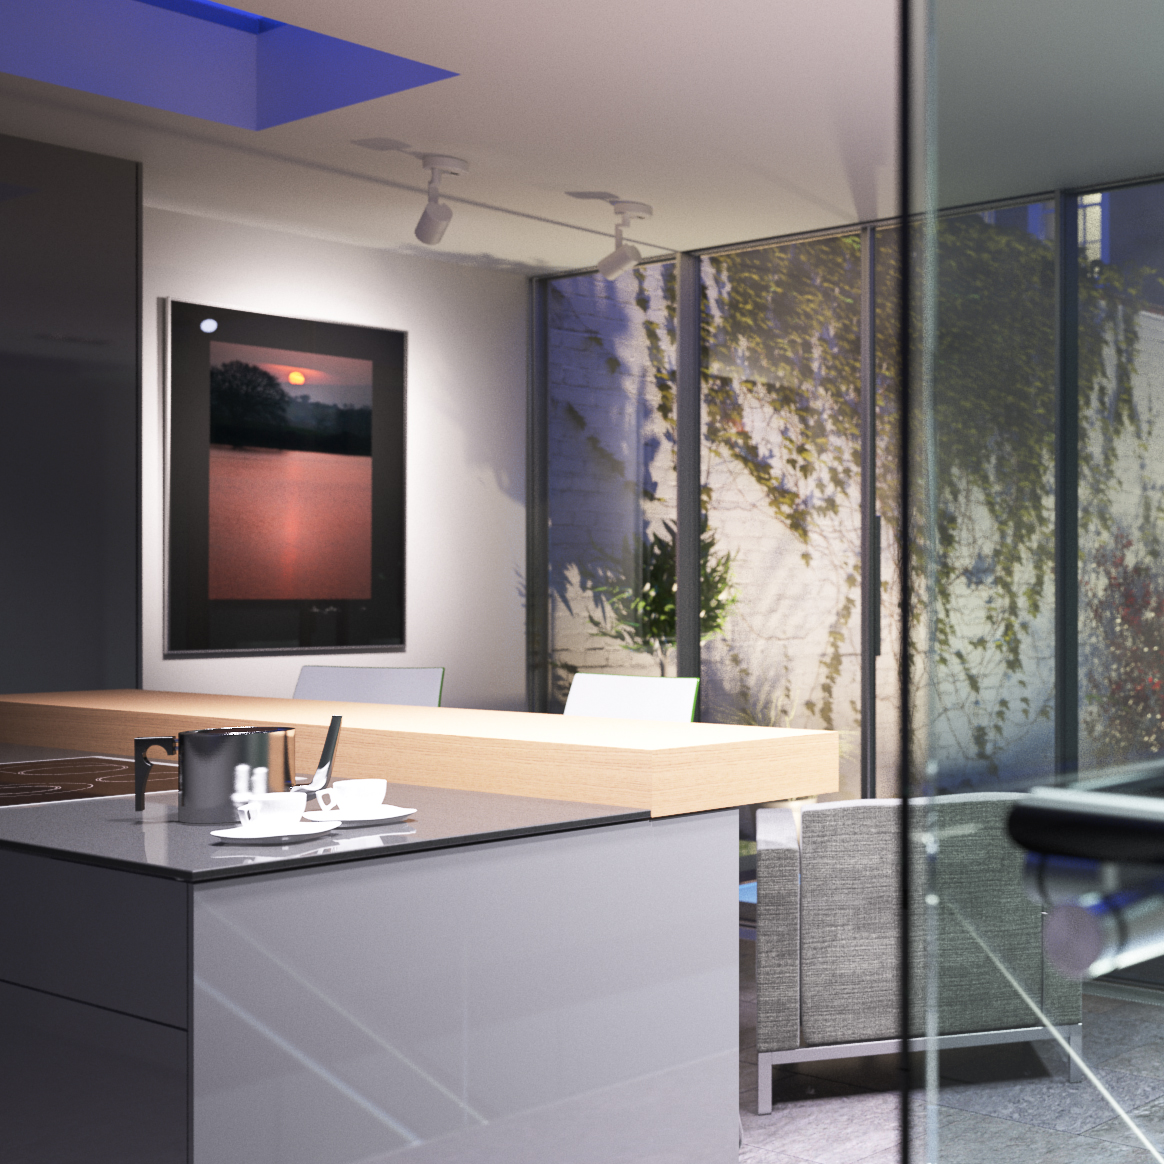
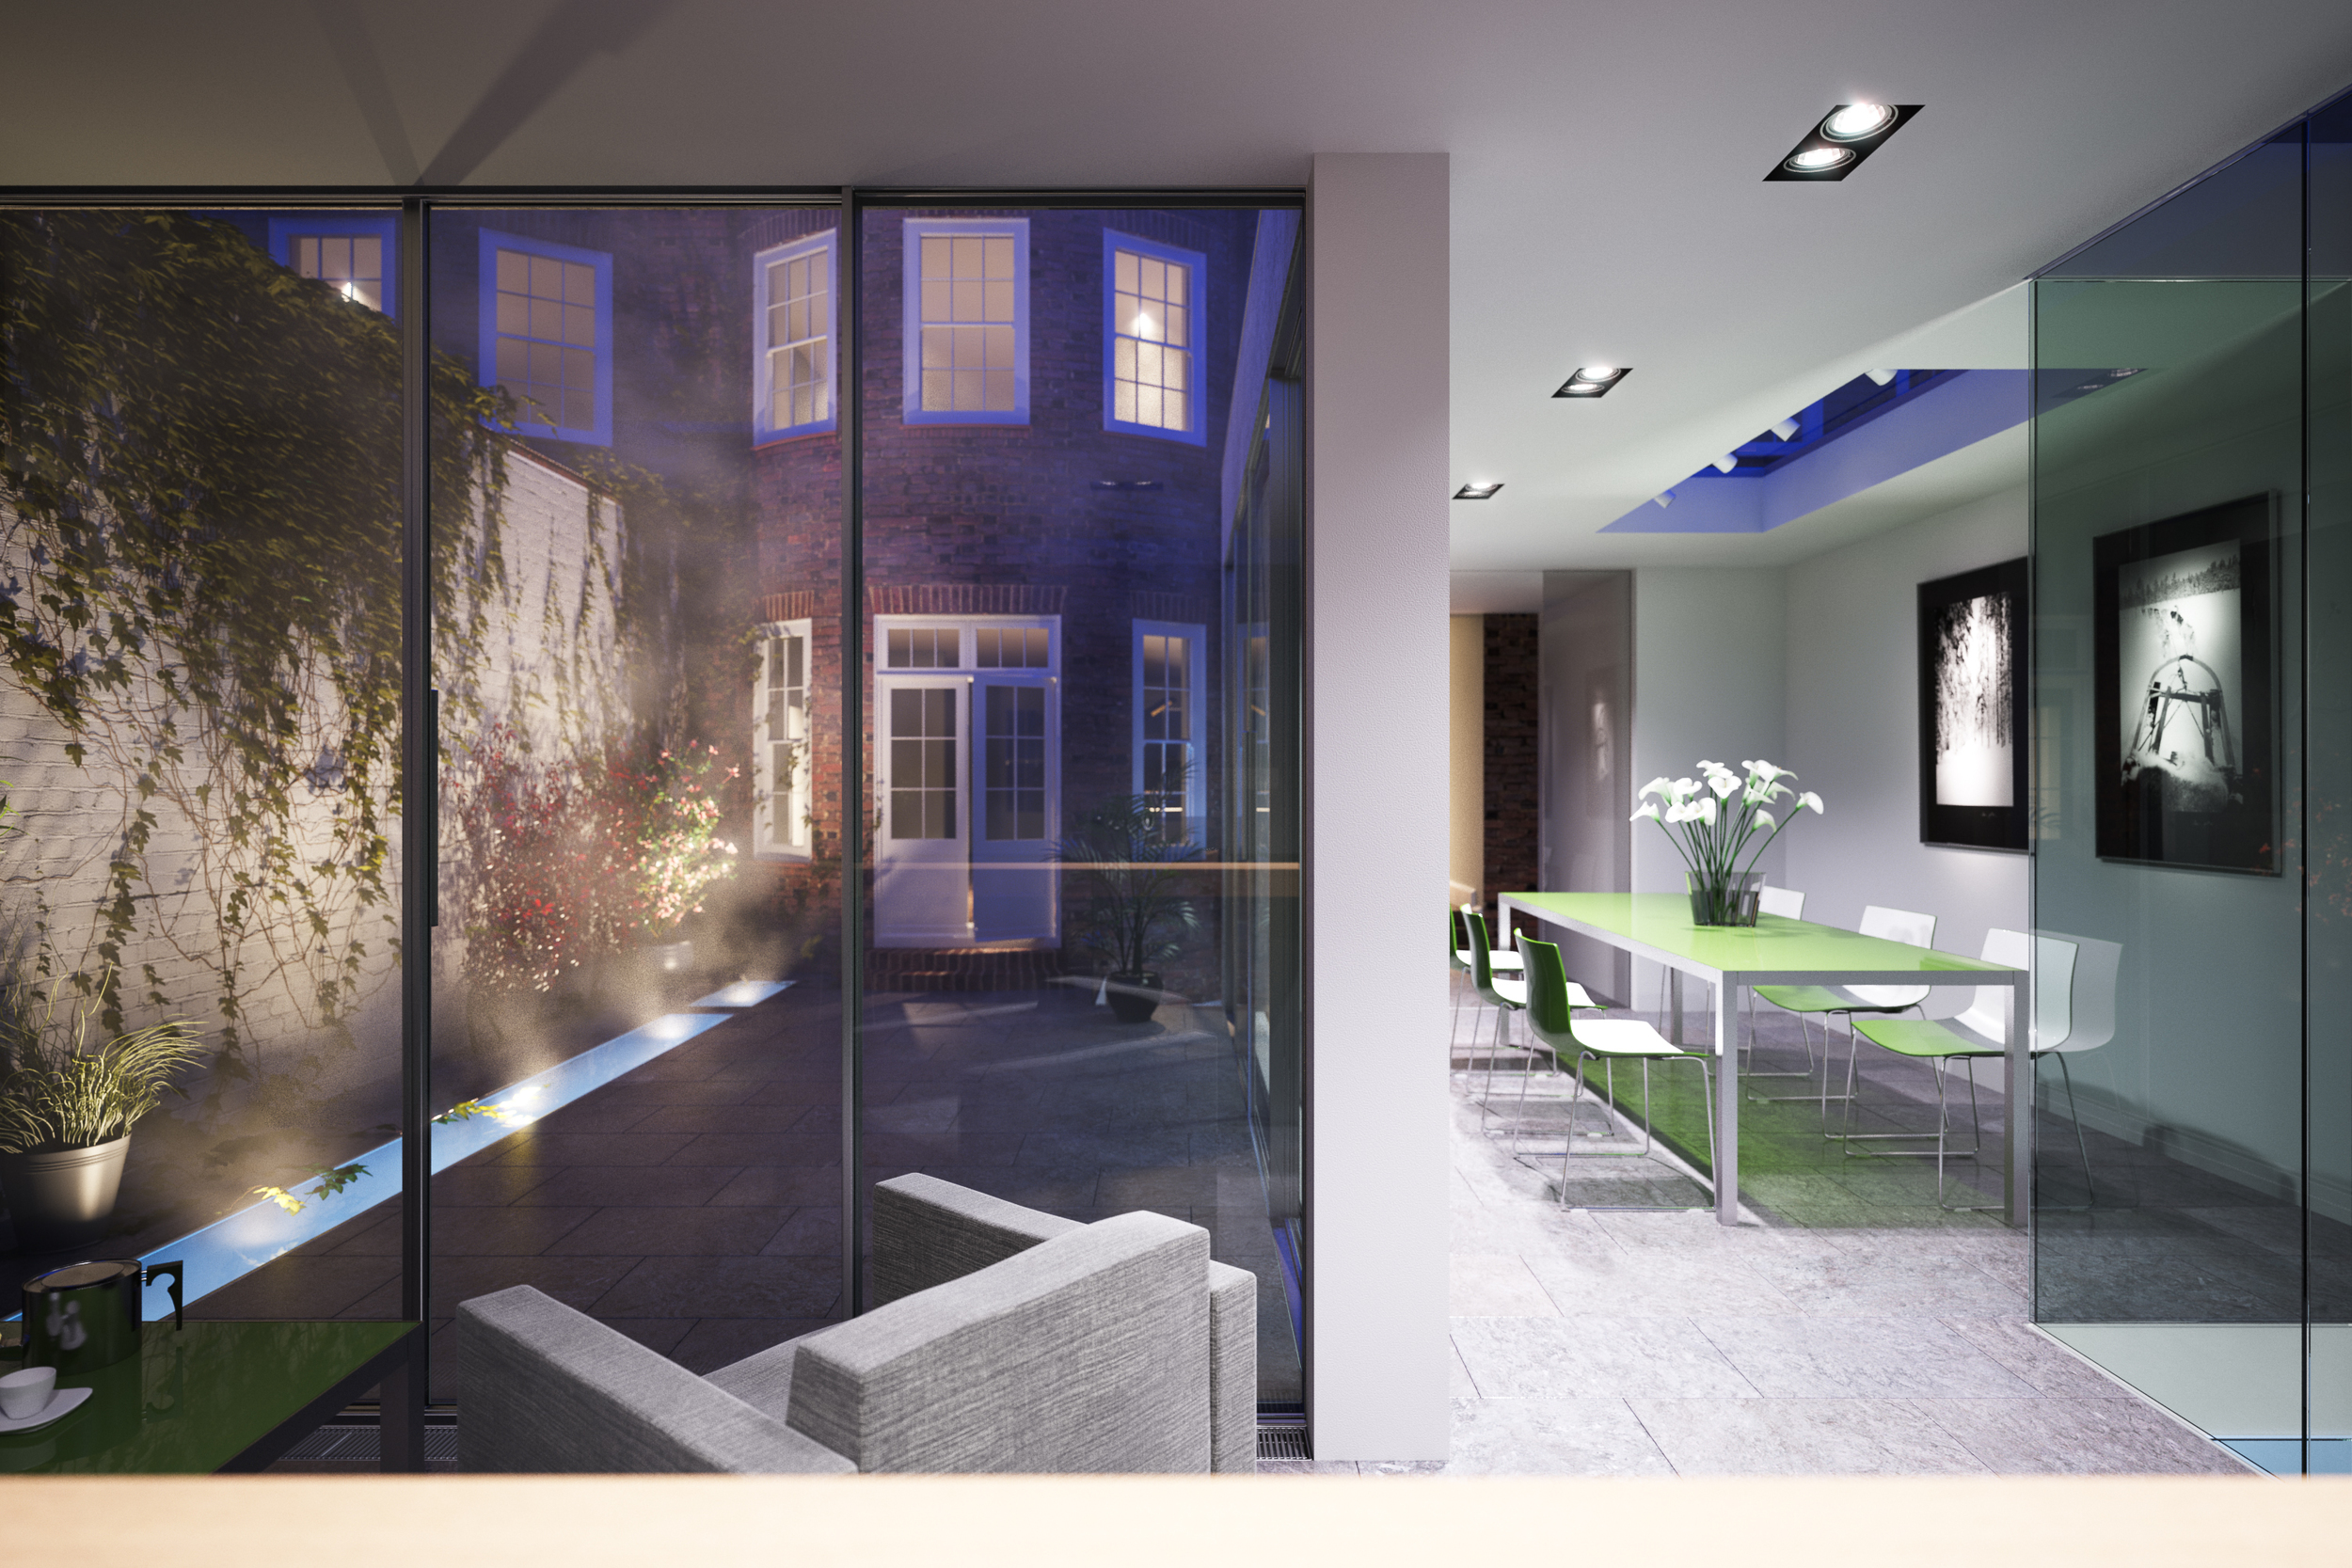
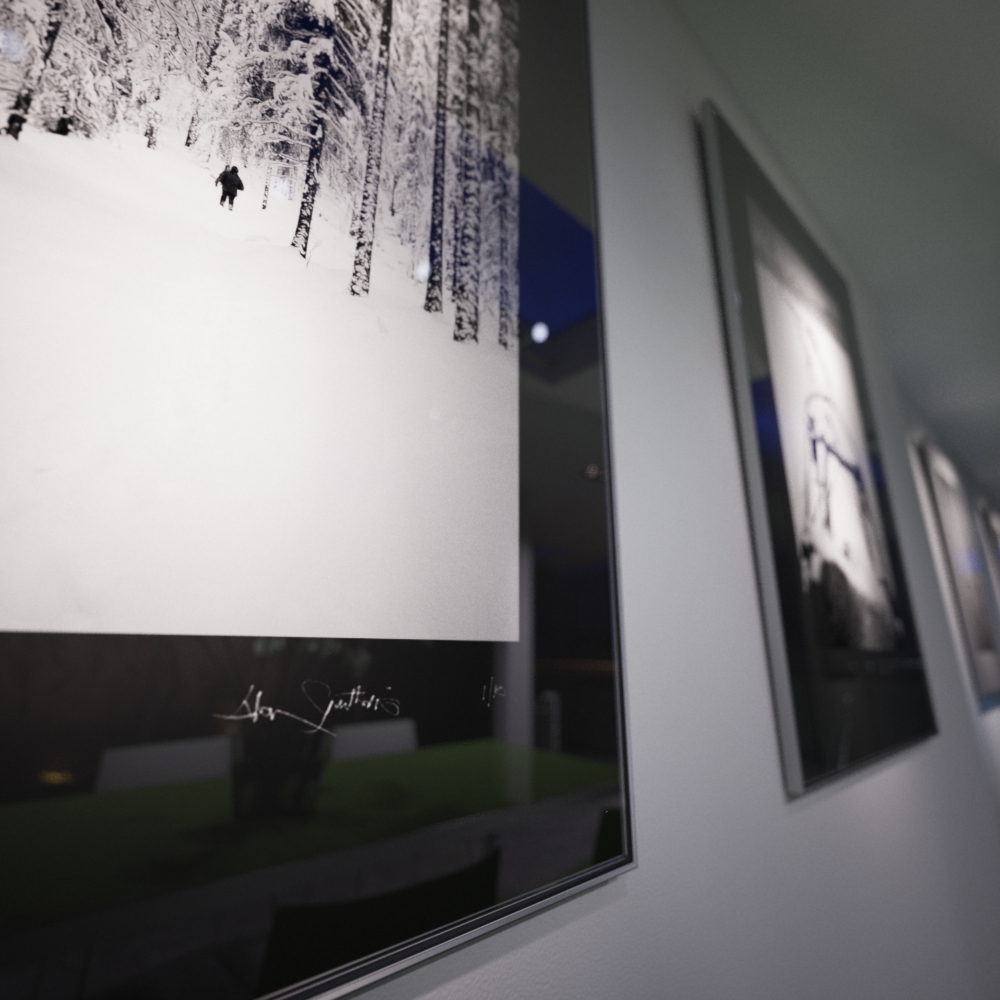
A project from earlier this year that I reworked a bit. Added some more props and lighting and other things I didn't get time to do previously. The photos are some of my favourite ones from my Dad's portfolio, and winter themed as the first snow has just started to fall here in Sweden. As usual, the renders are more or less as they were directly from vray, just added some glows to the lights.
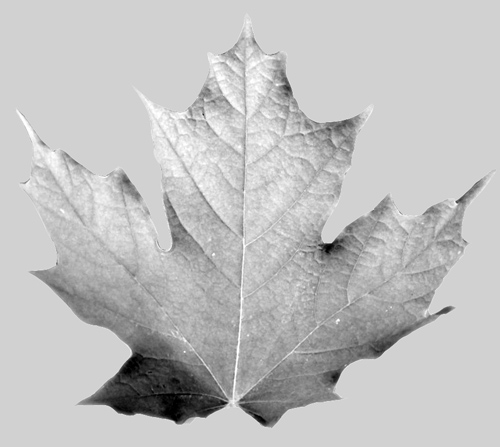
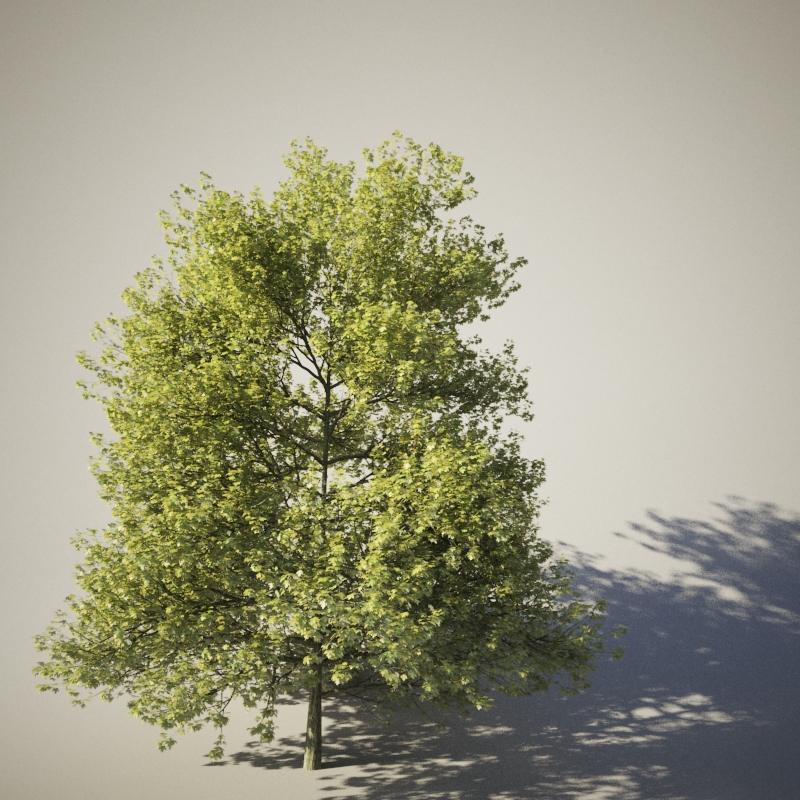
3D tree material tutorial - Leaves

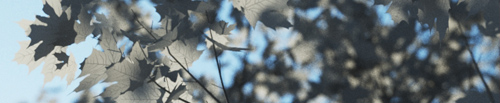
A tutorial on making leaf materials for 3d trees, in this case a sugar maple (in autumn).
Firstly, some observations on opacity mapped leaves vs. geometry leaves. As you can see in the image above, the images in this post were made using opacity mapped leaves. After some tests on my farnsworth house project, I have come to the conclusion that it is quicker in most cases to use opacity mapped leaves. Its true that in simple scenes trees with geometry leaves may render quicker as VRay doesnt have to calculate the opacity of thousands of leaves, but in dealing with complex scenes with millions of polygons the advantage in using (a lot) less RAM is huge. The processes involved in swapping opacity mapped plates for geometry are also very long winded and very tedious!
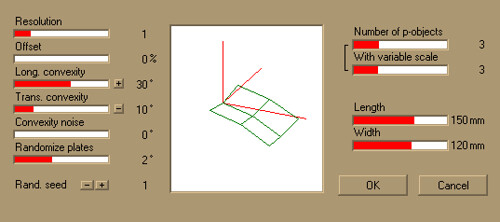
Exporting from Onyxtree. I went with 4 polygons per leaf so that the leaves aren't just flat. Remember to set the dimensions you want the individual leaves, and change the units when you export. You can also make it export 3 different leaf IDs with varying sizes. I normally export as a .obj file.
Opacity mapping. It's important to make sure the opacity map is just pure black or white, with a sharp edge. The opacity map I used can be found here (its not a great example!). You should also turn off filtering in the bitmap loader options (screenshot).

As imported to 3dsmax and given grey materials.
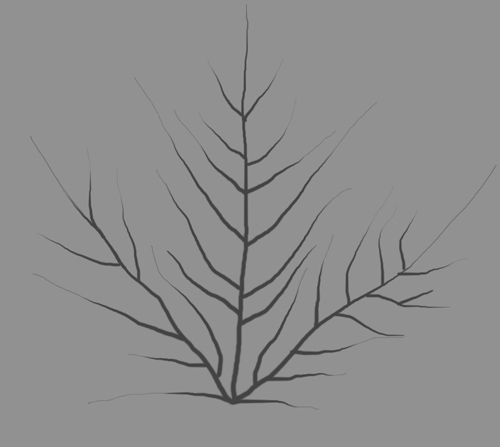
VRay2sidedMtl. The vray 2 sided material works best with geometry that has no thickness, which is what onyxtree outputs. It is a very quick way of generating a SSS (sub-surface scattering, think candle wax, skin, milk etc) type look. The image below is rendered using a vray2sidedmtl on all leaves with grey submaterials and a hand drawn image for the vein skeleton.
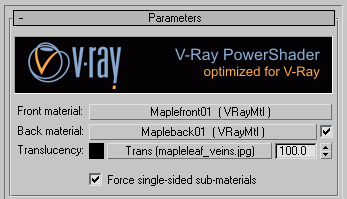
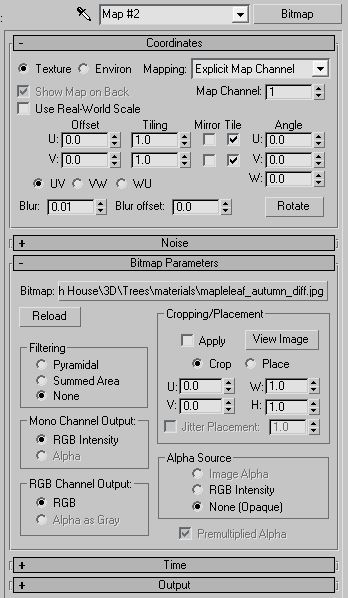
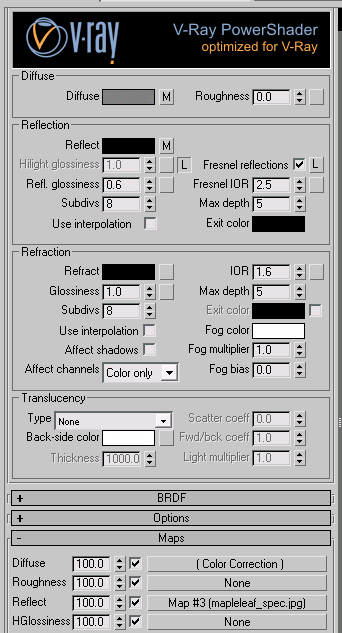
Front material. The front side material is a basic vraymaterial with a diffuse map and a reflection map. Click here for front vray material set up. The color correction map is to produce slightly different hues of leaf for each of the 3 sub leaf types (you should have got a mult-subobject material when you imported the .obj file). I usually make the first leaf and then copy and paste it to the 2nd and 3rd and just change the hue value slightly. The diffuse map looks like this, and the reflection map is a b&w copy with levels adjusted to make it more contrasty.

Render showing front leaf material on both sides with no transparency.
Back material. The back material is a copy of the front material but with a different diffuse bitmap and not quite as reflective. Note that I overlaid the veins skeleton jpg on top in photoshop as well. (without it, the veins looked too light when viewed from the underside as they took 100% of the lighter back material)

Render showing 2sided material with correct front/back materials but no transparency.
Finished result Click image for 800px version. Rendered using vrayphysicalsky and sun, and a vrayphysicalcamera.
Farnsworth House Sketchup Model
A detailed Sketchup model with low res textures. Go to pushpullbar for more images and to download.


UPDATE: new direct download link
Farnsworth House
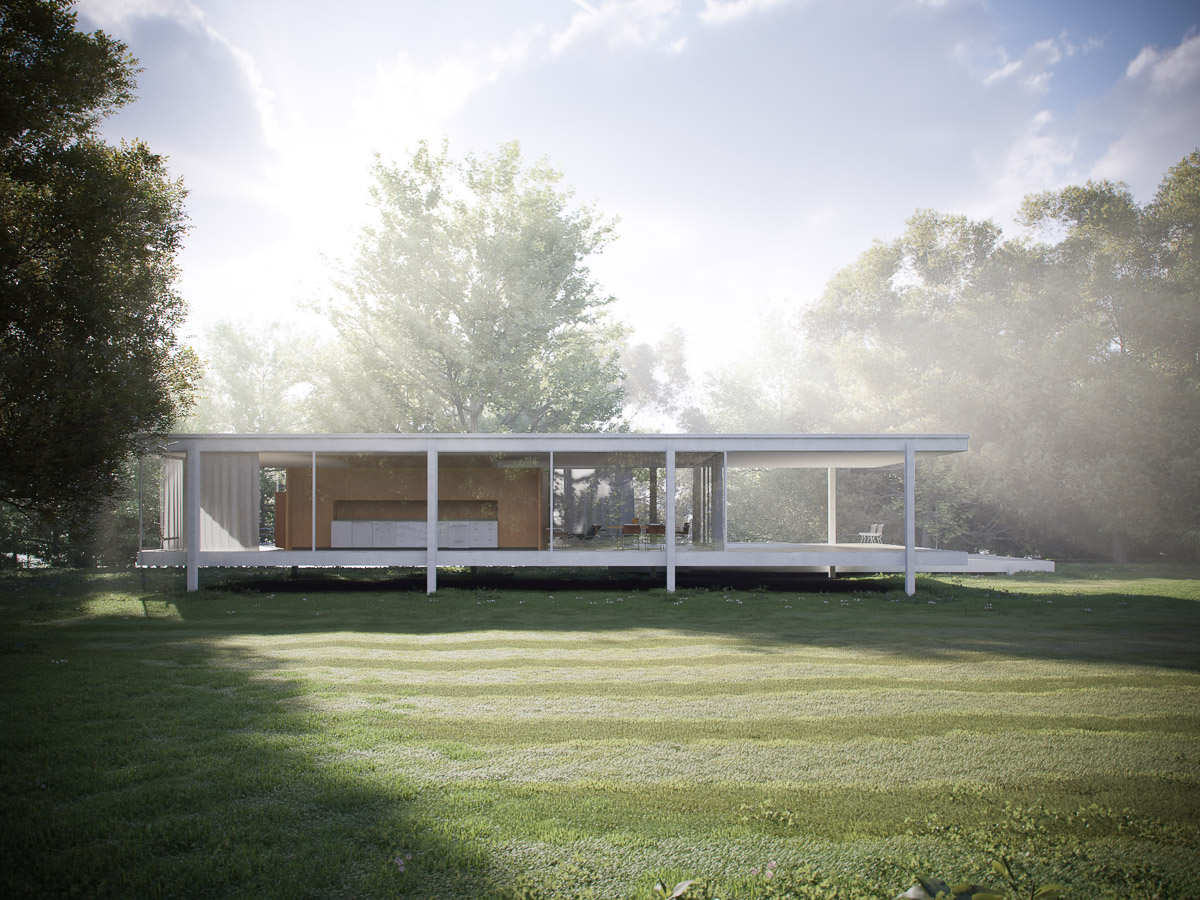

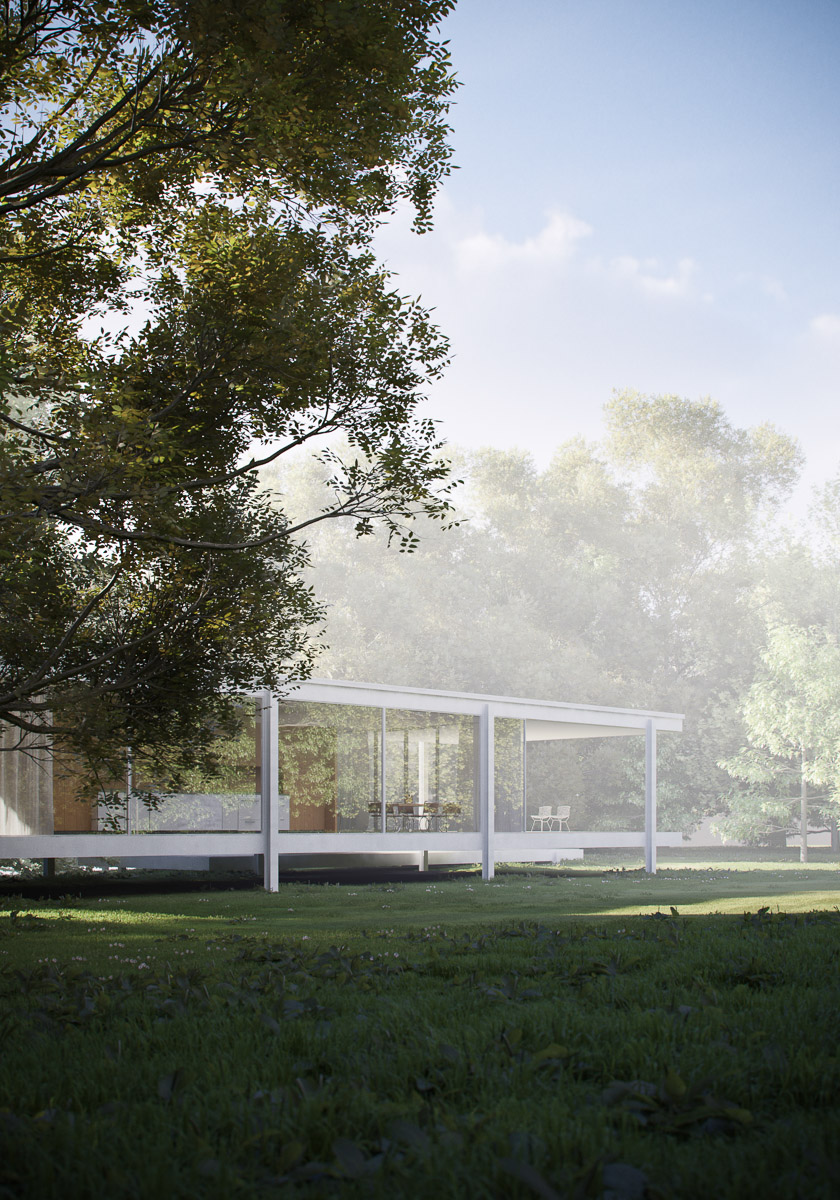

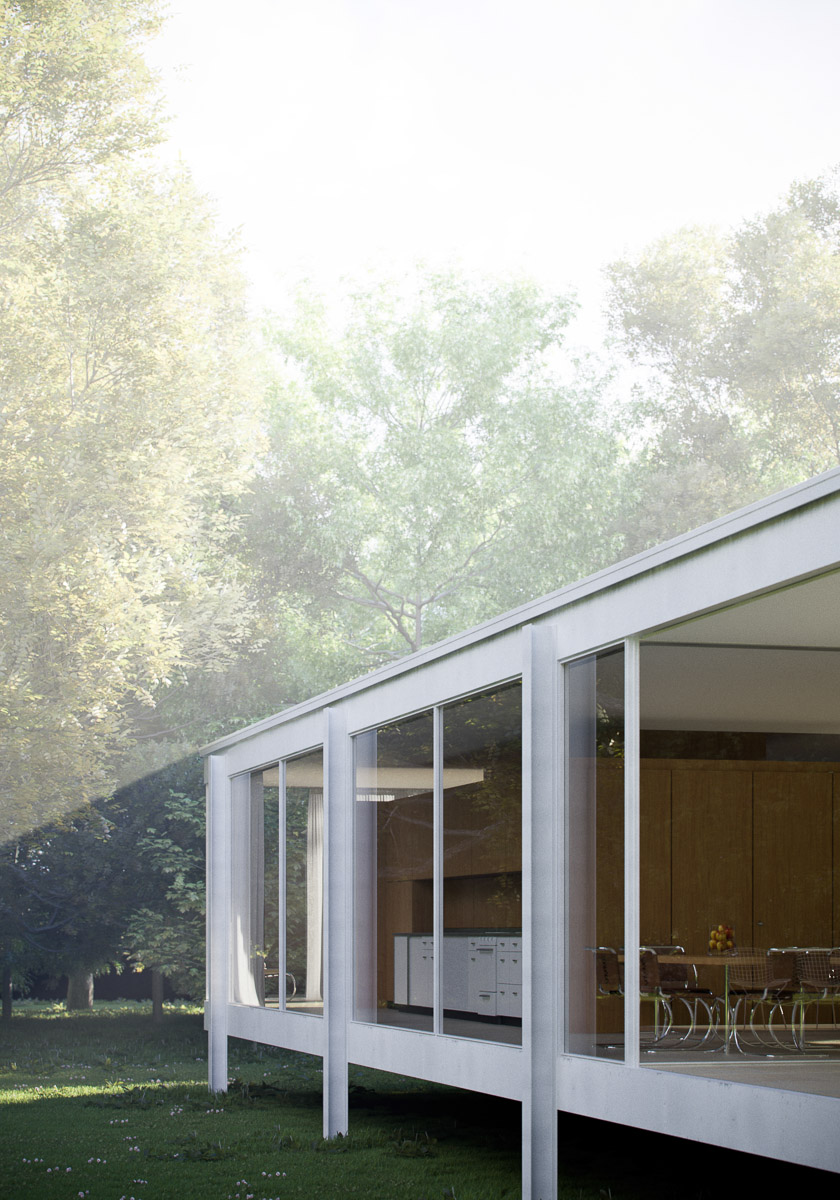
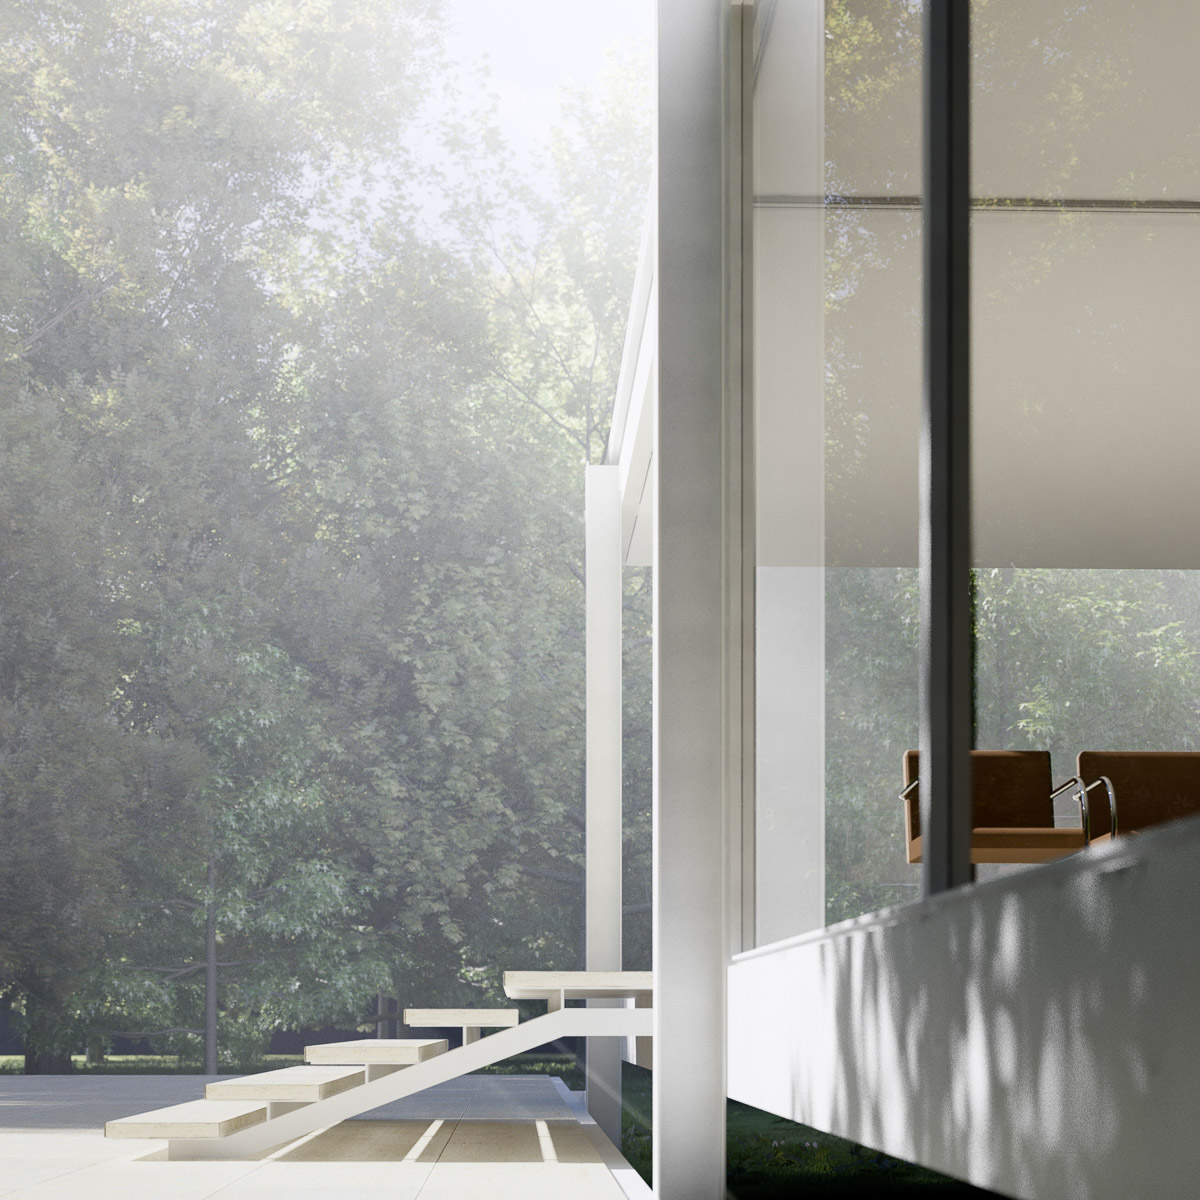
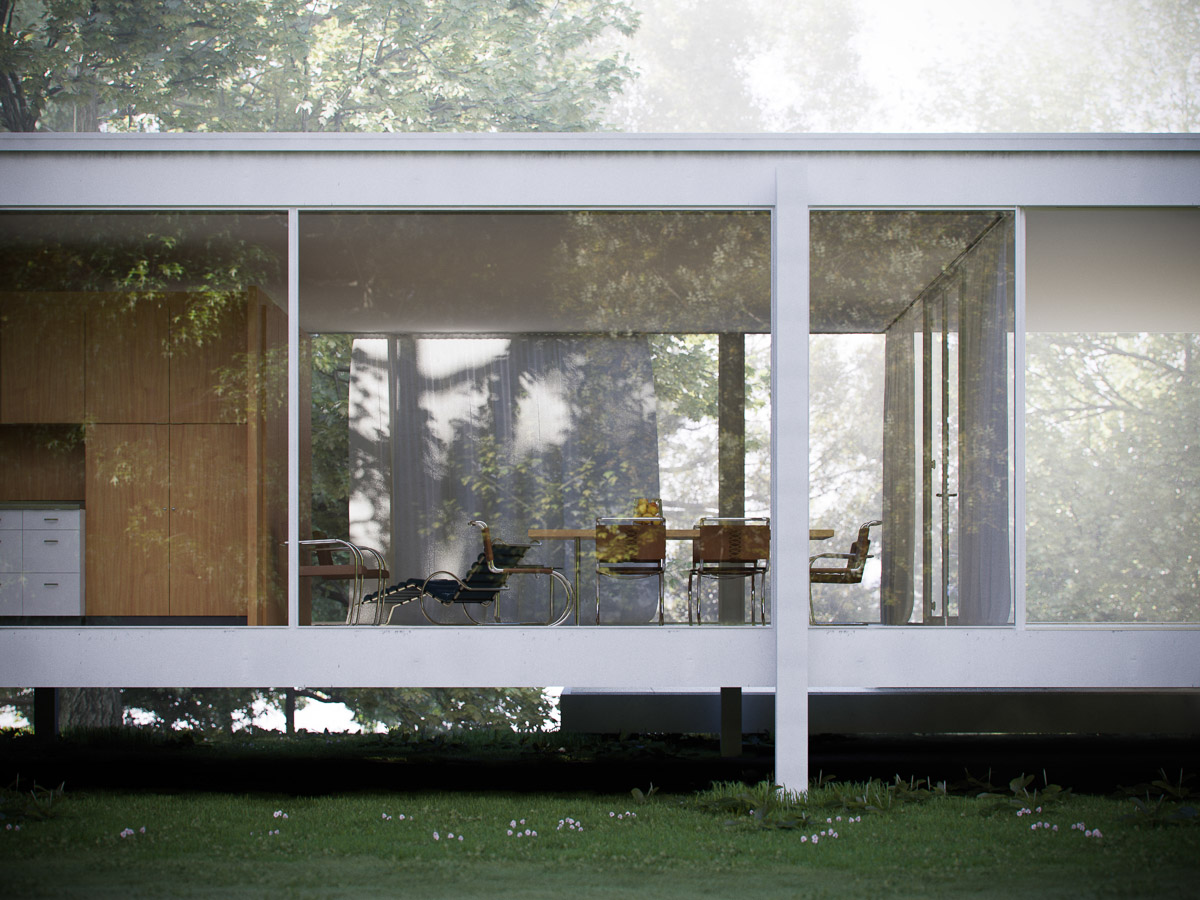
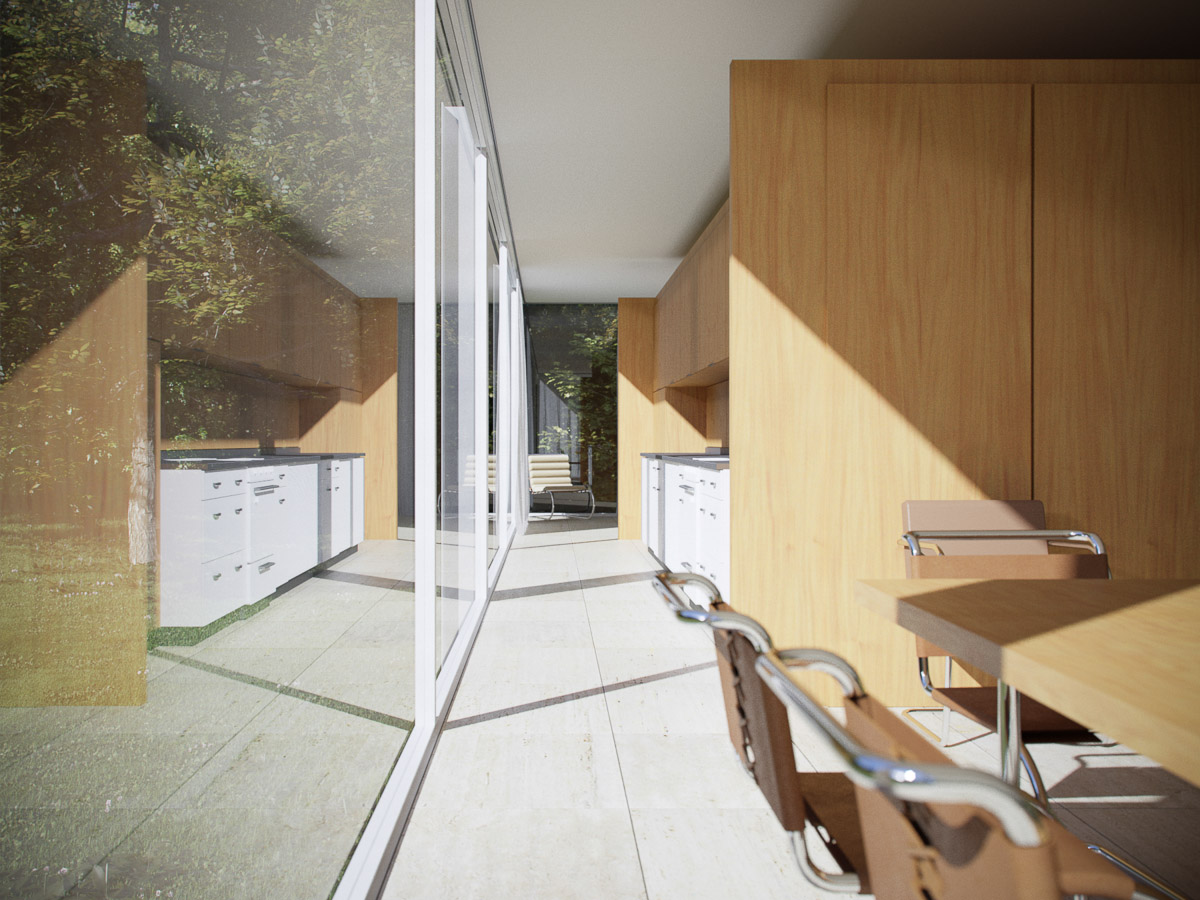
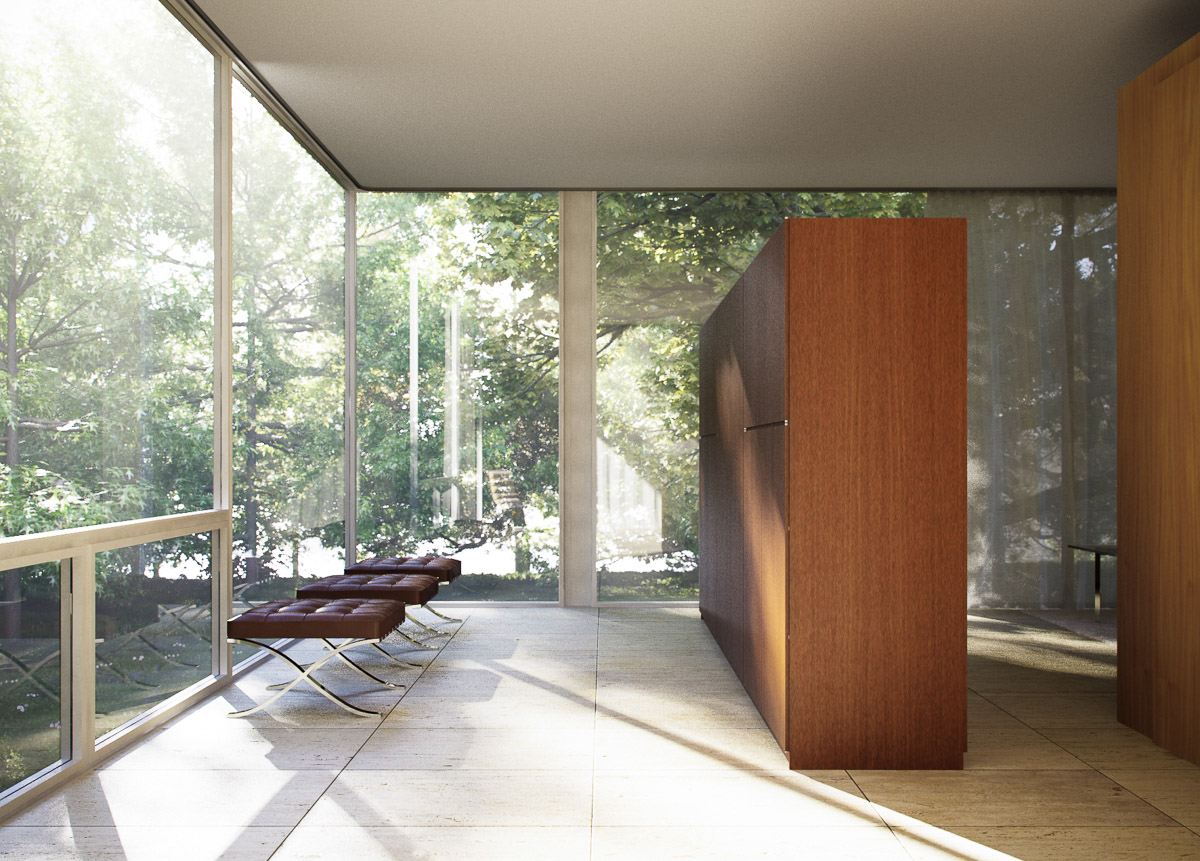

by Mies van der Rohe
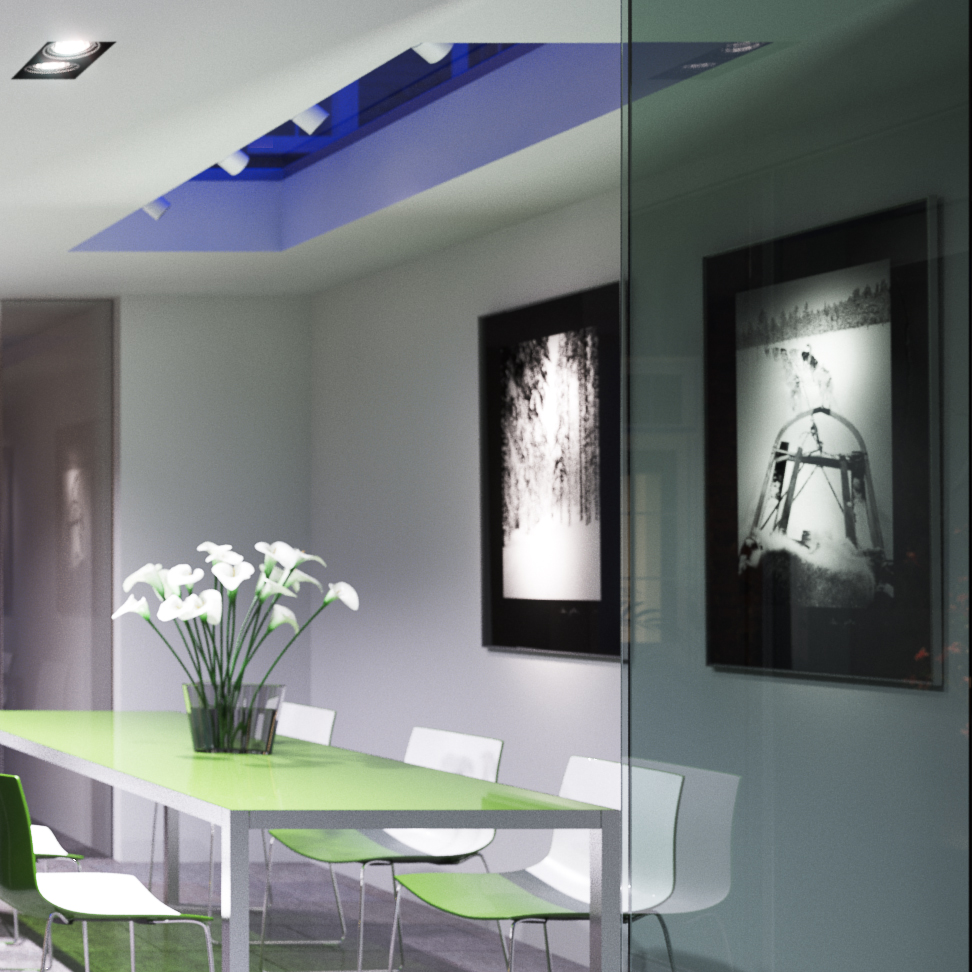
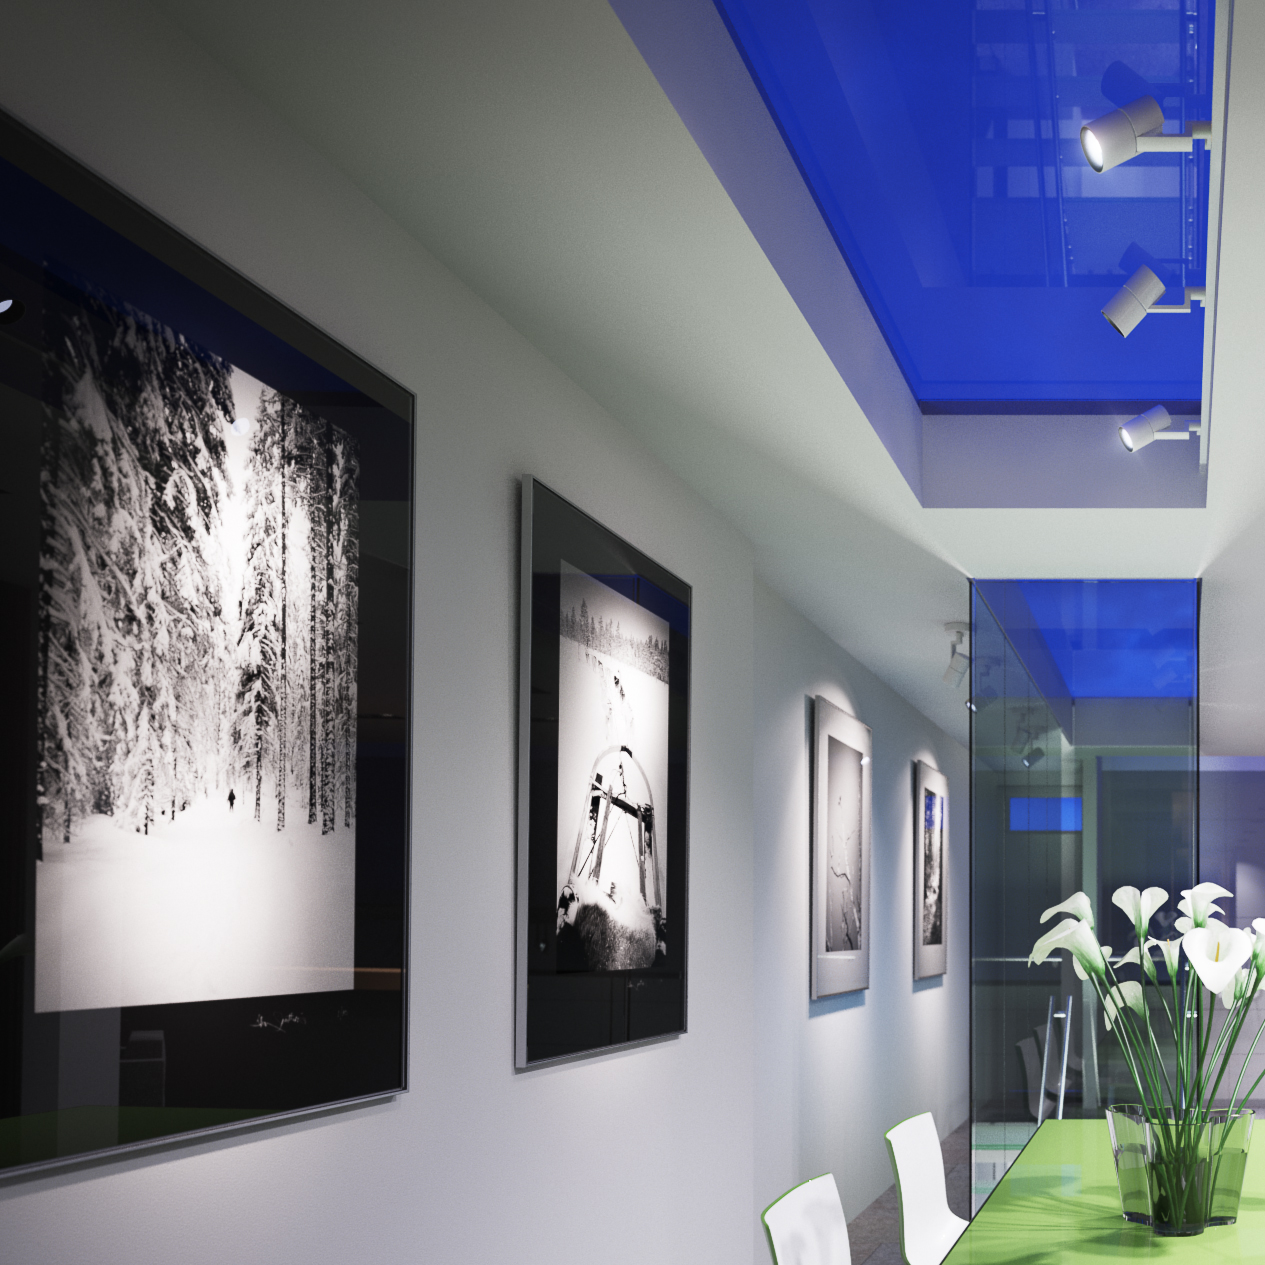
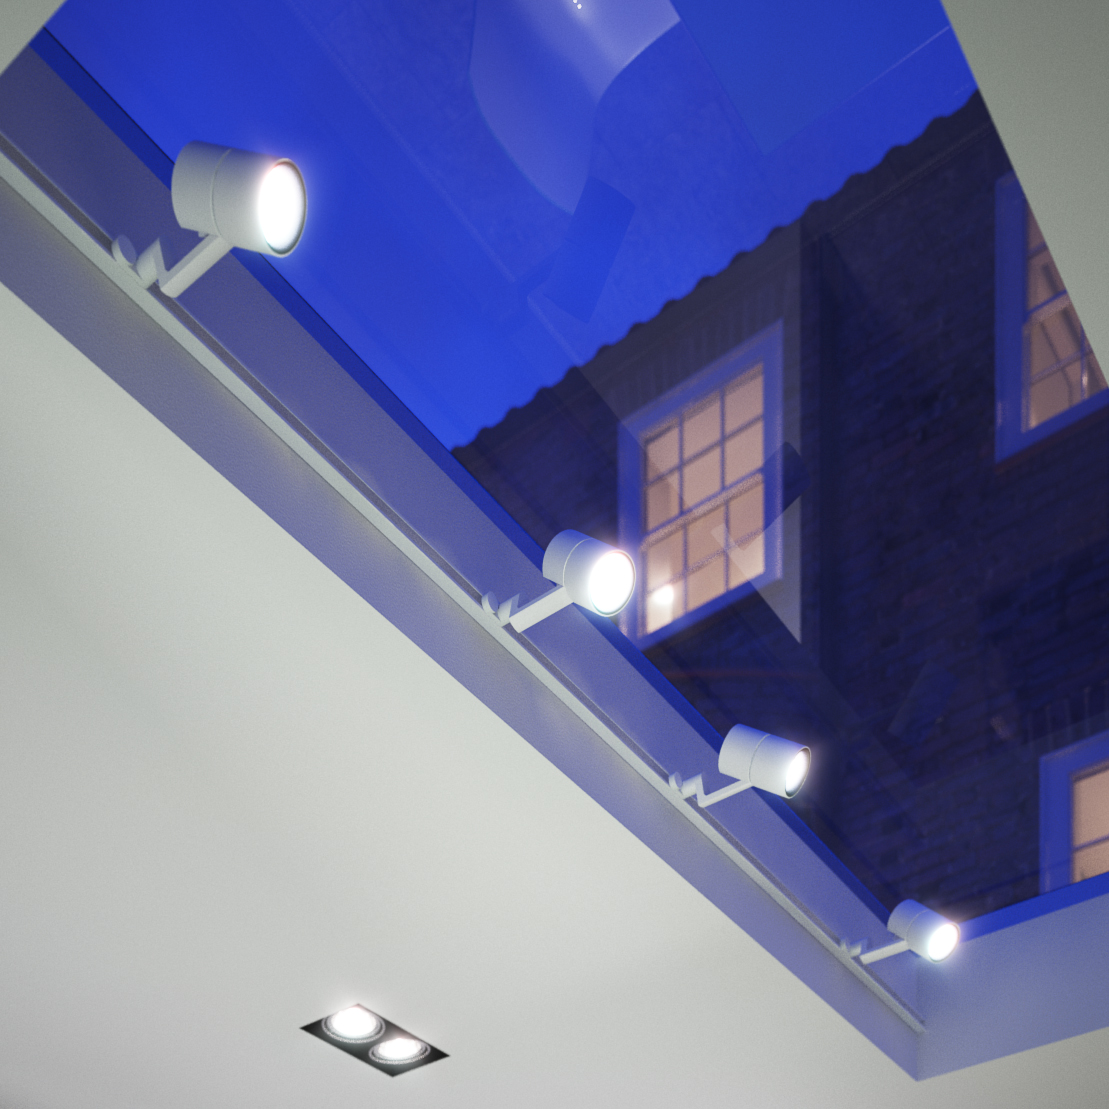
Something I've been working on for the best part of the last year (I previously blogged about the trees in... May, and the grass even before that!). Unfortunately paid work keeps getting in the way, I'm yet to figure out a solution to that problem.
I'm planning a tutorial on how I did the fog, (another) grass tutorial on how I did the mowed lawn and a making-of post summing up the whole process. Can also do one on optimizing the trees and making the tree materials if there is interest. The sketchup model of the house itself will be available on pushpullbar - details to follow in a separate post.
Technical Info:
- Grass (short, medium & long), clover and plantago major all scattered with vrayscatter as per previous tutorials.
- Trees are all made with Onyxtree. Species as per previous blog post.
- The total poly count comes to approx. 10 billion. 1.34 billion for trees, 8.4 billion for grasses, 270k for house, 550k for furniture.
- Renders took roughly 6 hrs each @ 2200px
- Rendered with vrayphysicalcamera, vraysun, HDRi environment
- VRayenvironmentfog was rendered as a separate pass and screened over in photoshop
- Final colour corrections made in Adobe Lightroom
Vray Dirt Tutorial

A quick tutorial on adding dirt to specific materials in Vray. A very useful application of the vraydirt shader in Vray is to make materials look dirty/weathered. Used in it's basic form, with default settings, vraydirt can be used to add a general darkening around edges/corners in your 3d model. It can also be modified to affect only areas directly below 3d features.
a - Shows vraydirt using it's default settings (dirt equal on all sides) b - Shows vraydirt using settings to force the dirt to work only in a downward direction c - As b, but with 'invert normal' ticked d - b and c used within a vraycomptex map, set to minimum
By experimenting with the distribution, falloff and z-bias values, I managed to get the downward effect I was looking for (exact settings in screen grab below). I then combine 2 versions of the vraydirt map inside a vraycomptex map. The first version is for concave creases, the other for convex creases by ticking 'invert normal'. The vraycomptex map is set to minimum so that it combines the two maps by always using the darkest rgb value.

Above is a render with a concrete material demonstrating the effect. In this case, the occluded map is the same as the unoccluded map but darker and with a slight rusty hue (achieved using a color correction map).
The diagram below shows how the material is made up, and shows the values I used:

To take this a step further, you could additionally add a map to vary the radius of the vraydirt effect. (Note that the value I used for radius is in mm)
And finally an animated gif showing renders with and without the vraydirt:
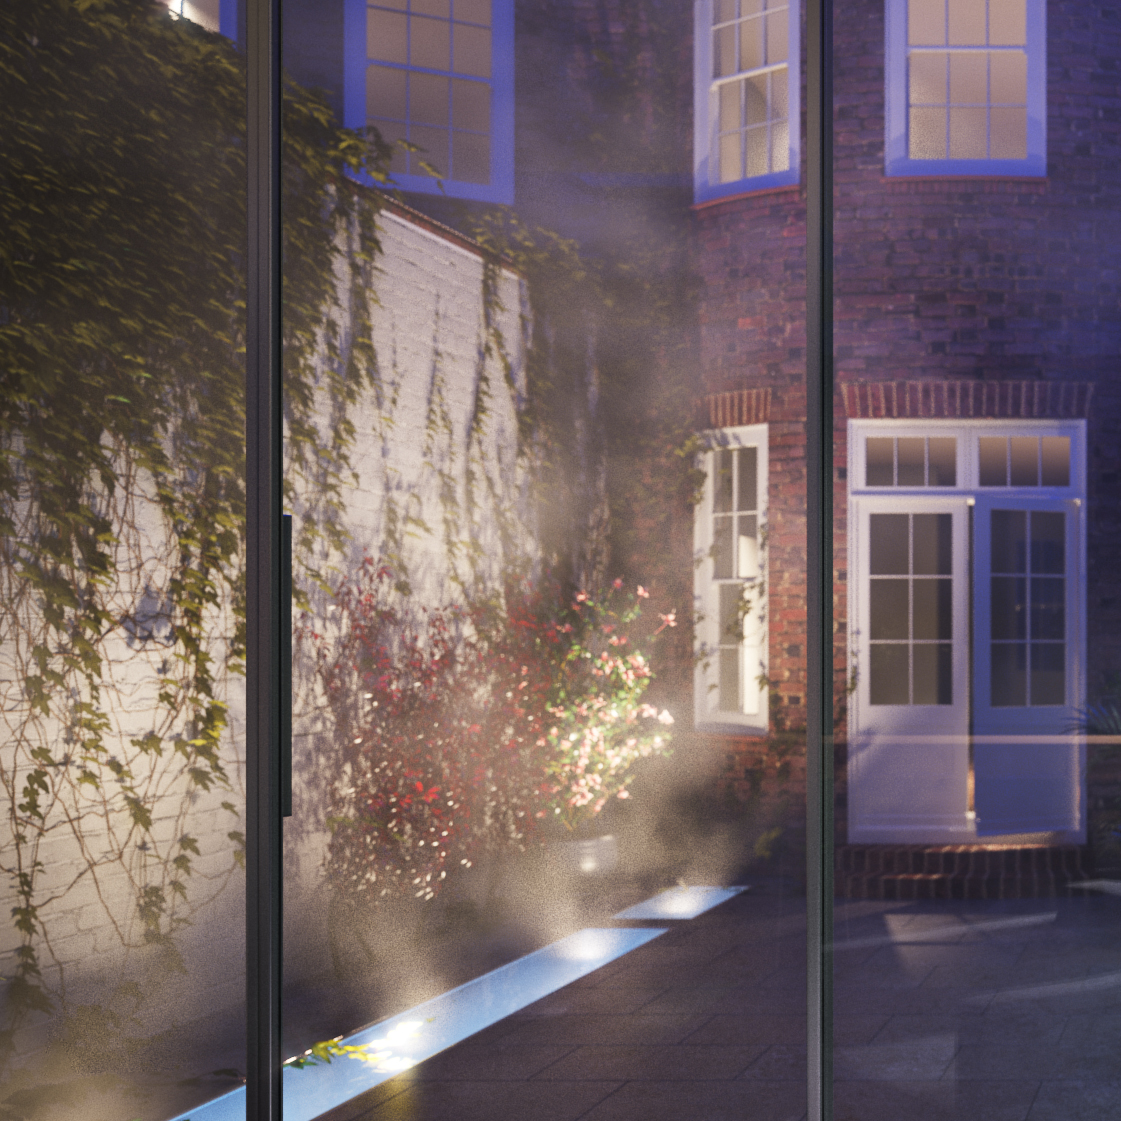
Chelsea Square Day

A new project in my vizualisation gallery: Chelsea Square by Wilkinson King Architects. These images were for marketing purposes and were lots of fun to work on. The building was modeled in Sketchup and all textures were made from scratch from photographs. As usual with my projects, there wasn't much post work in photoshop (apart from the cross section).
The caustics in the pool were calculated with all the glass hidden, saved and then the glass was turned back on for the final render. The actual water surface was modeled by dropping a ball into some reactor water, totally over the top I know!

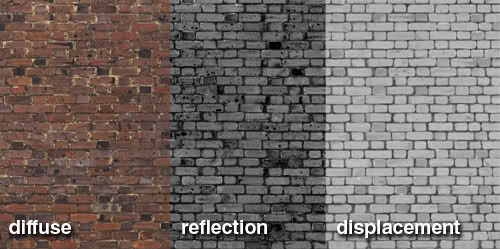
I wanted the brick texture to match the existing building as closely as possible so I took photos of the end gable brick (in the shade) and then painted over every brick in photoshop. This was so that the displacement map worked correctly in displacing the bricks outwards while recessing the grout slightly, and also helped in the reflection map to make the grout less reflective. The traced bricks layer was used as a mask to lighten a greyscale copy of the diffuse layer. Painting over bricks in photoshop is as about as boring as it gets, but worth the effort.
vrayRT for Architectural Visualisation
Very impressed with vrayRT so far, looks like it will be really useful for a lot of my work. Here's a 10min (longer than intended!) demonstration on vimeo (no sound). VrayRT is using my macpro (2.8 octo) and a slave i7 920.
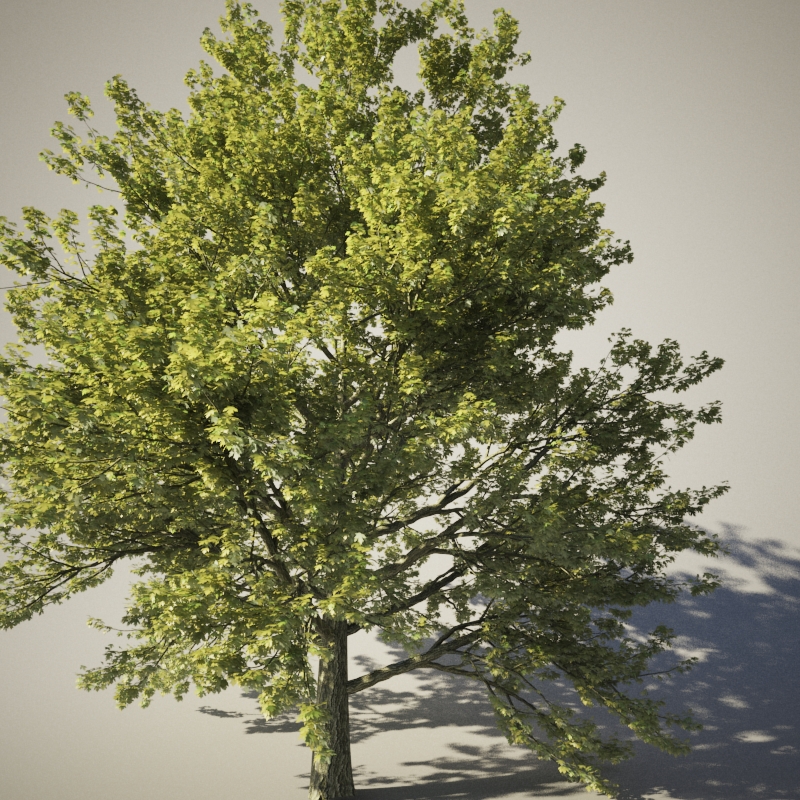
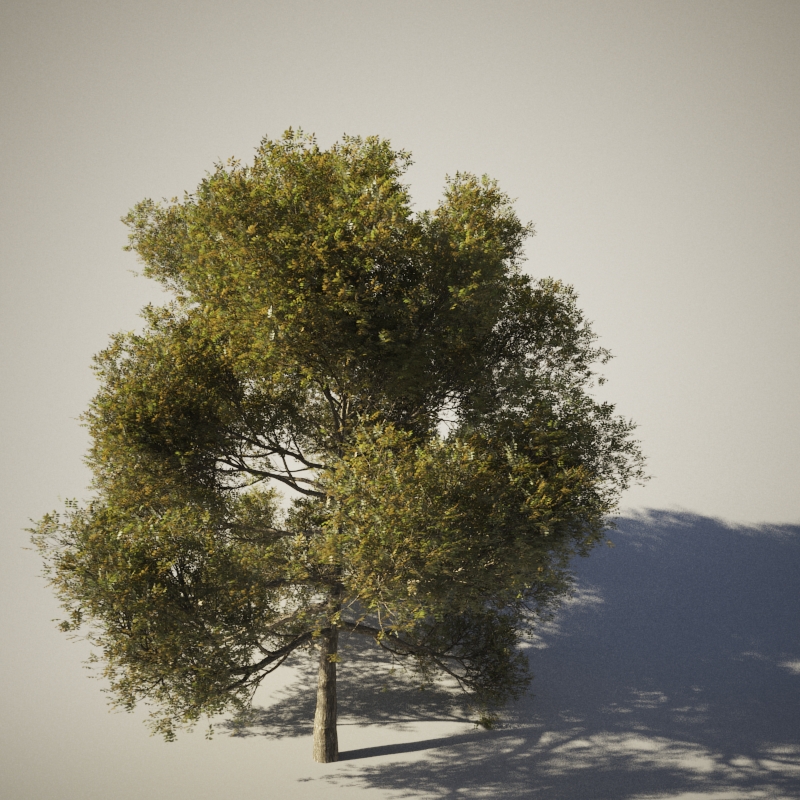
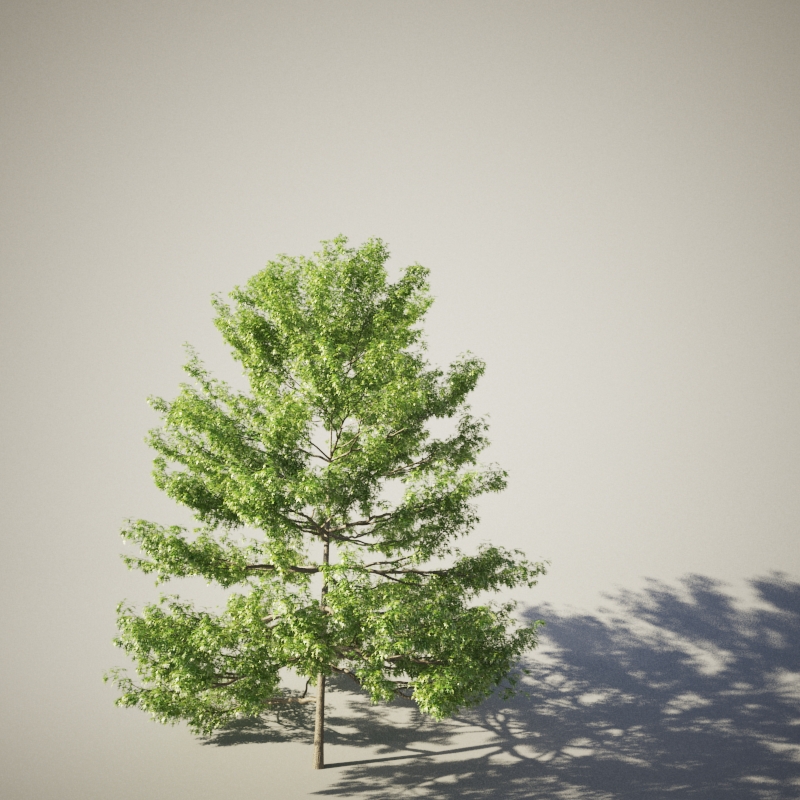
3d trees
Ash
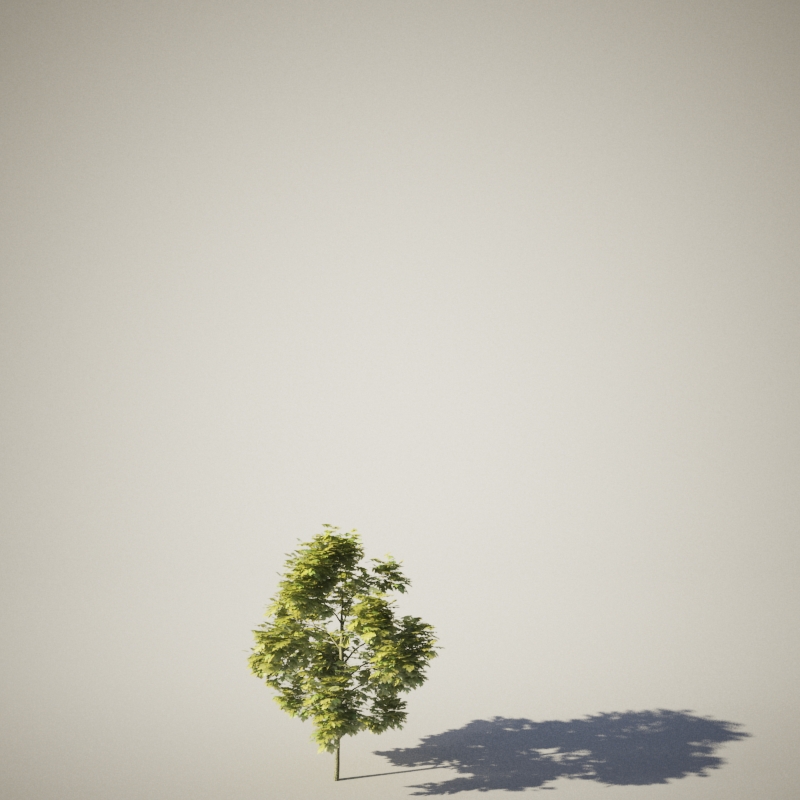
Young Sugar Maple
Sugar Maple
White Oak