VRAY, CORONA & TADAO ANDO

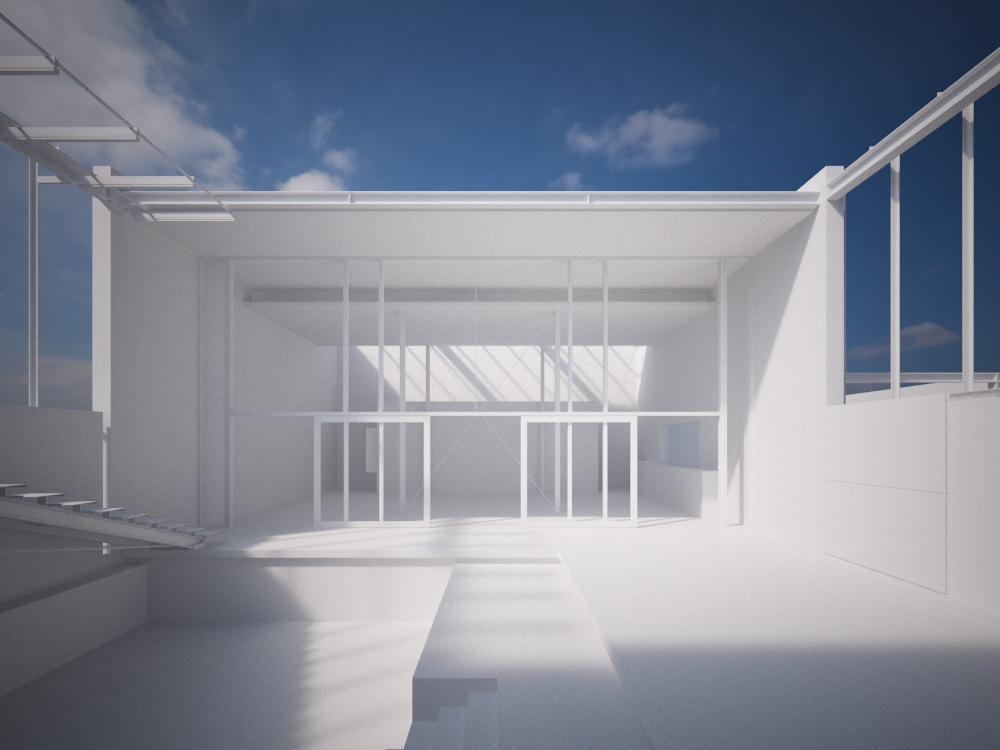
We use Corona almost exclusively at The Boundary, but after so many years of using vray I still follow development closely and use it for things that corona cant do. In converting an old project, 152 Elizabeth Street to corona, I thought it would be a good time to write a blog post on the differences between the two rendering engines and also to see how much Vray has improved since I used it to render this project in 2014/15.

Final Original Image rendered at 6k (Including photoshop work) (click for lightbox)

The first thing I did was render in Vray using my original settings but at 2k resolution so we can see what an unprocessed Vray version looks like. This took 1hr 15 minutes at a bucket noise threshold of 0.007. (amazing seeing buckets again!)

Vray render using my old settings - 1hr 15mins

Next I tried Vray 3.5 at default settings, which seems to be what Vlado suggests to most people. I switched to brute force settings in Vray years ago and its great to see that with developments in software and hardware this is now the norm. This time it took 58 minutes.

Vray render using default settings (progressive) - 58mins

Here is a 100% crop between the two versions. My previous settings were 1-100 subdivs and a noise threshold of 0.007, probably had subdivs on materials too (seems so weird to have to think about things like that after using corona for 2 years). I can't see any real difference here so not sure why anyone in arch viz would deviate from the defaults in vray these days.

bucket brute force vs progressive


Converting a Vray scene to Corona is pretty much a one-click process thanks to the amazing conversion script that comes with corona (I should add that the conversion back to Vray using the script that comes with Vray is also very good should you need to go that way.) Some things to remember though:

  • Vray cameras work fine in Corona, but you might need a coronacameramod to fine tune DOF
  • The vrayhdri map works well in Corona but remember the render multiplier doesn't do anything so adjust your overall multiplier accordingly
  • There is no need for a dome light (plug vrayhdri straight into environment) so remember to take into account any multiplier on the domelight
  • I use vrayhdri and vraycameras, there still aren't equivalents in Corona
  • Corona's displacement is inferior to Vray's. You will need to play with the corona settings to try to match it, especially if you used vray 2d displacement. (Corona 3d displacement has improved a lot but I still miss Vray 2d displacement.)
  • In Corona, you just apply coronafogmtl straight to geometry, no need for a gizmo.
  • Matching vray2sidedmtl with Corona is always a bit hit and miss, I use interactive and tweak till it looks similar

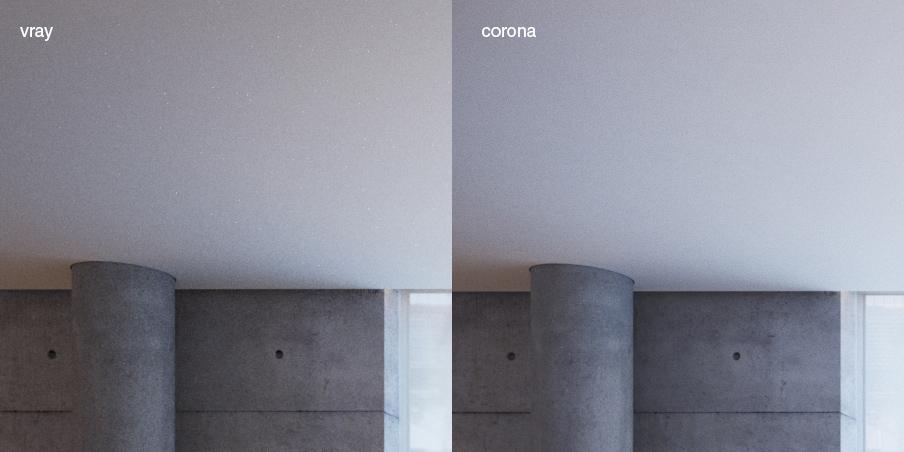
For a comparison between vray and corona, I wanted to see what a 20 minute render would look like in each. Vray after 20mins:

VRAY - 20 minutes render

On to Corona (Latest 1.6 daily) and after matching the exposure, vignetting, colour balance, curves (there are now curves in Corona!!!) this was what I got.  Corona after 20 mins

CORONA - 20 minutes render

After 20 minutes, corona did seem to deal with noise better, especially in the concrete and ceiling areas. The displaced carpet looks way better in vray, despite increasing the quality of displacement in corona from 2px to 1px. Overall I'd say they are pretty similar in terms of quality.

Note the overbright pixels on the vray version

Note the overbright pixels on the vray version


Pushing Corona Further

The joy of working with Corona is in using Interactive rendering to explore new compositions, tweak materials, play with lighting etc. If you haven't tried it you really should. I never got on very well with VrayRT, partly because it required more set-up and because it wasn't the same as a final render. Another thing Corona does very well is lens effects (bloom and glare). For some reason its much easier to get nice results with Corona and you can also tweak them as it is rendering. I'm going to finish with a slightly re-worked version of this scene, made entirely in Corona with no post work at all.

A quick Note on vignetting in Corona: Vignetting in 1.6 finally works as (I believe) it should, in that it doesnt just add what looks like a black overlay, it correctly reduces the exposure at the corners. This now means that really bright areas (sky) will not look artificially dark when you add vignetting. I have never used vignetting in corona for this reason, but now I'll probably use it much more often, as I did with vray.

Final Corona Version

Final Corona Frame Buffer Setting (using Corona 1.6 daily):

Exposure:
Highlight Compression: 5
WB: 4600K
Contrast: 1.0
Saturation: 0.0
Filmic highlights: 0.0 (my advice would be don't use filmic, it often acts strangely)
Filmic shadows: 0.0
Vignette: 1.0
Curves: NO

LUT: Kim Amland's Photographic 01 LUT that mimic real dslrs.

Bloom and Glare:

Bloom intensity: 5.0
Glare Intensity: 1.50
Streak blur: 0.20

Sharpening / Blurring:

Sharpen amount: 1.0
Sharpen radius: 0.250
Blur radius: 1.250

Many thanks to Kim for his work in analysing what dSLRs do to the raw data they capture in order to make them look good. It's very interesting that the quick Corona FB tonemapping I did in this last image resulted in something similar to what took a lot longer in photoshop & Adobe Camera RAW.

I love being able to get amazing looking images straight out of 3dsmax with no post work at all. Next on my wishlist would be colour temperature tint (from green to magenta)... please Ondra & Vlado??

You can read more about the LUTs and download them from his thread on the forum

Lake Lugano House - Vray for Sketchup

You might recognise this house from a previous post on this blog, Lake Lugano House by Jame Pickford. This one is different in that it was all modelled, assembled and rendered within Skethcup using Vray for Sketchup. There is a really excellent tutorial on Ronen Bekerman dot com which I encourage you to go and read.

Interesting to see how he uses HDRi Skies (1957 Dusk Clear) in Vray for Sketchup and uses proxies to handle complex geometry and to see all of the other ways in which Vray for Sketchup has developed since I last used it several years ago.

Great work by David Santos of LAB Visualizacion


Using HDR Skies in Octane Render

Many thanks to tomGlimps for this tutorial on using HDRi Skies in Octane Render. I'm going to have to try Octane now!


As title says, here we are going talk about how to use HDRi skies in Octane Render. The tutorial is going to cover simple introduction with few tips. I’m going to use Standalone version, however the same principles could be applied to any of Octane Render plugin (3ds Max, Maya, Blender, Archicad, Lightwave, Modo, Sketchup, Cinema4D, Nuke.. & the rest, nearly 30 plugins in total) - no matter which host application you’re in, core functionality of Octane Render is the same & the only thing that differs is going to be the interface.

For those who don’t know, Octane Render is an unbiased GPU powered rendering engine. much like Vray RT for GPU, ARION Render, Iray, etc. Unlike any of mentioned software Octane Render isn’t hybrid engine (running on CPU & GPUs), nor does it run on CPUs at all, at least for now, as recently in GTC 2015 unveiled version 3 will run on more devices & have more impressive feature list. Save to say, it’s one of the most advanced GPU engines powered by CUDA capable devices. For more information you can visit OTOY’s website or their forums.

So, without further ado, let’s dive in! We are going to use v2.21 (thought the same could be done with demo version, if You wish to try without buying a license, just keep in mind: render resolution of it is limited to 1000x600, also missing possibility to save file, output has watermarks, no LiveDB & network rendering support).

I hope you have at least very basic understanding of how Octane Render (or similar programs) work, if not, you can always consult online manuals. I’ll cover things you have to keep an eye on, but the rest will more or less be out-of-the-box - that’s the beauty of unbiased engines, you don’t need to think about complicated settings or some mysterious dials. Simply open a program, choose a rendering algorithm, input geometry & it renders. You can do some lighting, material tweaking in a meantime & once you happy with composition the longer you leave, “the better end result is going to be” (we’ll get back to this topic later).

Loading HDRi sky map

To load HDRi sky: choose textured environment from drop down menu & pick RGB image option.

If you want to rotate the map, look under UV Transform - T.X. parameter will allow you to rotate your map around vertical axis.

Linear Workflow (LWF) inside Octane Render

Again this is more or less out-of-the-box. Thing to remember about HDRi is that once you import them, they should have gamma set to 1.0 value.

In Imager settings don’t forget to choose Linear/Off in Response

The rest of your scene textures for natural looking result should have gamma of 2.2. Believe it or not, that’s all you have to deal with if you wish to work with LWF in mind.

Note/tip: If you’d like to color correct your shot inside Octane Render, you can choose from bunch of different responses to start with (it’s a fastest way to experiment with the mood in your scene, without touching lighting itself).

After that you tweak gamma, vignetting, white balance also add post processing (controlling bloom, glare, etc.)

In this way you might end up having no need to touch rendered-out result post at all (maybe just for adding watermarks) - though overall this might take a bit more time to get the right balance. 

Importance Sampling

Another small, yet important checkbox that could speed up your renders sits at the end of HDR environment settings

(should be enabled by default, but If you tick that off while playing around make sure to check it). Here’s what manual says about this feature:

Enables quicker convergence (noise reduction) for HDRi images by applying importance to certain areas of the HDRI so as to sample rays that resolve to the important areas more often than unimportant areas. This means the ray tracing is more efficient as it is not wasting time on rays that do not contribute much to the overall image quality. Due to the added complexity this will reduce the Ms/sec of rendering, but each Ms will be more effective, therefore resulting in a higher image quality in less time. Importance sampling is enabled by default.

(source: Environments Maps/HDRi environments - Octane Render Manual)

Enough of theory

I’ve prepared a free scene, if You would like to play around yourself. Included few render targets useful for preview HDRi inside Octane Render.

First two from the left are created for preview purpose to see full sky map, inspecting how it  looks (helpful for tweaking exposure, color balance, etc.).

“Fish eye lens” holds a camera pointed straight up with 180 degree field-of-view & camera distortion set to 1. This gives a perfect shot of sky dome (that’s the way multiple exposures are captured in real world using Full-frame camera with FishEye lense attached)

The second target has Panoramic camera. Again you can see entire sky texture with less distortions.

But “what the difference?” you may ask & that’s a good question. Well, FishEye lens approach would distort texture You try to preview close to horizon, while Panoramic brings more distortions to very top, so you can choose any of those depending on the sky map You’re using.

Both of these methods allow to see full sky in a single frame, without any need to rotate camera & look around. It’s very useful for initial preview/overview while you going from sky to sky. Something like 50mm lens on 36mm sensor would give you only 40degree FOV - while using any of mentioned previews you would get full 360.

Third render target is simple geometry (I’ve taken from free Lounge Chair Scene) with grey lightly specular material. By having no textures you get a clear shot for good understanding of how light from your chosen HDRi sky works (as you might already noticed environment node is shared among all render targets, so you could go through all of them without any need to reload each time).

Last but not least, you get a render target with camera (equivalent of 50mm on full-frame sensor). Simply add your own geometry, put some textures & you got a shot!

Note/tip: if You need sharper shadows, You can tweak HDRi gamma setting (make it slightly higher), just keep in mind this will change not only light, but also influence reflections too.

So, we are leaving you with this downloadable scene (alternative link) in single .orbx package to try it on your own. Thanks to Peter who kindly provided not one, but two of his maps. (For scene to be lighter & faster to download we made resolution smaller, but it works & looks perfect).

& here’s a fun part!

Now as you have fully setuped scene & HDRi map(s) coming with it, here is what you can do:

  1. Drop some geometry inside & make some nice pictures (using Octane Render standalone or any of plugins).

  2. Post on OTOY’s forums here for a possibility to be featured & get back any map you’d like to have as prize if you get lucky!

You could also use the same scene not only with sky maps (dome), but full (spherical) HDRi maps too (Panoramic preview, 2nd target, works better in that case)

If you want to put the object into environment, you need an extra geometry (let’s say simple plane) under your object with diffuse material & matte function (in material options) enabled. This will give you ground shadow so your object won't be floating.

Here’s the example scene I’ve recently made for testing materials using full HDRi map from CG-Source. Pine board textures (on the side of wooden slabs) are also from the same site as HDRi map, but all the rest, plywood  sheet  textures are from Peter Guthrie (his old 3D Ocean store).

Tip: Apart from moving camera, using lens shift, lightly moving geometry (using translate node) is going to help you find perfect place for your object on chosen HDRi.

Final words, regarding to HDRi usage inside Octane Render

As mentioned before, I’m getting back to that ..“the better end result is going to be”. Unbiased render engines provide headache-free rendering possibilities (much like Peter’s chosen way to Brute Force, though this route might be quite compute intensive & on CPU slower than other, biased methods).

Keeping mind that any program itself isn’t going to be a “magic wand”: you still need to know how light works in order to set up a scene, “a bit” about camera, shading & materials, but with saved time & increased interactivity using GPU engines like Octane Render you can spend more time testing ideas, searching for that tasty shot, rather than tweaking something under the hood..

HDRi skies in combination with unbiased engines is one of the fastest ways to get the most realistic result with as little effort as possible.

Hope this has been useful for some, feel free to download share files & play with them. If you would like to read more about Octane Related related stuff, GPU rendering from software to hardware - feel free to visit tomGlimps.

HDR Sky Lighting for Interiors

I get a lot of emails from people asking how they can use my HDR skies for arch viz interiors and if it is even advisable. I haven't used anything but a HDR sky lighting set up (interiors & exteriors) for about 4 years so thought I would try to answer a lot of the questions here.

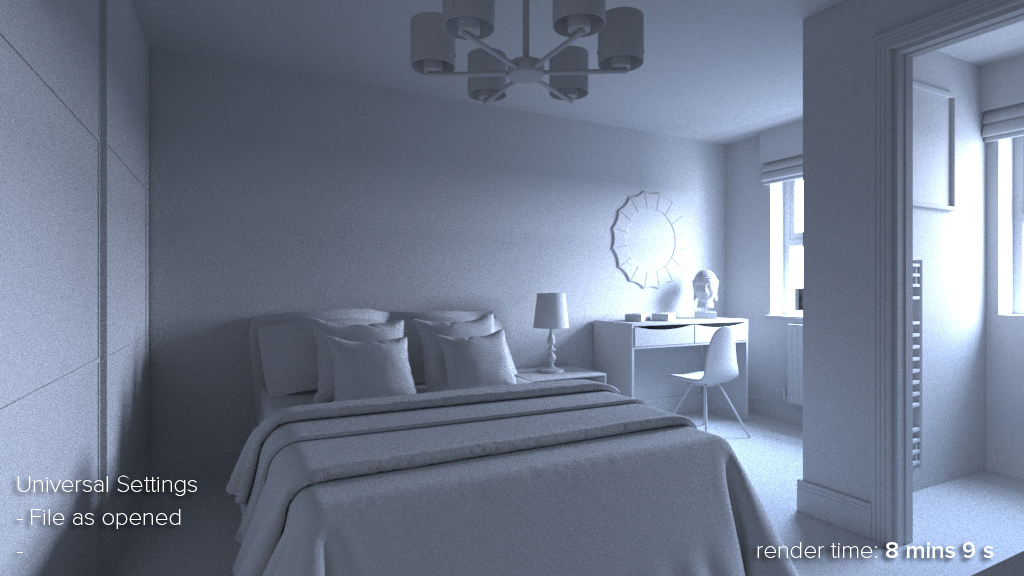
Fewlo from the chaosgroup forum has kindly allowed me to use his interior as an example. The first step is to figure out what is going on in the scene, and to render it as opened. There were a couple of things I changed right away:
1.

Disabled bitmap paging In some versions of 3dsmax/Vray it seemed to slow things down, so I always disable it.

Universal Settings. I prefer working in vray universal settings mode, so to do most of my testing I am switching over to that set-up. Of course it takes a lot longer to render, but it will help me to optimise the scene. I will switch to Irradiance map later on to show how it compares.

Universal Settings uses Brute Force for primary GI and Light Cache for secondary GI, if you are unsure how to set it up, take a look at the vray help files section on Universal Settings.

2.

Change HDR Rotation

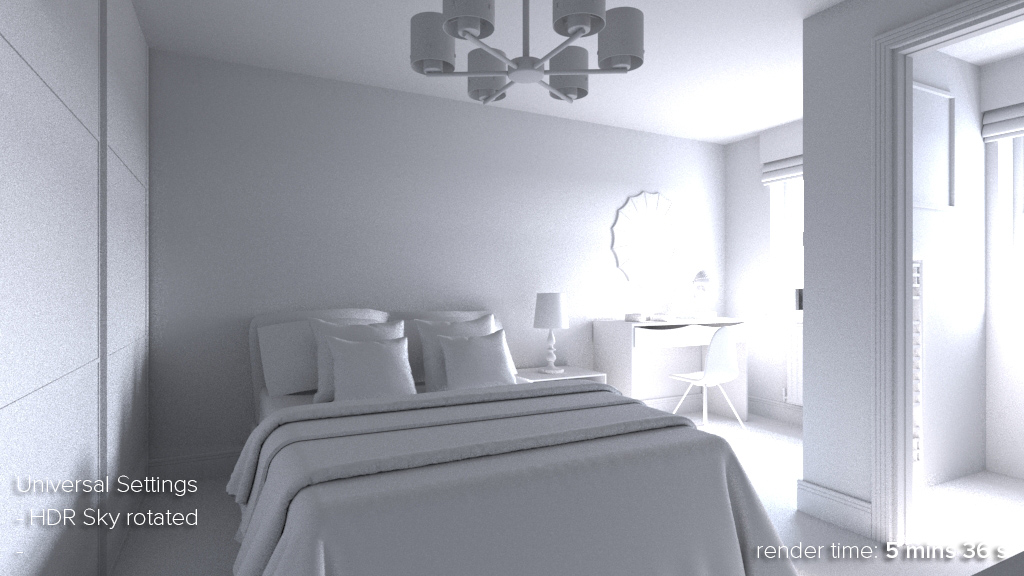
A bit of artistic license here, but I decided to rotate the sky so that the sun was coming in the window. I also adjusted the vrayphysicalcamera exposure to allow for the increased amount of light coming in. The vrayHDRi loader works slightly differently to the max bitmap loader, this is a handy visual reminder that I have stuck to the bottom of my monitor at all times:

copyright: Phil Coyle, Hayes Davidson

copyright: Phil Coyle, Hayes Davidson

3.

No direct light

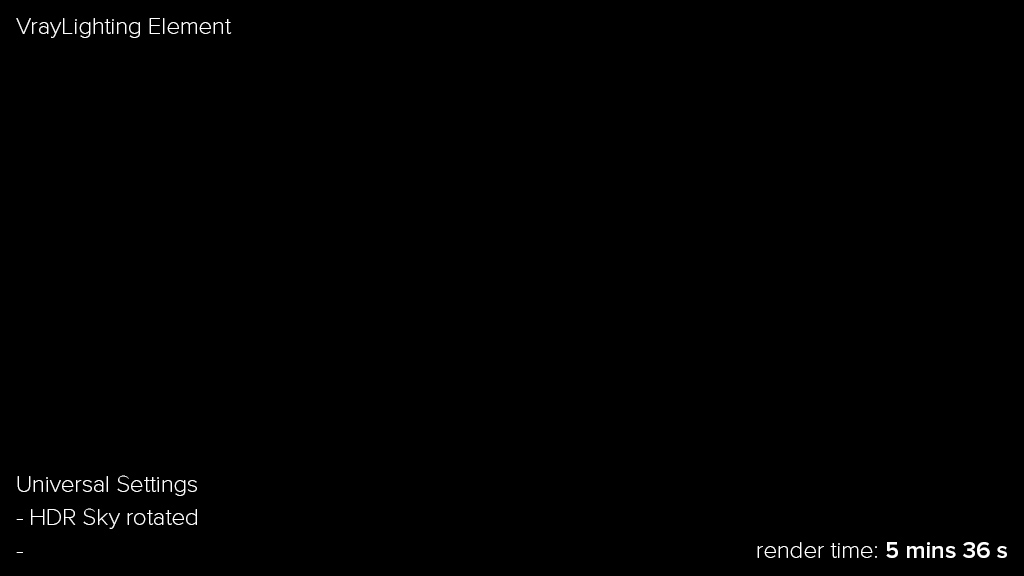
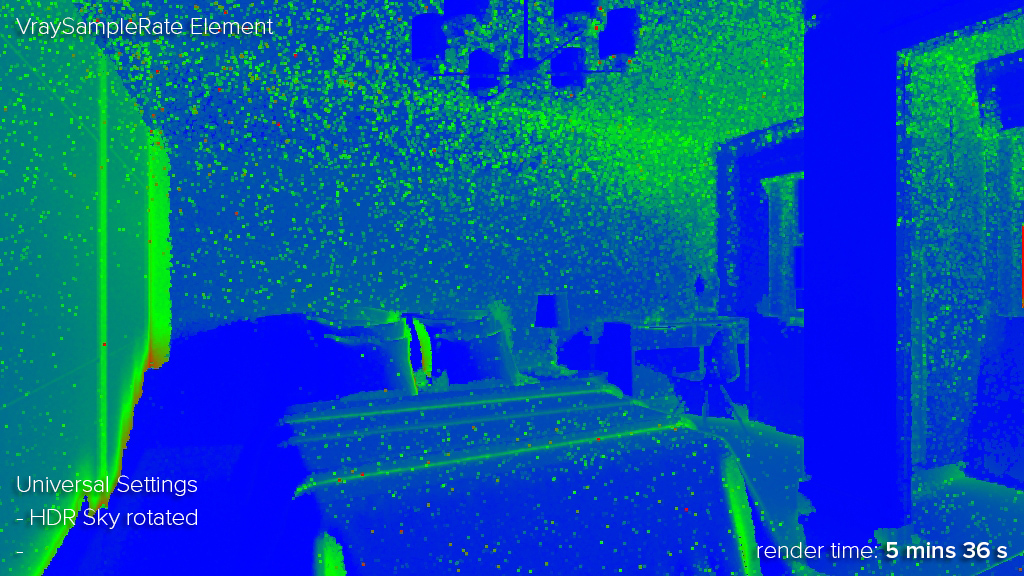
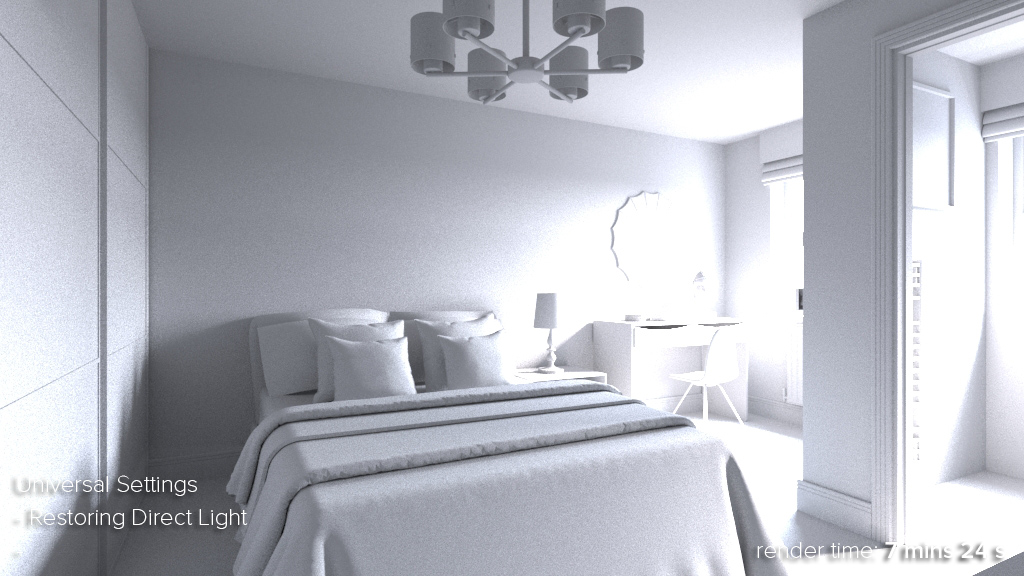
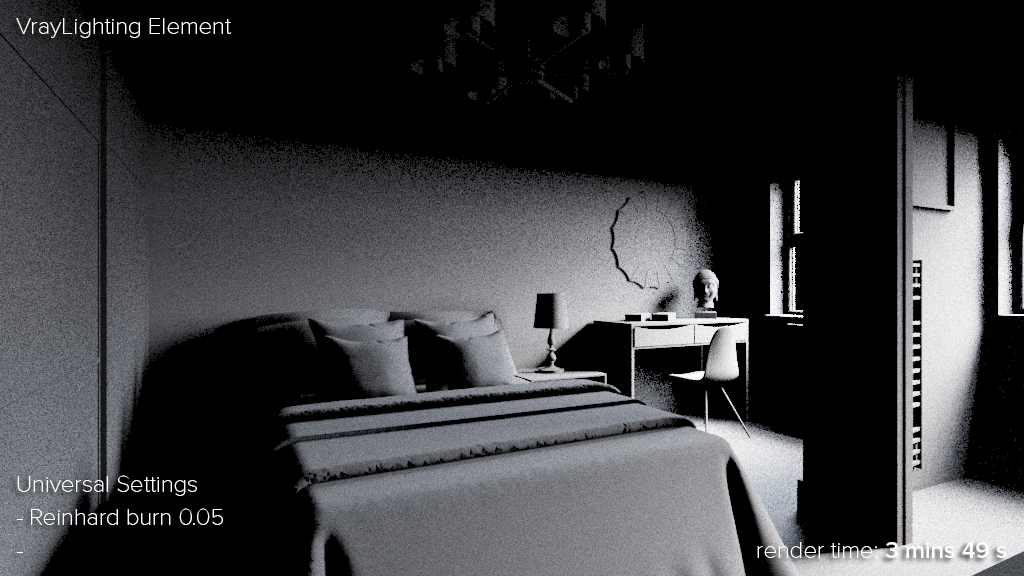
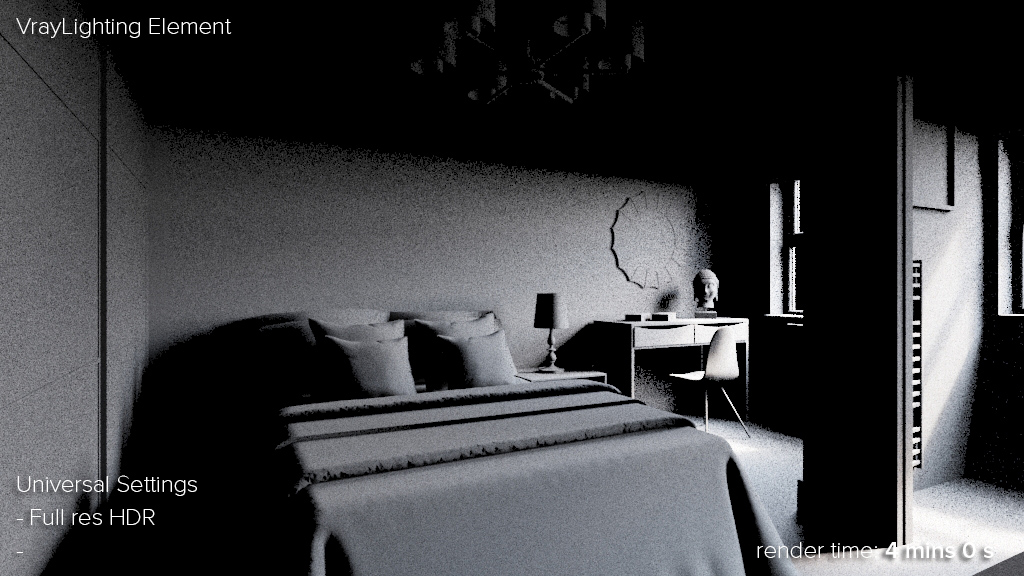
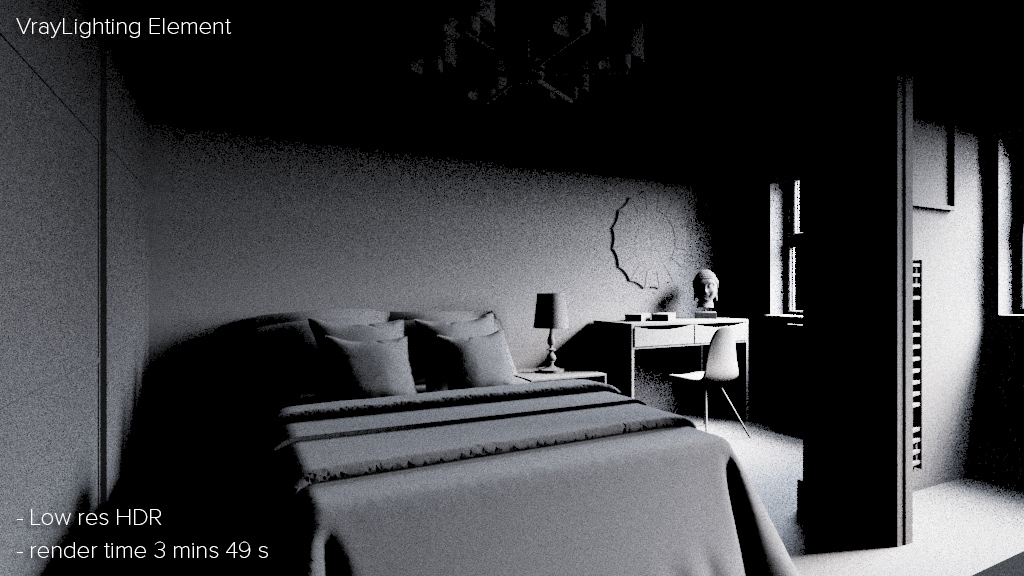
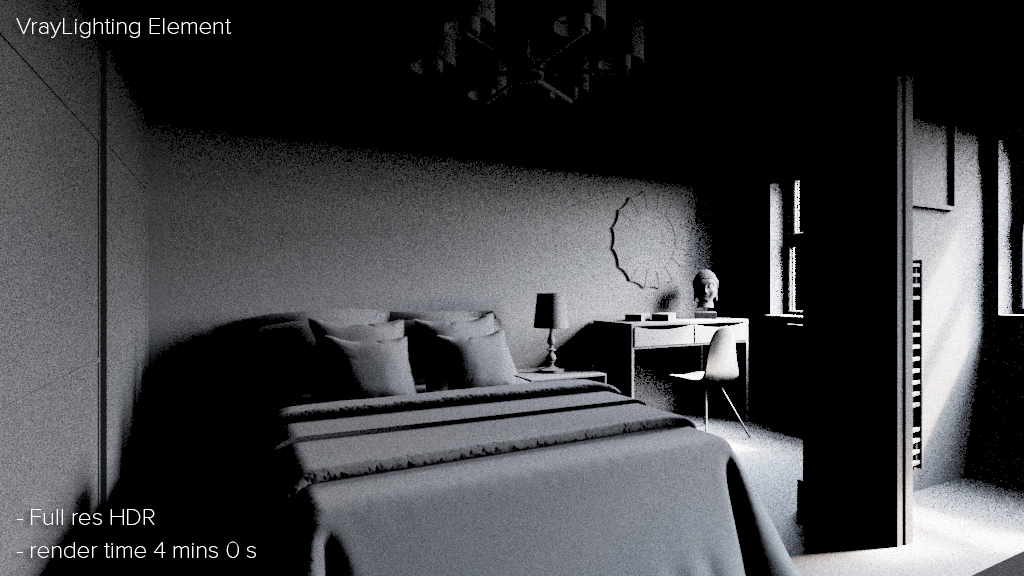
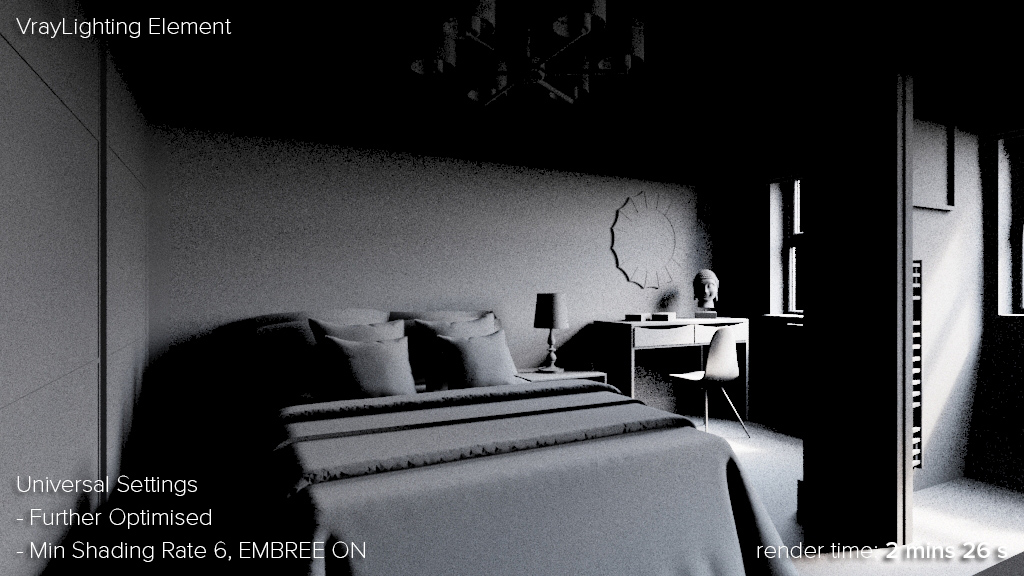
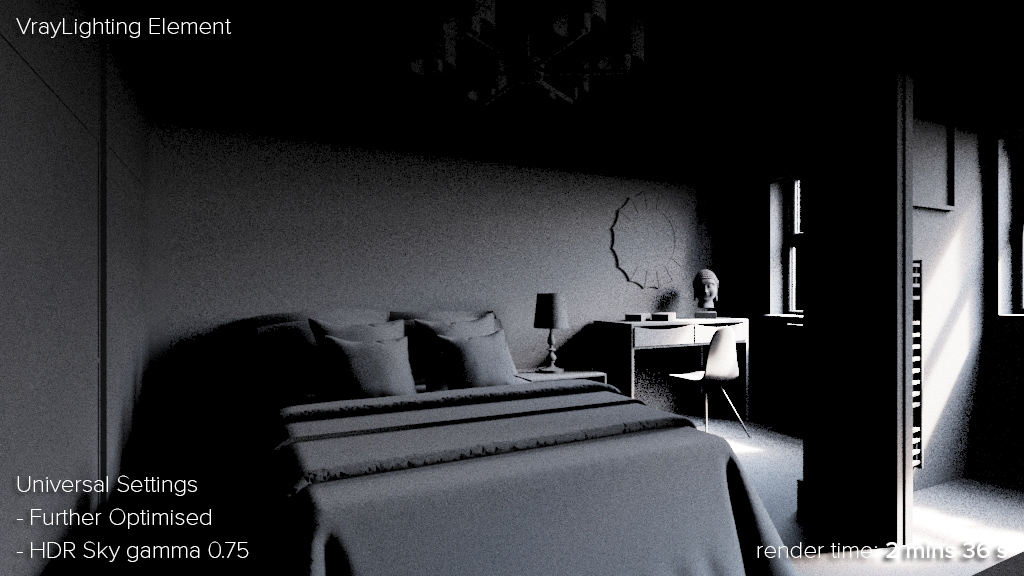
Now, inspecting the vraylighting element (click the sliders to compare VRayLighting passes) told me that there was no actual direct lighting making its way in the window. To fix this I:

- Unticked Store with Irradiance Map on the VRayDomeLight
- Changed the glass material to have full (255) refraction, and ticked affect shadows
- In the VRayProperties of the glass objects I unticked 'Visible to GI'

4.

Color Mapping

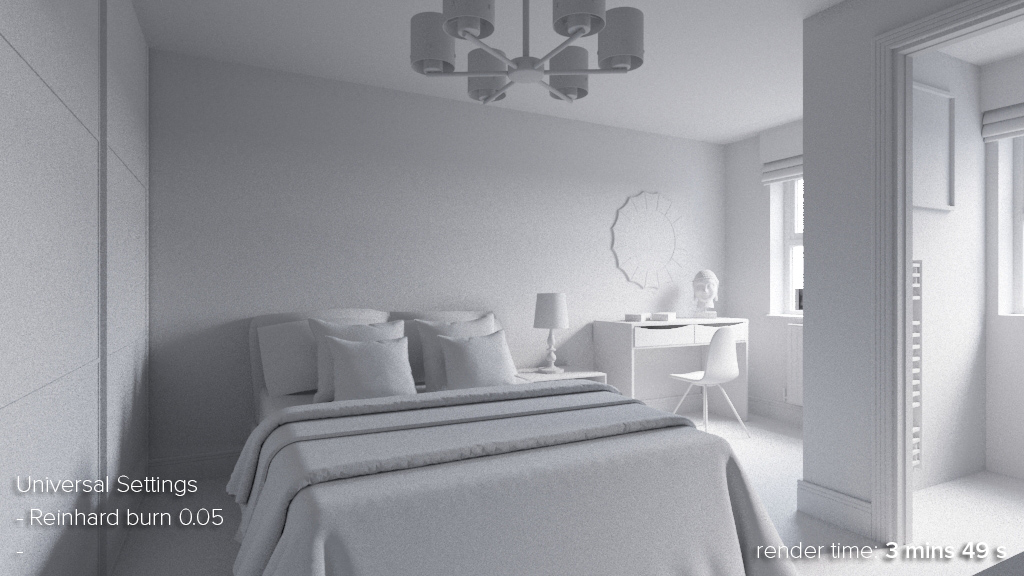
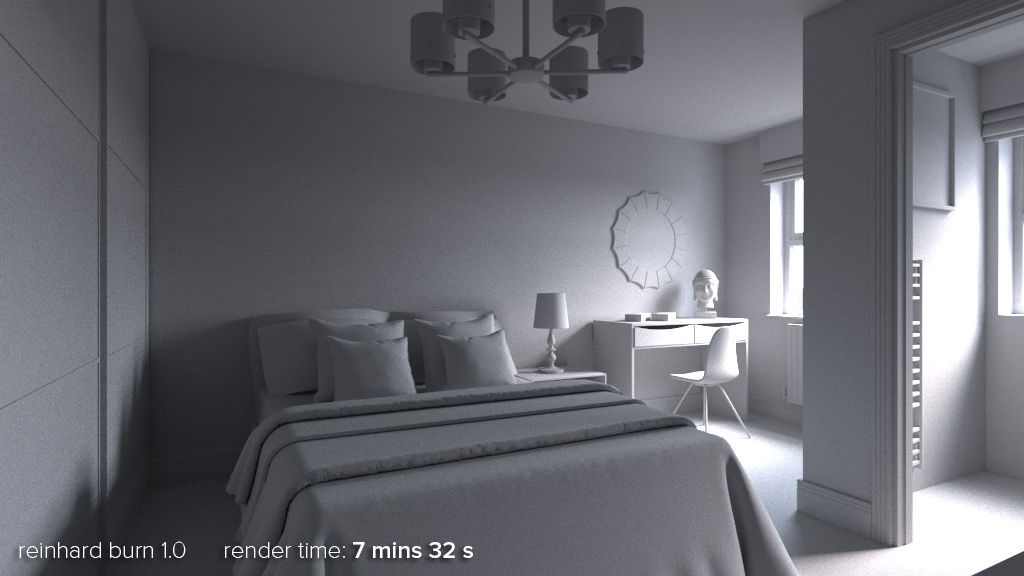
Next step was to take a look at the gamma settings. The way I see it, you are either baking gamma in to your image (what I do) or you render your image with as much info in it as possible so that you can mess around with it to your hearts content in post. Either way, for arch-viz at least, I think you should be using reinhard mapping and a low burn value. 

As you can see, adjusting the color mapping settings has a big effect on render times

The cool thing with vray's color mapping is that even if you are rendering to 32 bit exrs (or 16 bit images) and dont want to burn in the gamma, you can still make use of reinhard burn to speed up your renders. In this example the slow one is set up using strict linear workflow (well actually reinhard burn 1.0 which is the same thing) and the quick one is reinhard burn 0.05 but with the mode changed to 'NONE (don't apply anything)'. This means vray internally uses a burn of 0.05 for adaptation, but doesn't mess around with the rgb values in your image. In the examples below the fast one is noticeably noiser, but the difference in speed is huge so you could easily reduce the noise and still be a lot quicker.

For both of these images, I saved out a 32bit exr and lowered the exposure 2 stops in photoshop to demonstrate that the full range is there in both.

So to recap, either you are burning the gamma in to your image, in which case you should set up the vray color mapping settings like this

gammaoptionA1.jpg

OR you want complete control in post production in which case you keep it set up like this:

For VRay 2.x users:
Mode "color mapping and gamma" = Don't affect colors (adaptation only) OFF
Mode "None (don't apply anything)" = Don't affect colors (adaptation only) ON

5.

HDR sky setup

The scene was set up with two versions of my 1222 sky, one for reflections, and a low res version for lighting. I always keep my HDR set up as simple as possible, just the full res version in a dome light. Switching to this had a minimal effect on render times.

Note how much better the shadows from the sun look:

Clarification on my HDR setup:
I always use just one full resolution HDR sky in a vraydomelight to do all lighting reflections etc.
The scene I was sent had a low res copy of the HDR sky in the vraydomelight, and a full res version in the environment override slots in the vray settings. This is maybe a bit of an old skool trick to try and encourage faster render times, but as demonstrated above it might not be much faster and it loses a lot of definition in the shadows.

6.

Further optimising brute force settings

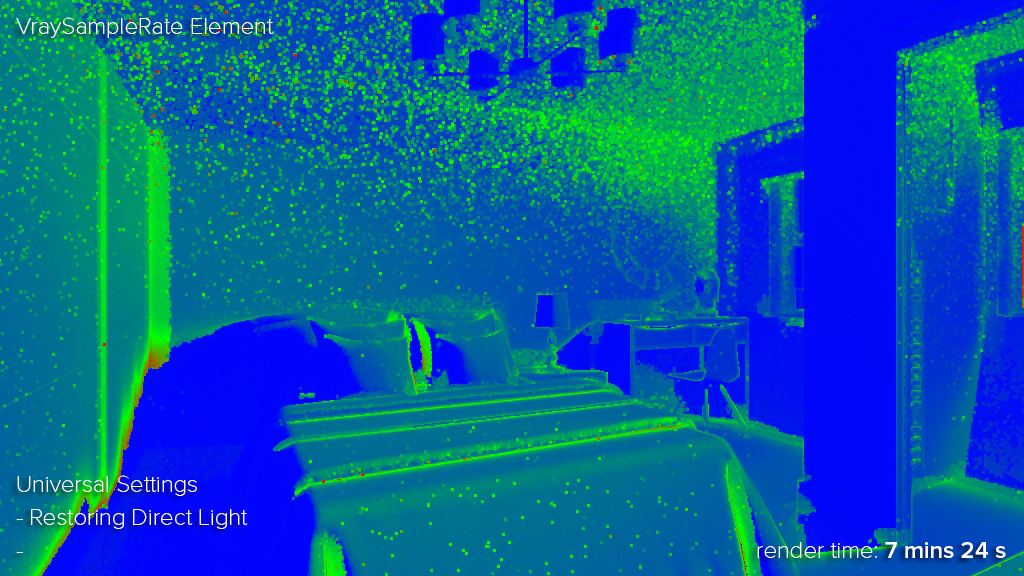
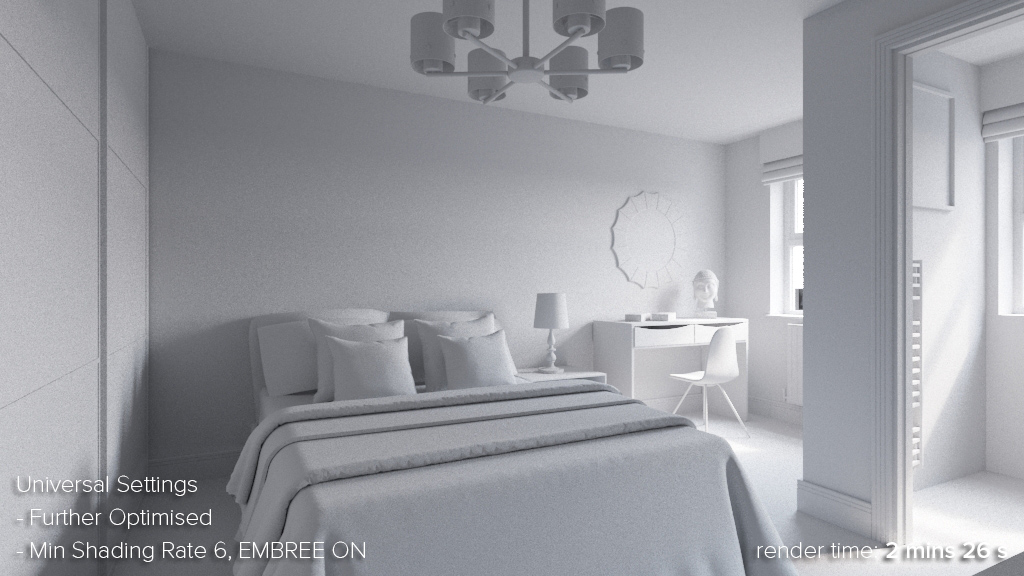
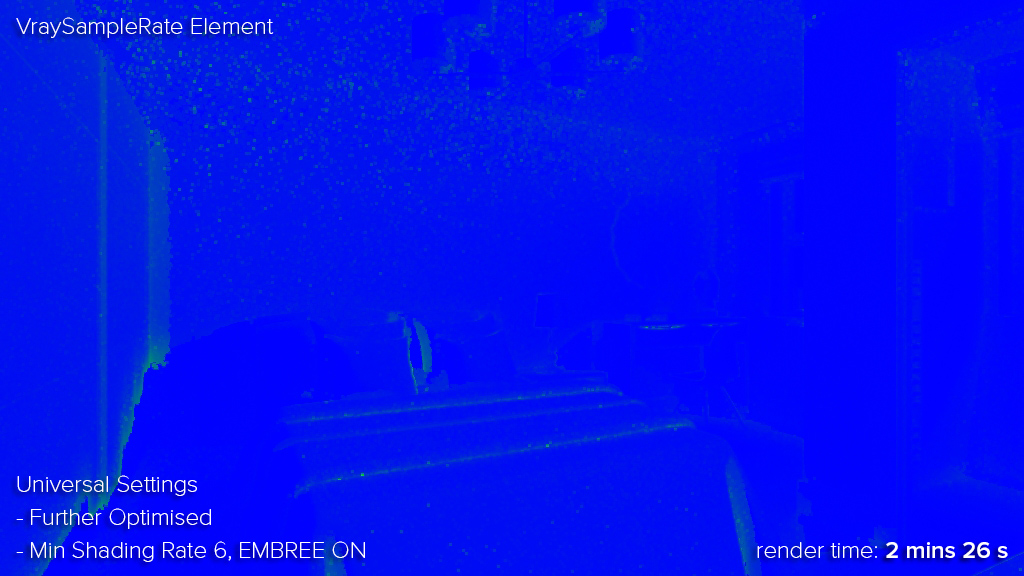
First off I set the Min Shading Rate to 6, which made a huge difference. See blog post on Universal Settings in VRay 3.0 for more info. Secondly I enabled EMBREE as my processors support it for an extra reduction in render time.

HDR Domelight subdivs: In the past I have had success with changing the subdivs of the domelight, but for brute force with this scene it didnt make any difference. I suspect this was because the Min Shading Rate was already optimising things as far as they could go.

7.

Adjusting gamma of HDR sky

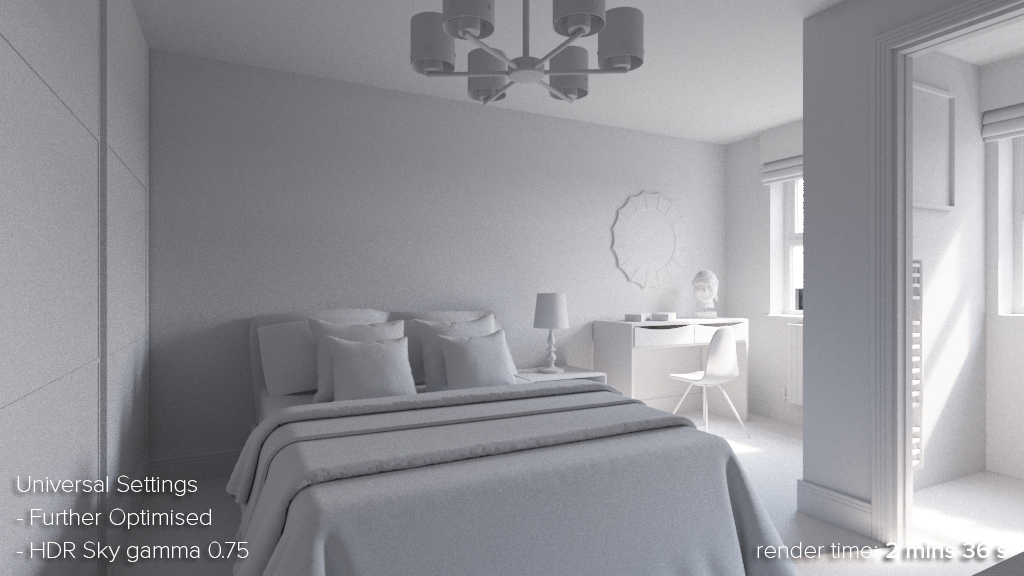
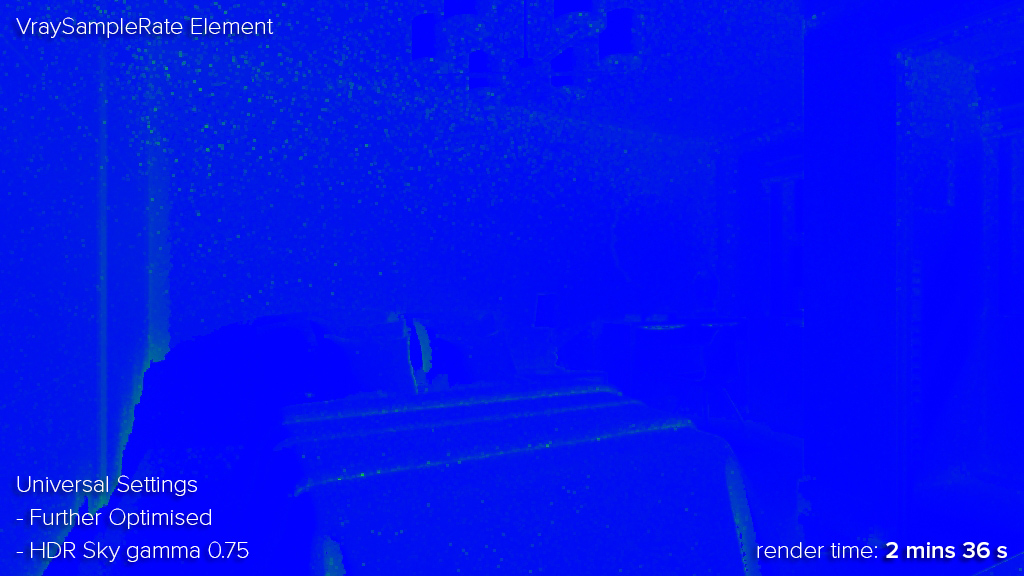
Refer to this tutorial from 2012 if you arent familiar with the concept of reducing the gamma of the HDR sky in order to boost contrast (and thereby stronger shadows).

I think the render below is starting to show some nice warm light from the sun landing on the desk and chair in the corner along with making the darker areas more blue.

8.

Irradiance Map

A lot of people still use irradiance map for primary GI, if so, adjusting the subdivs of the vraydomelight definitely helped remove noise and didn't increase the render time by much. I guessed a value of 128. Remember that in the weird world of adaptive DMC higher figures can sometimes mean lower render times, so experiment to see at what point higher no longer means faster.

(click image to zoom)

9.

HDR lighting, VRaySun lighting, Brute Force and Irradiance Map compared

I have compiled my results for the HDR sky and universal method, VRaySun and universal method and also irradiance map renders below for comparison. 

(click image to zoom)

Results:

HDR sky & Brute force: 2 mins 36s
HDR sky & Irradiance map: 1 min 36s
VRaySun & Brute force: 2 mins 57s
VraySun & Irradiance map: 0 mins 46s

My Irradiance map set-up was as universal but with the following differences (otherwise all values as default):

Adaptive DMC min, max: 1,12 instead of 1,100
Adaptive amount 0.85
Irradiance map as primary, min, max: -4, -1 
Irradiance map subdivs: 250

Conclusion

In general, I would say the VRaySun versions dont look as good as the HDR sky versions. The direct light from the dome light adds so much more detail everywhere.

The irradiance map version of the HDR sky render looks pretty good actually, but I would still pick the universal one every time.


Notes on noise..

For people thinking that the above renders look too noisy for their uses.. then I would just change the noise threshold from 0.01 to something lower. The renders are just for comparison purposes. When I do high res renders, like over 5k, I sometimes even increase the noise threshold to 0.02.

I never do animation work so have no experience with having to output super clean renders so please bear that in mind in the comments.

Notes on render times

All images here were rendered at 1024 x 576 pixels, but on TWO dual xeon workstations. For the render times for one workstation just double the stated render times. Adding the render times on the images is just so that we can compare one method with another method, I'm not trying to fool anyone here! 

Addendum 1

Someone on twitter asked me to clarify why I prefer the universal version of the HDR sky render over the irradiance map version. As I work solely with high res stills, I'm mainly interested in visual quality. (My attitude to render times is that if they are too high, it means I need to buy an additional workstation.) Here are the 2 renders at 1600x900 pixels, by all means use whichever GI solution suits your needs. I like that the universal one retains all the detail round the door without getting muddy, and in general shadows look better defined.

The point of this article isn't to try to persuade you into using brute force, more that it IS possible to use HDR sky lighting on interiors and that in my opinion it is well worth it.

Preparing textures in Photoshop

I have a mini tutorial on flickr somewhere on preparing photographed textures for use in 3d applications but can never find it so thought I would write it up properly for the blog.

These days I mostly take photos of individual textures rather than a whole wall or floor as there are so many great plugins like mightytiles, VP walls & tiles and multitexture that can take care of the randomisation for you. It makes the initial process of capturing the textures a lot easier for sure.

photos taken in a bit of a hurry as I had raised the suspicion of several security guards...

First thing I do is to run the photos through lightroom and make sure the color balance is the same on all raw files. Then I use the automatic straighten to try to square up the photo or the manual perspective tools if that fails. I then crop in lightroom and sometimes use the spotting tool to get rid of unwanted imprefections. Note that the colours are still a bit wild due to the uneven lighting, that can be fixed later.

In fact the camera's auto white balance probably did a decent job in retrospect, but if you are in a more controlled environment its usually a good idea to set the white balance manually in LR.

photo as shot

perspective quickly and roughly fixed to maximise the texture area

In photoshop, i then open the TIF that I exported, duplicate the layer for comparison purposes, then do a high pass of about 100 (radius) on it.

Filter>Other>High Pass

IMMEDIATELY after doing this, go to Edit>Fade High Pass change the mode to Luminosity and leave the opacity at 100% and hit OK. This brings back some of the colour info from your texture.

If at this point you are making a seamless texture, then you would use the offset filter (Filter>Other>Offset) and offset the image half of the resolution to the right and downwards, then tidy up the seams using whatever means you prefer.

Usually I am trying to match reference images for materials so a useful trick to get the colour right is to use the match color tool

Image>Adjustments>Match Color

and then select the source reference image (open it first in photoshop) and adjust the sliders till you get a decent match. Even if not matching a specific reference image, this step is great to make sure all your textures are harmonious in colour.

That's about it! Usually when making a Mighty Tiles texture I'd try and have 8 or more fairly high res textures.


PS. I have tried every seamless texture maker plugin going and never really liked any of them. Same goes for bump & normal map making programs. I always get better results taking my own photos and then trying to come up with a clever way of making a displacement map for it, if needed.

Mot Renders and a mini c4d tutorial

house-roces-fog-cam-1

house-roces-fog-cam-1

house-roces-fog-cam-2

house-roces-fog-cam-2

house-roces-fog-cam-3

house-roces-fog-cam-3

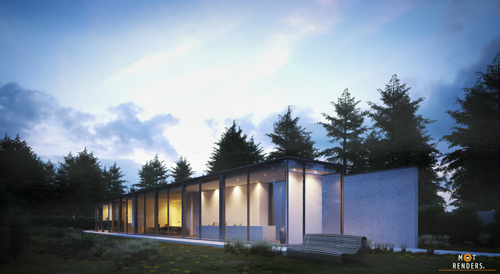
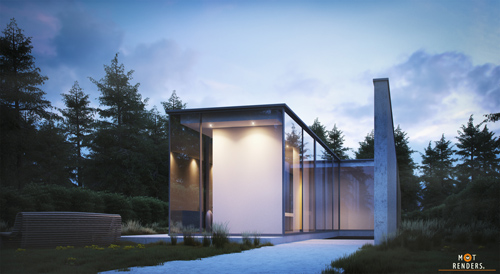
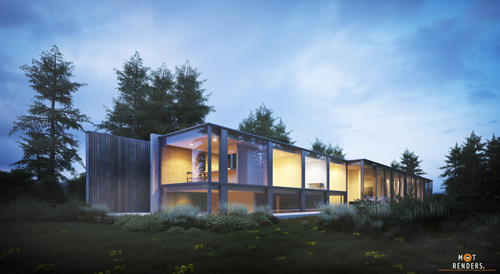
Some more nice new work in my inbox this morning, this time from Mouton Burger (Mot Renders). What is a little bit different with this work, is that it was done using Cinema 4D. Good to see that my HDRi skies work just as well in c4d as they do in other packages.

The sky Mouton used was "1941 Dusk Blue", and here is a guide to using HDRi skies in cinema4d together with vray:

untitled-2_500

untitled-2_500

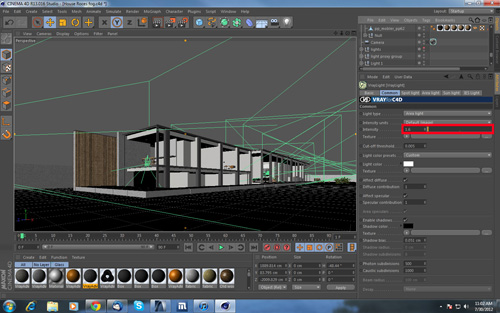
General: In c4d project settings, LWF should be disabled and the color profile set to sRGB Vray Color Mapping: Check the LWF tickbox and set the gamma to 2.2

1. Create cinema 4d arealight 2. Add vraylight tag to it

b

b

3. set the intensity to 1.6

c

c

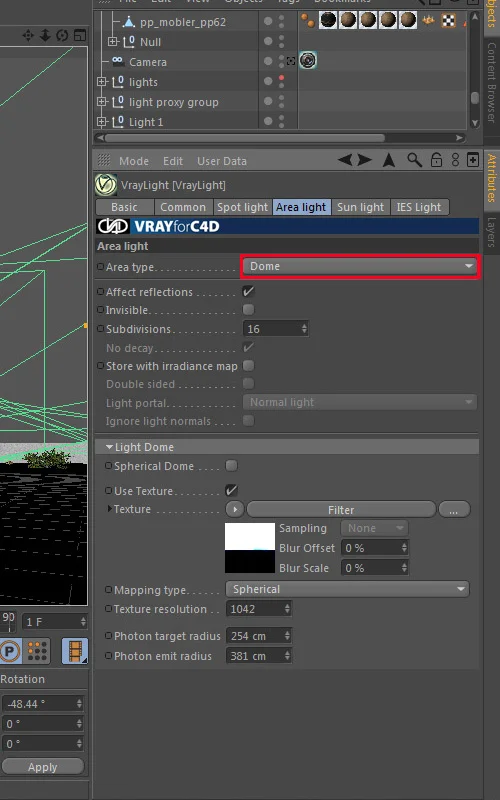
4. Go to Area light tab and set the Area type to Dome

a

a

5. Add your Sky hdri in the texture slot and set the color Profile to sRGB

6. Insert the hdri in a Filter shader and set the gamma to 1.0 (or 0.75 if you wan't to boost the strength of the sun like this tutorial) 7. Add a vrayphysicalcamera tag to your camera in order to control exposure, depth of field etc.

HDRi lighting workflow

Following on from a tip I first saw on Bertrand Benoit's blog , I have now adopted a new method of loading my HDRi skies. Essentially you can increase the apparent strength of the sun (and therefore get stronger shadows) by changing the gamma of the loaded HDRi map.

If you use the vrayHDRi map (which I now prefer as you can adjust the rotation in degress) then it's a simple matter of changing the gamma from 1 to something lower. Through trial and error I have found 0.75 to be a good compromise. Any lower and there is a risk the sky can become too saturated and contrasty. Something between 0.75 and 1 should suit most skies.

If you use the 3dsmax bitmap loader, you change the gamma of the loaded file as follows (note that you need to enable the gamma/LUT correction in 3dsmax preferences):

Here is a quick comparison of gamma 1 and gamma 0.75. The main advantage for me is a punchier image, and that you dont need to use a 3dsmax sun in addition to the HDRi sky. All of the products I sell on 3docean have a very high dynamic range compared to most products on the market, so bear in mind you might not get such strong shadows with other HDRi skies.

gamma 1:

gamma 0.75:

Lightroom for Post Production

I really like the workflow in Adobe Lightroom, and often think of a rendered output from 3dsmax as a raw file ready for the final touches. Certain tools in Lightroom just make more sense to me than the equivalent ones in Photoshop: white balance temperature, graduated filters, lens corrections to name a few. With this in mind, it's perhaps not so strange that I often reach for Lightroom instead of Photoshop to do my final post production work. Saving from 3dsmax

I usually save renders as 16 bit png files, so that if I do want to work with the image in Photoshop or Lightroom there is more information to play with. This is an example of a straight render from 3dsmax, I was pretty happy with this result, but on opening it in Lightroom I soon realised I could push it a bit further.

In order to open the 16 bit png in Lightroom, you will first need to open it in Photoshop and save it as a 16 bit psd file.

Straight render from 3dsmax

Colour Temperature/White Balance

This first thing I have tried here is to drag the temp slider up and down and just see what effect it has on the image as a whole. This is a level of control I really miss in photoshop as I just don't find the colour balance tools as intuiative.

Initially, I settled on making the image a bit cooler (-13 on the temp slider).

(click through to flickr for high res)

Checking Contrast & Exposure

This is something i often do in photoshop as well, even if I don't plan to do anything else to the image. It's always a good idea to double check exposure and contrast even if you think you are done with an image. In photoshop I normally just click and drag on a curves adjustment layer. In Lightroom everything you do is non destructive so you can just go ahead and experiment. There are 3 ways of adjusting the tone curve, you can 1. click the direct adjustment tool (or whatever its called) and then click and drag on the image itself. 2. Click and drag on the curves as you would in photoshop 3. Adjust values for highlights, lights, darks and shadows.

Vignetting

Adding vignetting to images works very well in LR, in fact I much prefer it to using the lens correction filter in Photoshop. By leaving the post-crop vignetting tool set to 'Highlight Priority' you get a much more realistic looking vignette (that typically doesnt darken skies too much which is the most common mistake).

Graduated Filters

I use this tool a lot in LR, and occasionally the brush tool as well. By clicking and dragging on your image, you make an area of influence which is essentially just a gradient mask. This mask can then affect exposure, contrast, saturation etc. or a combination of effects.

For this stage, I am simply lowering the exposure of the sky by nearly 1 stop in order to bring some detail/interest back in a sky that was otherwise quite featureless. Here we can really see the advantage of saving a 16 bit image from 3dsmax, if we only had 8 bit data to work with, we wouldnt see so much detail returning.

Additional note: You can experiment with with the brightness slider rather than exposure, it can sometimes give a more pleasing effect.

Final Steps

Once I have got to this stage, and especially after seeing the detail and colour return to the sky, I decided I like the warmth of the original at least in the lower parts of the image. So for my final adjustment, I toned down the colour temp shift from -13 to -6, then I adjusted the graduated filter to boost the contrast and blue colour of the sky.

Below are the 3 images for comparison, the 3rd one being my final choice.

HDRi Skies FAQ

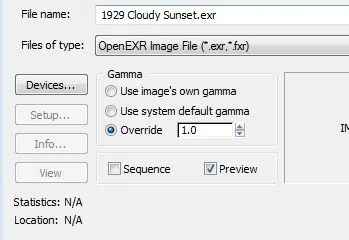
This is just a quick post to answer two of the most commonly asked questions relating to my HDRi skies: 1. Why does it look weird in photoshop?

This is because when you open the exr or hdr file in photoshop the default exposure level is very high, you can simply drag the 32 bit exposure slider up and down to preview the full range

quick screen recording to show how to preview the full dynamic range of my hdri skies

2. How do I load the exr/hdr in 3dsmax?

I normally use them in a vray dome light, and load them using the bitmap loader. I like to keep the multiplier of the dome light at 1 and adjust the output of the bitmap to control the intensity of the exr/hdr sky. If you use a physical camera approach then you can usually keep the output value at 1, if not, you might need to lower it as far as 0.005.

Remember to set the mapping to environment and spherical.

UPDATE A:

An alternative way of loading exr/hdr files if you use VRay. I have been using this method for quite a while now and enjoy the extra level of control the VrayHDRi loader gives me. Not only does it provide easy access to gamma controls for the HDR sky (see here for more info: HDRi Lighting Workflow), you can also use the two available multipliers to bring the HDRi exposure range down to be viewable in the viewport, and then ramp it up again at render time. In the screenshot below I have an overall multiplier of 0.02 and then a render time multiplier of 50 (bringing it back to 1.0).

Feel free to ask questions, I will update this FAQ with anything useful that comes up.

I go into more detail on how I use hdri skies in my HDRi sky lighting tutorial and even more detail on using HDRi skies together with a vraysun here.

Making of 'Twins'

First up some of my favourite images from my latest work for Willian O'Brien Jr.. As usual you can click through to see the full set on flickr.

LANDSCAPING

As with the Allandale House, the landscape mostly came from my imagination, with this as a starting point:

We first tried out an autumnal scene with lots of browns/greens contrasted with white stucco clad houses, but I was especially keen to try a snowy scene (winter was still on its way at the time!). After modeling the house in sketchup, I placed it and a rough terrain also made in sketchup into a new 3dsmax scene and started creating a snowy landscape. This was done using the snowflow plugin to make snow cover over the whole terrain object and then the snowplug tool to remove snow from where it shouldn't be. This is how the terrain plus snow looks in the viewport:

The snow material came from a vray.info video on new vray 2.0 features and is a blend of a vraysss2 material and a vraycarpaint material. This results in a subtle SSS effect and also nice snowy sparkles from the carpaint material. Admittedly you never appreciate the complexity on my finished renders, but it does look nice up close! Snow material set up: 

Next up was to source and/or create snow covered trees. Click the image below for a slideshow of all the trees and bushes used in the scene (11 total), I always think its amazing how few unique trees you need to create a believable forest:

In hindsight I should probably have added some more pine trees, on some of the views you can see repetition in the tall scots pines.

I ended up buying a winter tree pack from rendering.ru which I thoroughly recommend, the ash and birch trees are beautiful. The fir trees are from evermotion and I added snow to them using snowflow. That process was a real headache. My advice would be to detach a branch and test settings on it first. Start with low mesh settings and gradually add to the particle count until it looks OK. The pine trees are from "HQ plants 2" by 3dmentor.ru and I added snow to them myself.

typical snowflow settings (scene units are mm)

I used forest by itoosoft to scatter the trees. There ended up being just 3 forest objects; one for the tall pines and firs, one for the birch and ash trees that make up the edge of the forest, and one for the snow covered planted area between the houses.

On the screengrab above, you can see the splines that are used to define different areas, and also to thin out the forest at its edges. Also evident is the clustering of plants which is a great feature in forest, it really helps make the forest look more natural and is very quick to experiment with too.

LIGHTING

As always my favourite part of the project was the lighting. I knew I wanted to go for another subtle diffuse light set up, so experimented with some suitable HDR skies from my shop. The ones I tried were 1008, 0902 and 0743 but ended up going for 1008 again (as Allandale house) as having even a slight amount of warmth from the sun didnt look right.

I used vrayenvfog with a mesh as a gizmo to keep the fog away from the actual houses (didn't want fog inside!) and a fog distance of 450 metres. No maps controlling density, colour or emission. The fog is set to scatter GI as it looked nicer and there wasnt much difference in render time. If I had gone for a darker time of day, having the interior lights interact with the fog outside the windows would have been really interesting, maybe next time!

Colour balance was very important in this scene, and was something I experimented with right up to the final renders. Initially I had a very neutral colour balance, with slightly warm interior lights, but eventually I grew to like the blueish tint more and more. Being able to change kelvin values on lights and on the camera makes this process very intuitive in vray. I appreciate being able to think about these things in photographic terms rather than tweaking rgb values. I set the vrayphysicalcamera white balance to 4200K which gave a nice blue tint, then I had to push the interior lighting down to 3100K so that they still looked warm.

Vray Light Lister: I have some fill lights which I set to have no effect on speculars or reflections to speed up renders times slightly. The main dome light (1008) had the subdivs increased to 16 from 8 as it seemed to give more accurate shadows, but above 16 didnt seem to make much difference (it will be very scene dependent but is worth playing with the dome light subdivs to see how it affects noise).

Camera settings.

FURNITURE

The houses are left intentionally stark and bereft of home comforts in order to highlight the abstract nature of the volumes and the views out to the surrounding landscape. The few objects were chosen to try and give a timeless quality and because I thought the clean lines worked well with the houses.

I went for:

FINISHING TOUCHES

I used vray lens effects for the bloom and glare, which worked out really well I think. It's best to experiment with the values on interactive mode till you get something you like. Bear in mind that you really need bright light sources if you want seductive looking glare. My interior spotlights had vraylightmaterials applied to them and the float value (right click and hold on the vrayFB to inspect rgb/float values) was often up around 5-20.

Once in Photoshop, I added a slight s-curve to boost the contrast more on all the images. I added some detail to the snow, tracks from people, skiers etc. by copying and pasting from reference images and setting the blending mode to darken.

People often ask about my render settings, so I'll share there here even although there isn't anything remarkable about them. Note that they are optimized for rendering all the foliage quickly, normally I would enable detail enhancement and retrace threshold. As it was the interiors looked OK without DE and retrace threshold.

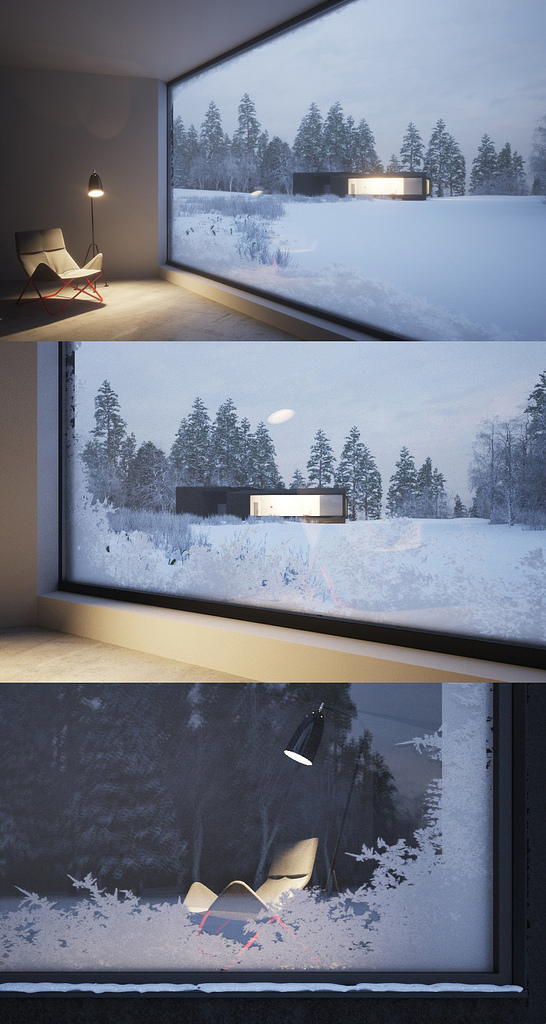
I am very grateful to my client for his patience and willingness to try new things. Some things I tested didnt end up making it to the final images though! I tried making frost covered windows, and snow cover on the roofs, but they ended up being distracting to the architecture. Its easy to get carried away with small details and forget that the focus of all the images should be the architecture.