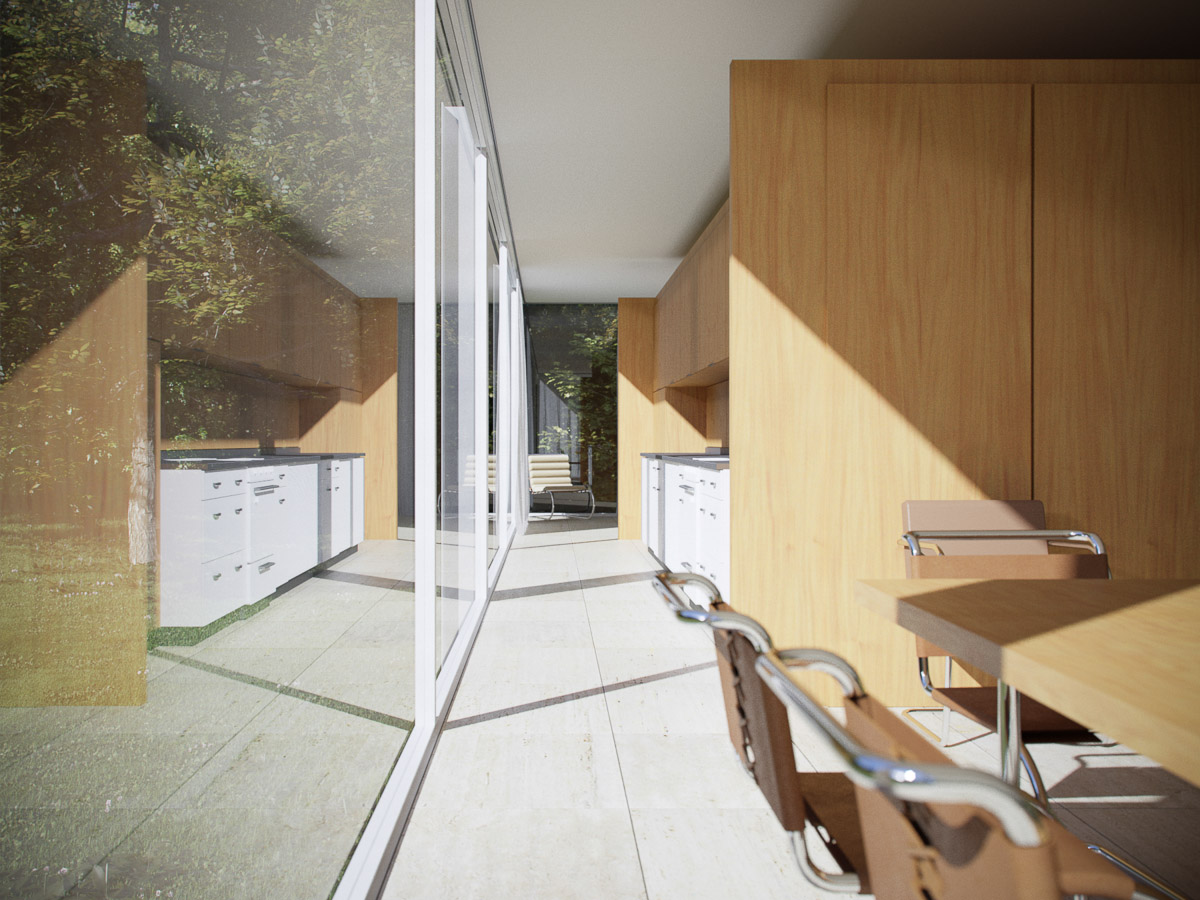
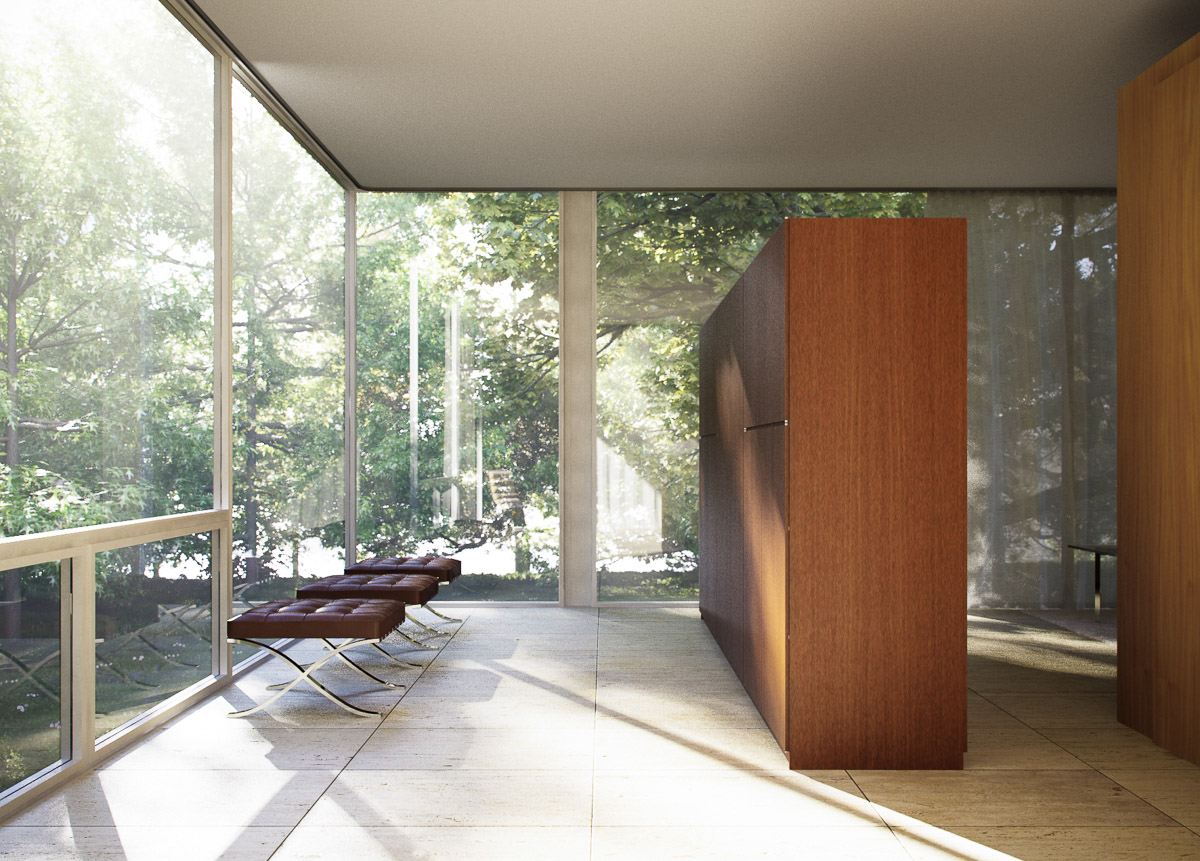
HDRi Sky Lighting Tutorial

4367569354_939505bf41_o.jpg

Thought I should do a quick tutorial on how I use these HDRi Skydomes I'm selling. Note that this is just one of many possible workflows, and there are probably lots of tricks I'm missing and even things I do completely wrong. I should also say that I work mostly with still images, not animations.

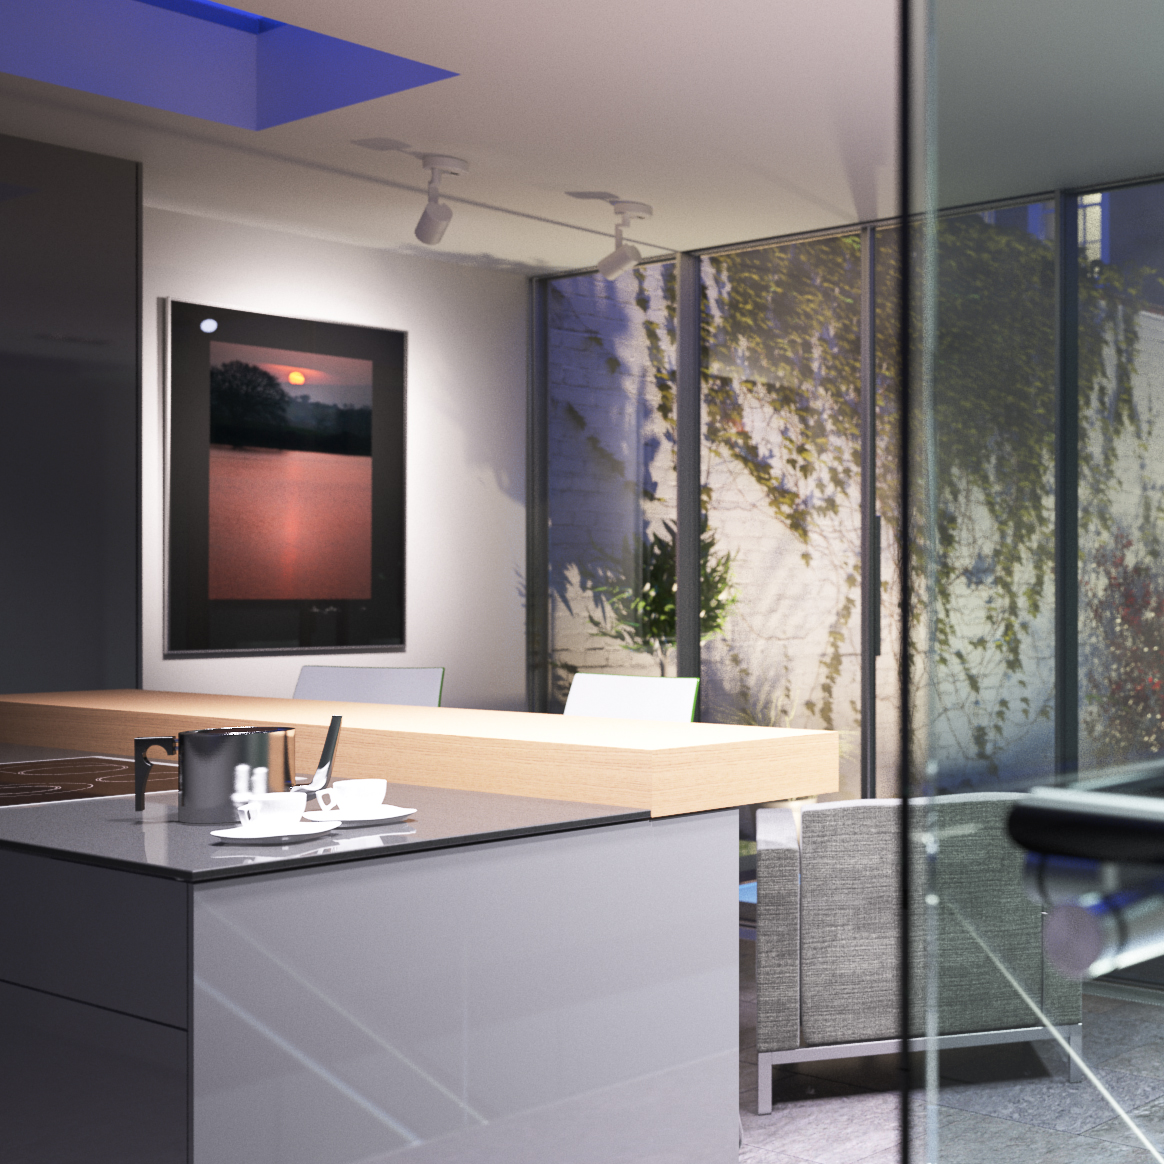
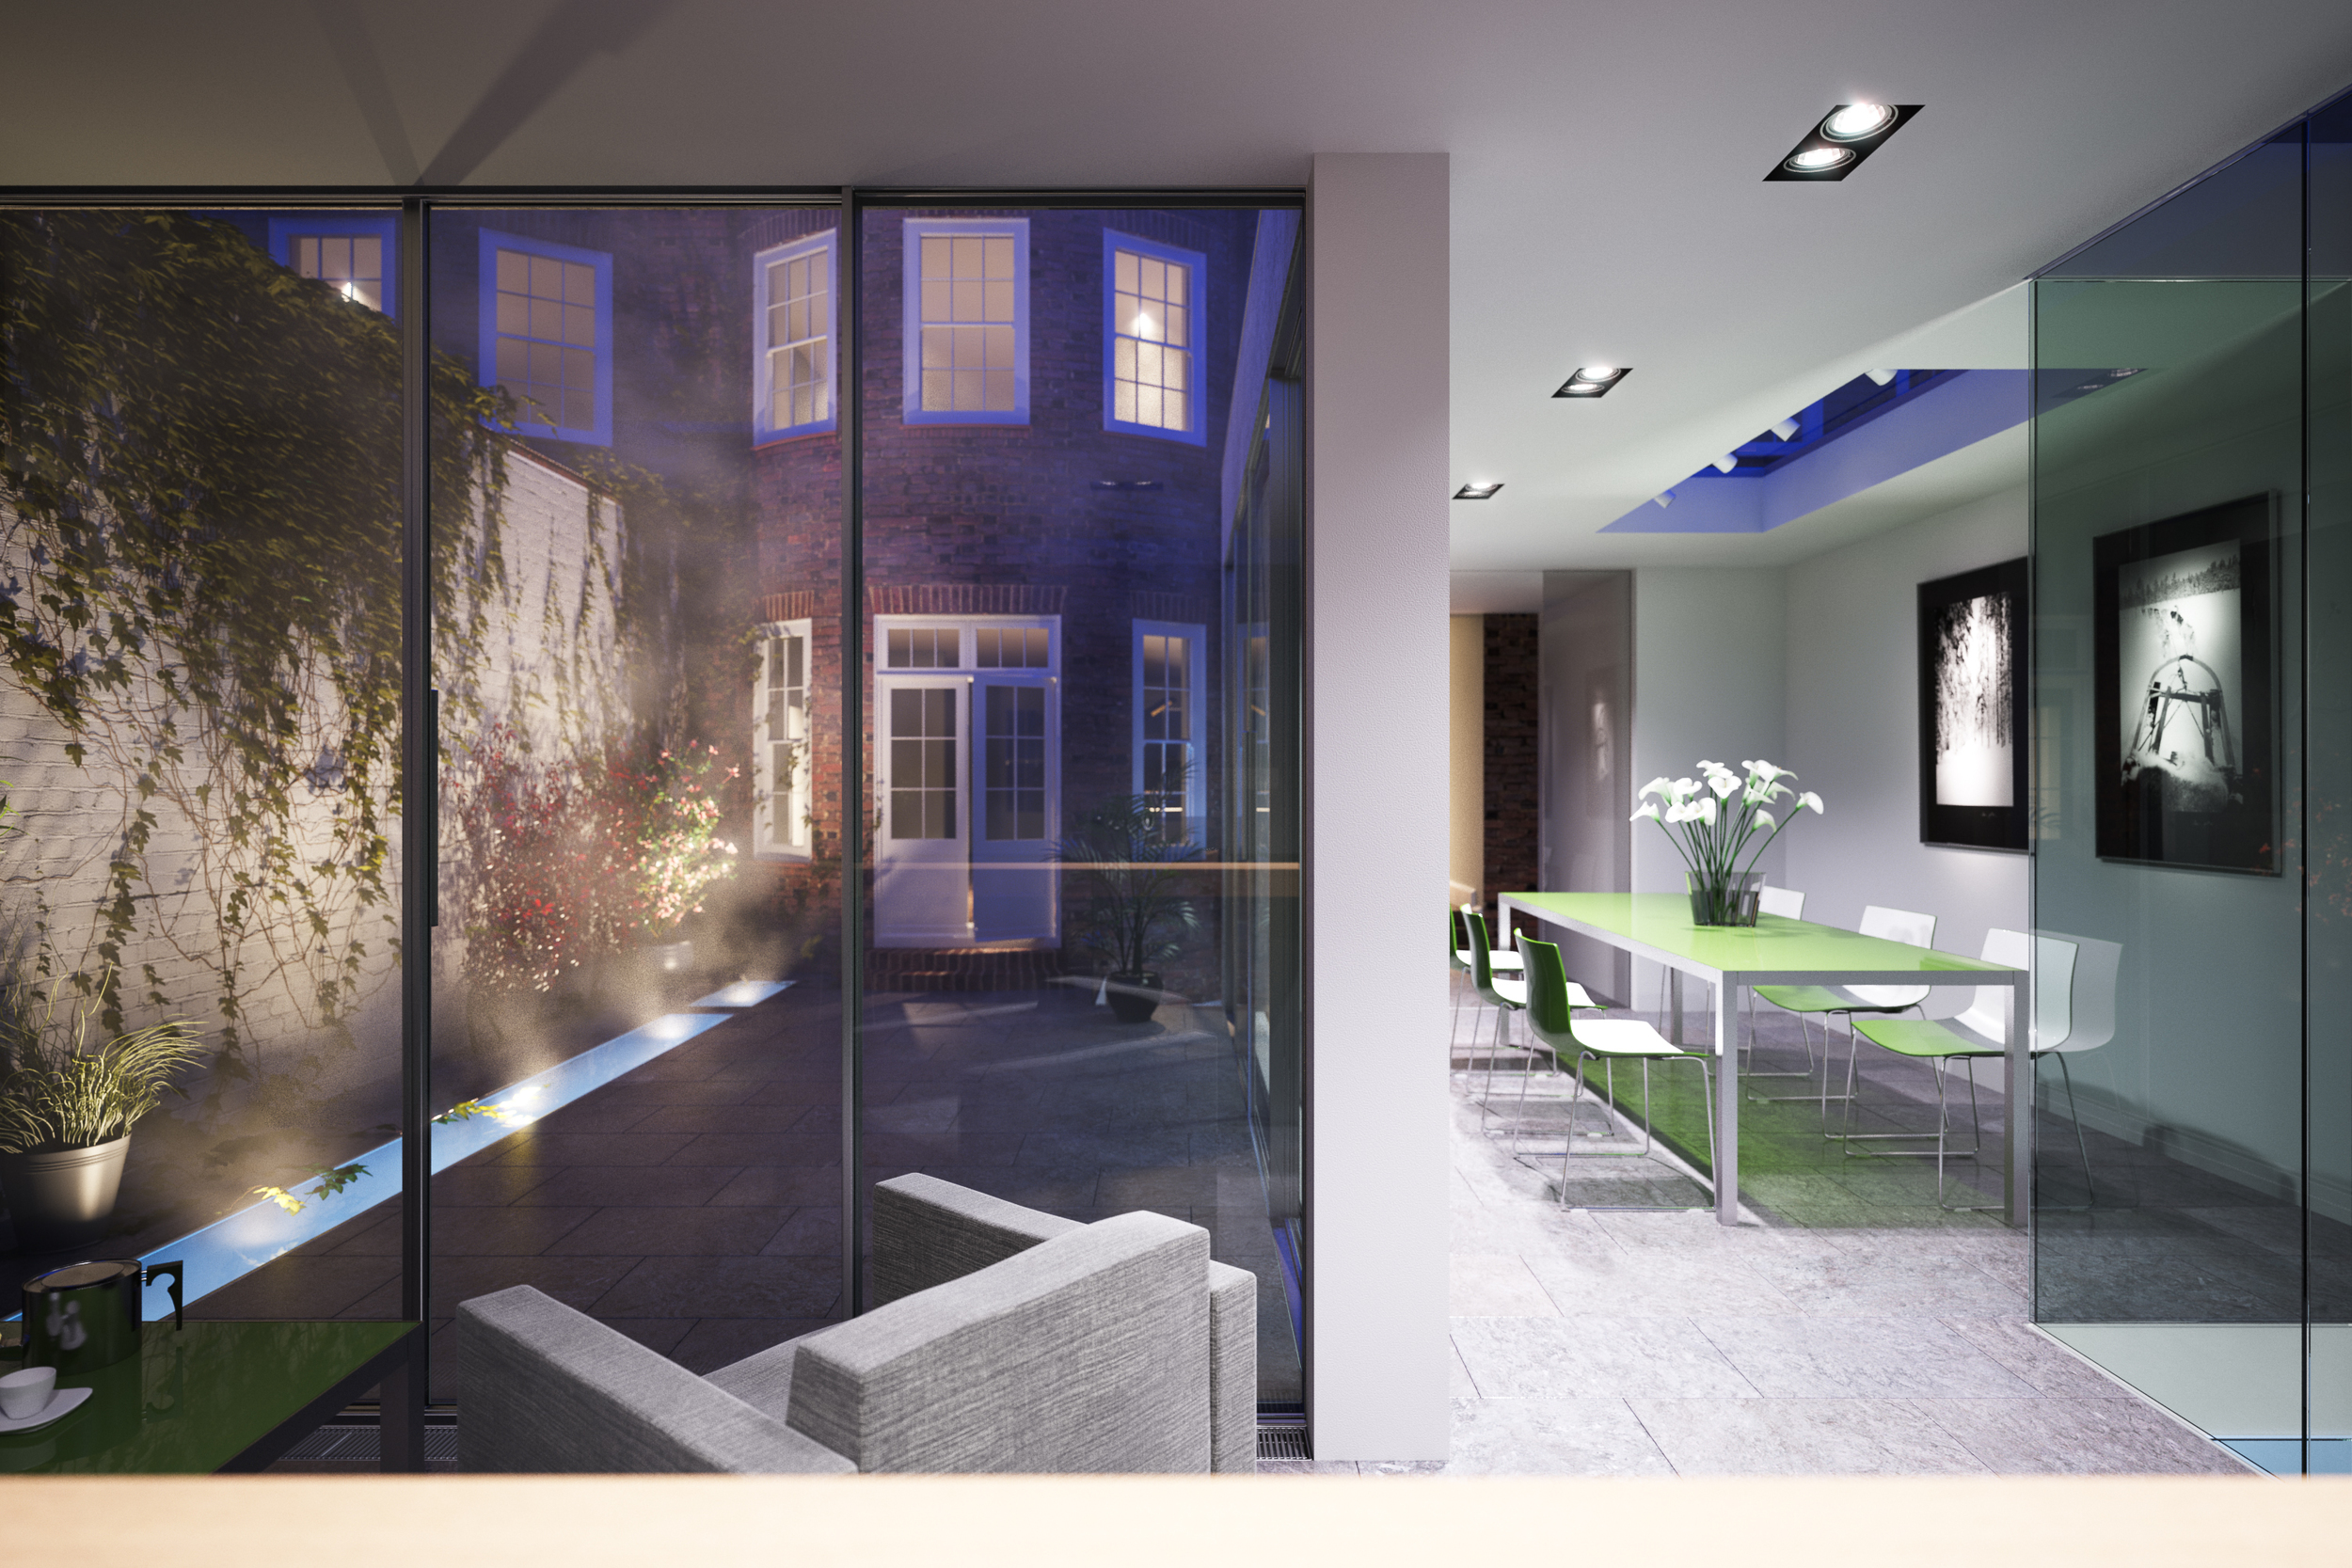
1. Here is a typical architectural scene. It is a model I made of Waro Kishi's Fukaya house in Japan that never really went anywhere.

2. I use a gamma 2.2 workflow together with reinhard color mapping, so not strictly LWF but shares some of the advantages.  I don't want this to turn into a LWF tutorial or discussion, but this  post on cgpov.com pretty much sums up how I feel a gamma corrected workflow helps us as visualisation artists.

The reinhard color mapping helps to control burnt out (overexposed) areas. Screenshot of my color mapping set up: The burn value of the reinhard color mapping typically ranges from .75 for an exterior to 0.05 for an interior. You need to experiment with the value until you gain control over the burnt out areas. Here is an example with a camera pointing at the HDR sky:

For the final render, I use the Vray Frame Buffer, and add a slight s-curve to the output to compensate for the lack of contrast that the gamma corrected workflow introduces:

3. Add a vray dome light and load the exr/hdr using the max bitmap loader. Set the mapping type to environment/spherical. If you are using .hdr files, you can use the vrayHDRi loader instead. It makes no difference whether you use the bitmap loader or the vrayHDRi loader, the vrayHDRi adds a bit more control in that you can control the render multiplier independently from the viewport multplier. Set the output of the .exr to 1 and the vraylight multiplier to 1. If your hdr/exr has no alpha channel it seems you can save quite a bit of memory while rendering (approx 200mb in my case) if you load the exr/hdr as realpixel float rgb rather than the rgba option. (NOTE: ONLY applicable to 3dsmax 2009)

EDIT: Please don't pay too much attention to the 3dsmax 2009 realpixel hdri loading option, it just saved a little bit of memory which is why I mentioned it. I now use a later version of max and no longer have this option either.

4. To rotate the HDR you need to enter a U offset value from 0-1, so to rotate 180 degrees with would enter 0.5, 270 degrees 0.75 etc.

5. Add a vrayphysicalcamera, and set the aperture and shutter speed to something that would work for a typical outdoor scene, like F4, 1/200th & ISO 100. Remember that you are in effect using a completely manual camera, there is no 'P' or automatic mode so you need to experiment with different exposures until you get a good result.

4367569354_939505bf41_o.jpg

6. Hit render and see what you get. If it looks too dark/bright I tend to adjust the bitmap's output rather than the vraylight multiplier, so that I can have a couple of ready setup HDRi's ready to drag and drop onto the dome light. In the examples below I use an output value of 1.5.

HDRi Skies

UPDATE: My HDR Sky shop is now open, please buy my products there instead, thanks!

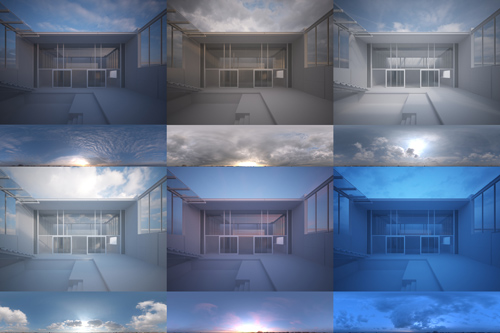
The first HDRi skydome is available on 3docean. It's a clear blue sky with just a few clouds. I'm hoping to be able to offer packs at a discounted price as well, but that's dependent on 3docean, so for now it's just going to be individually. Feel free to let me know what type of skies you would like to see next, the image below is just a selection from many!
Paulistano chair

Decided to finally start selling 3d models and HDR images. First up is my model of a chair by Paulo Mendes da Rocha. It's such a cool chair, I really should use it more often in my own renders! If I sell enough of these I might be able to afford a real one.

I decided to go with 3DOcean.net as they seem to be more focused towards quality than other 3d assets sites. Here's the link to my model: Paulistano on 3DOcean.net

195 Richmond Road

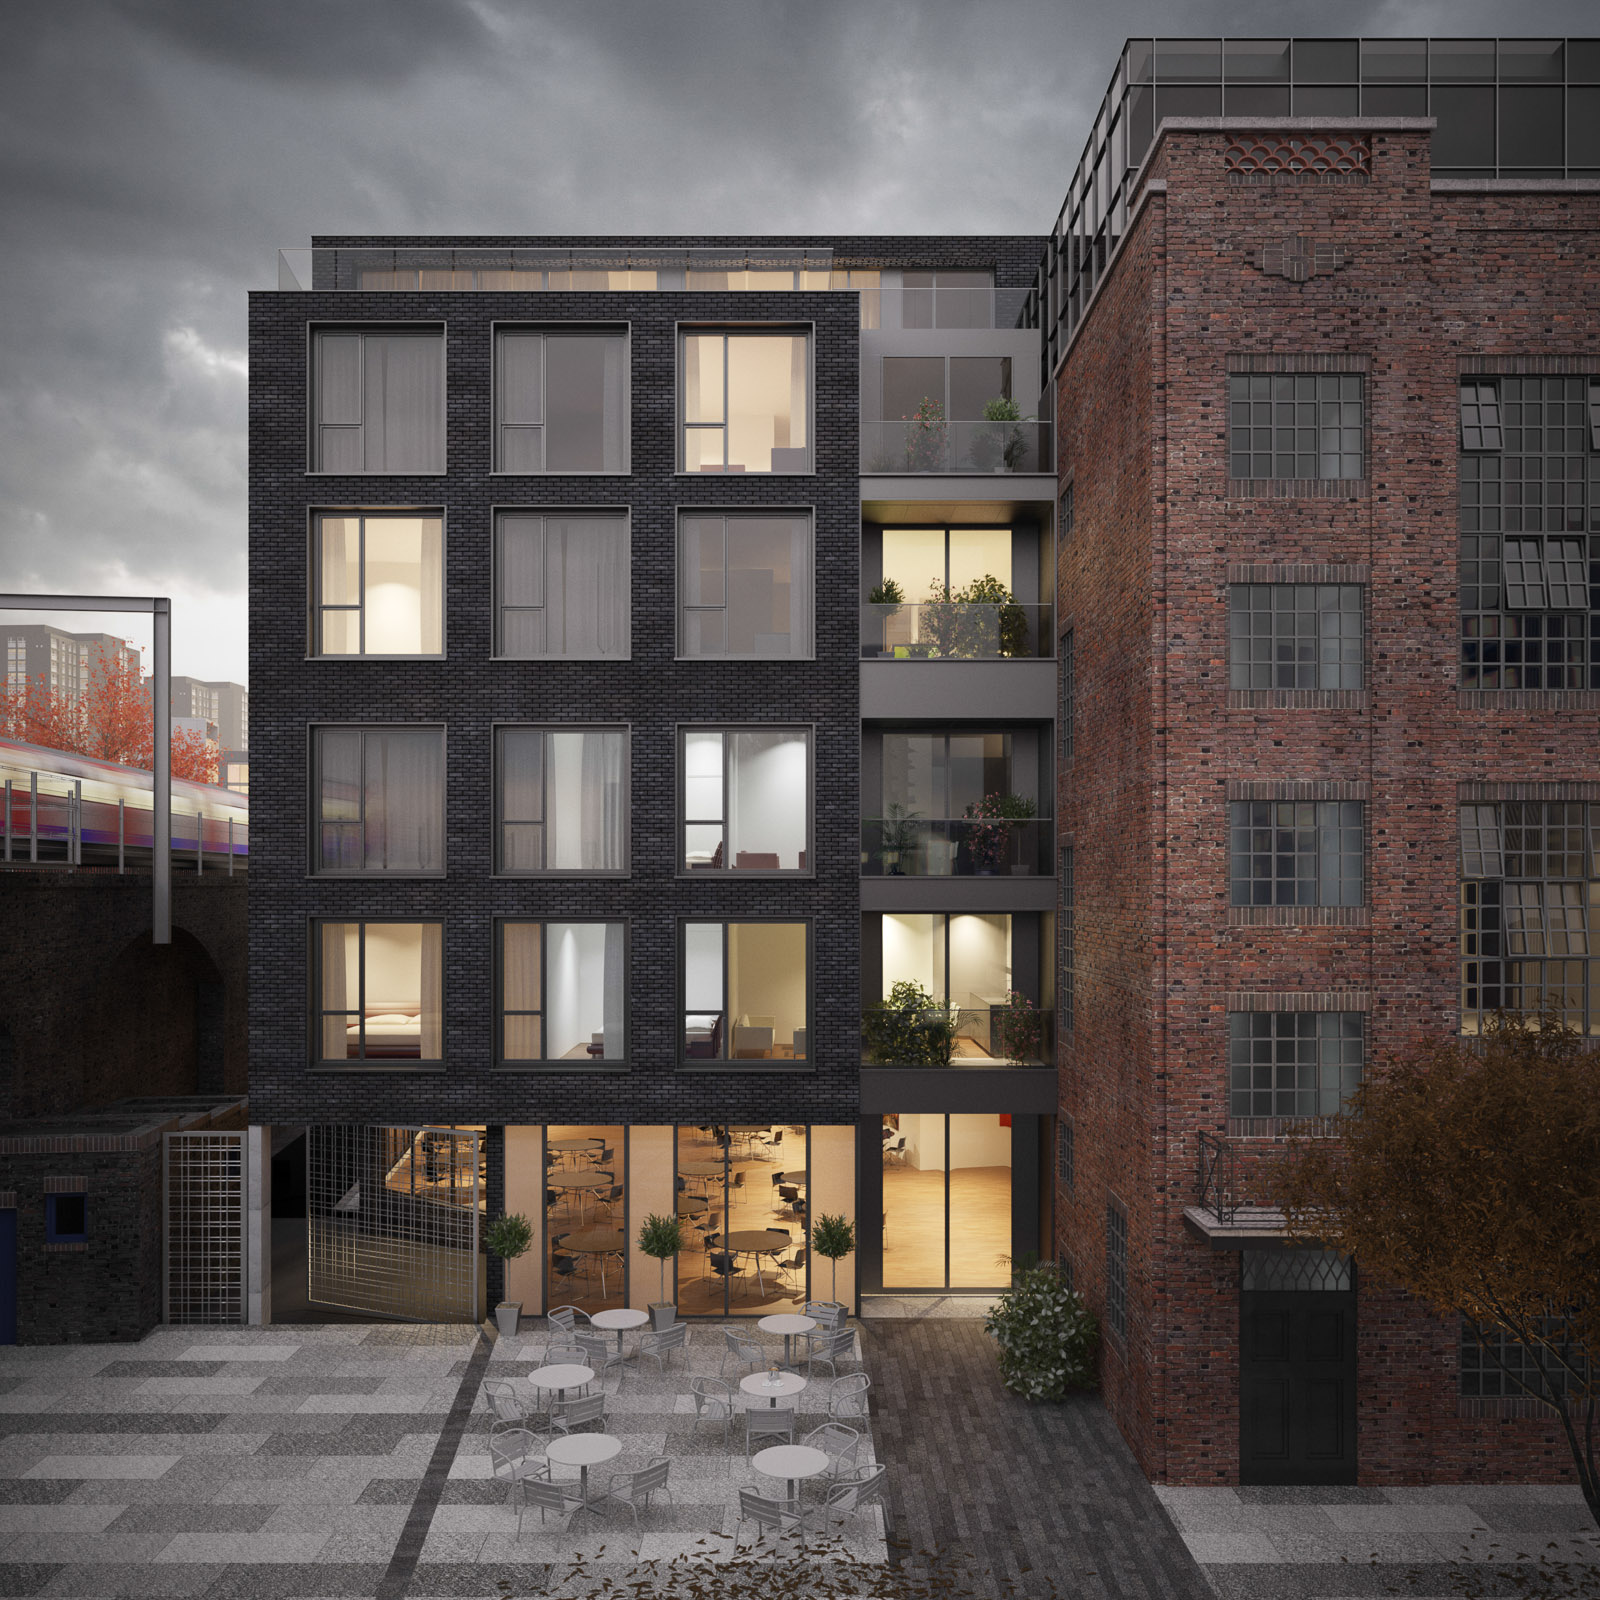
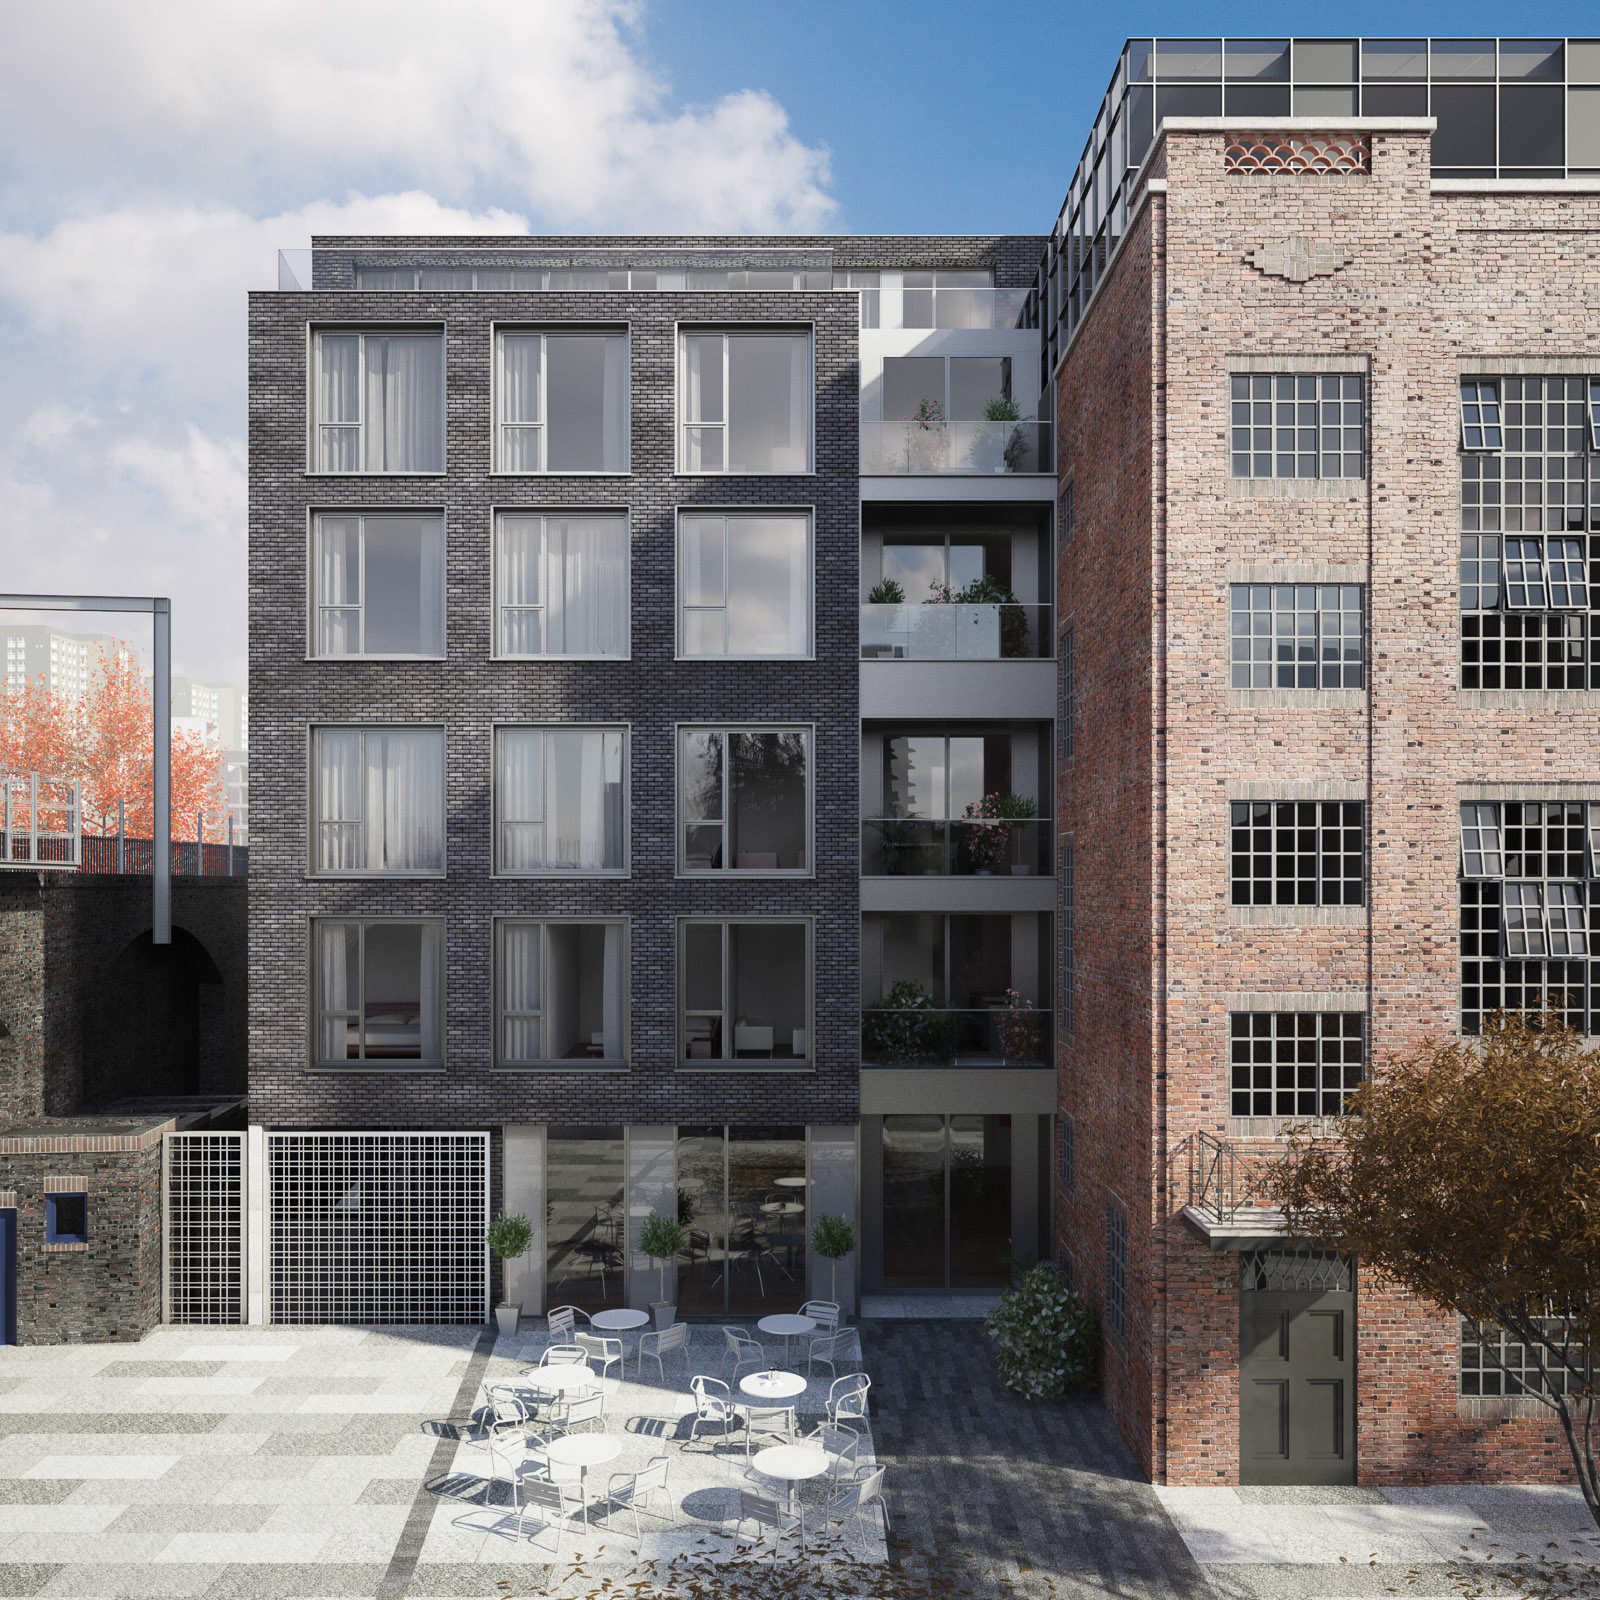
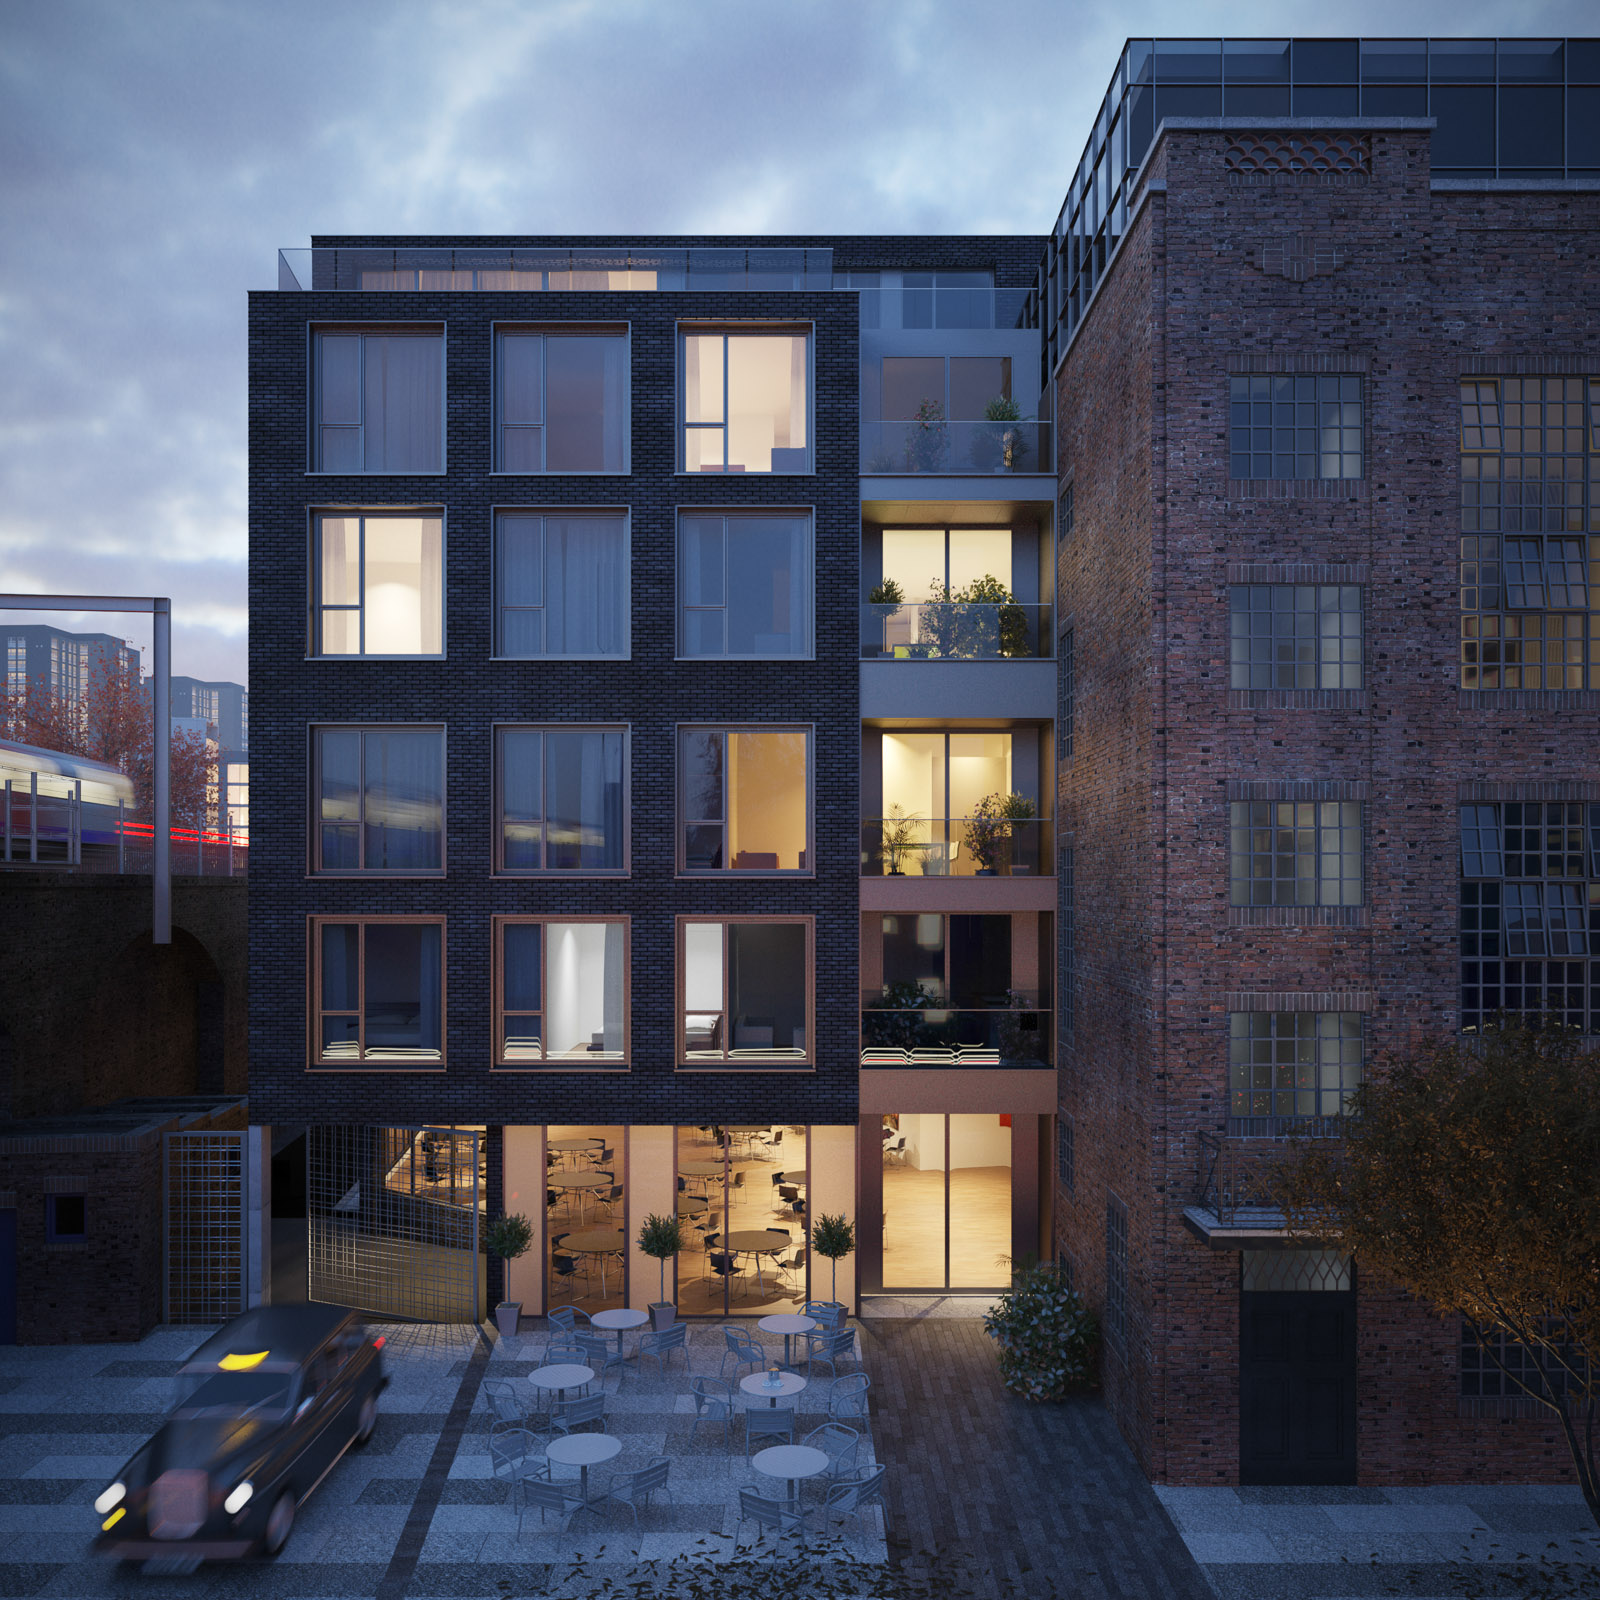
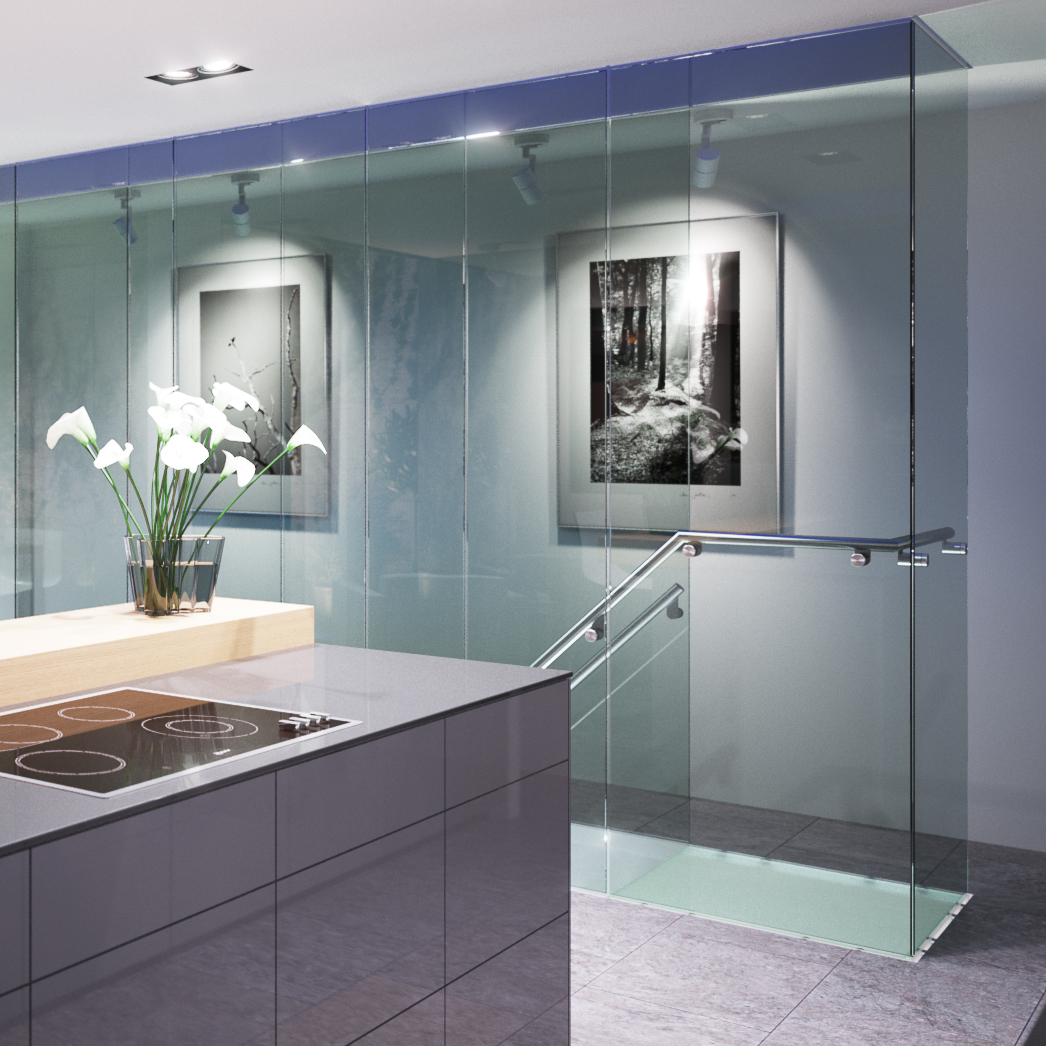
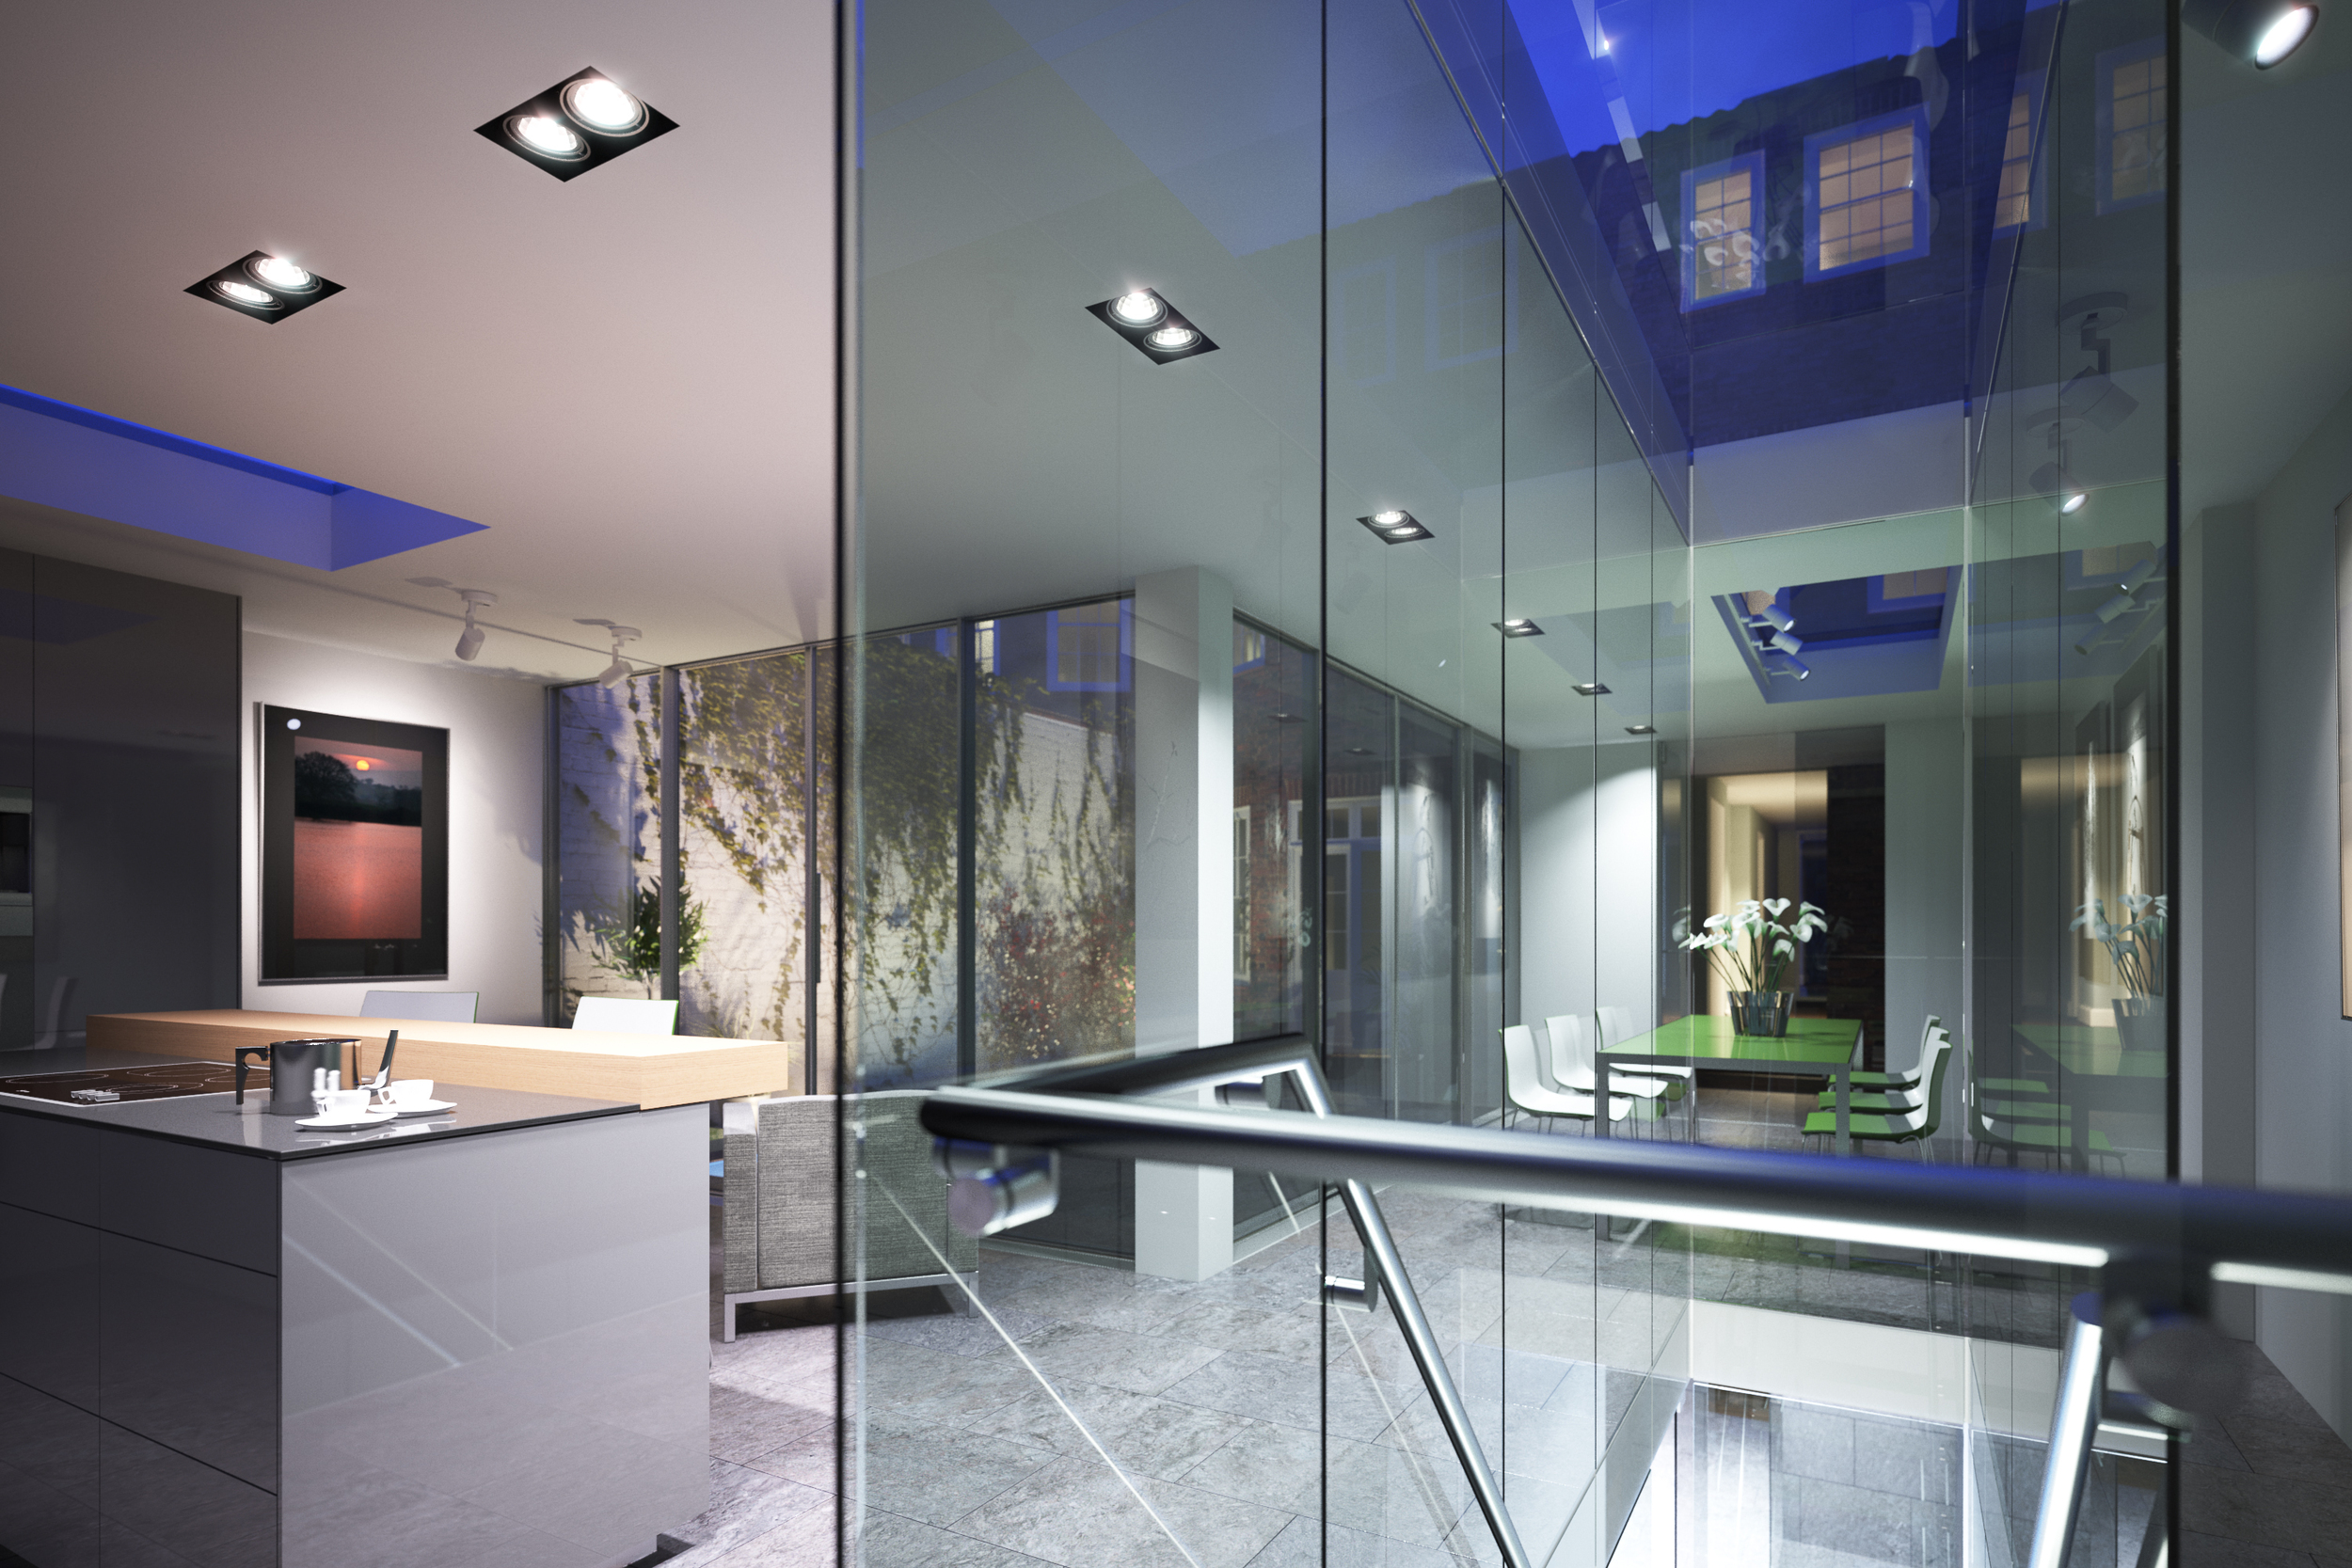
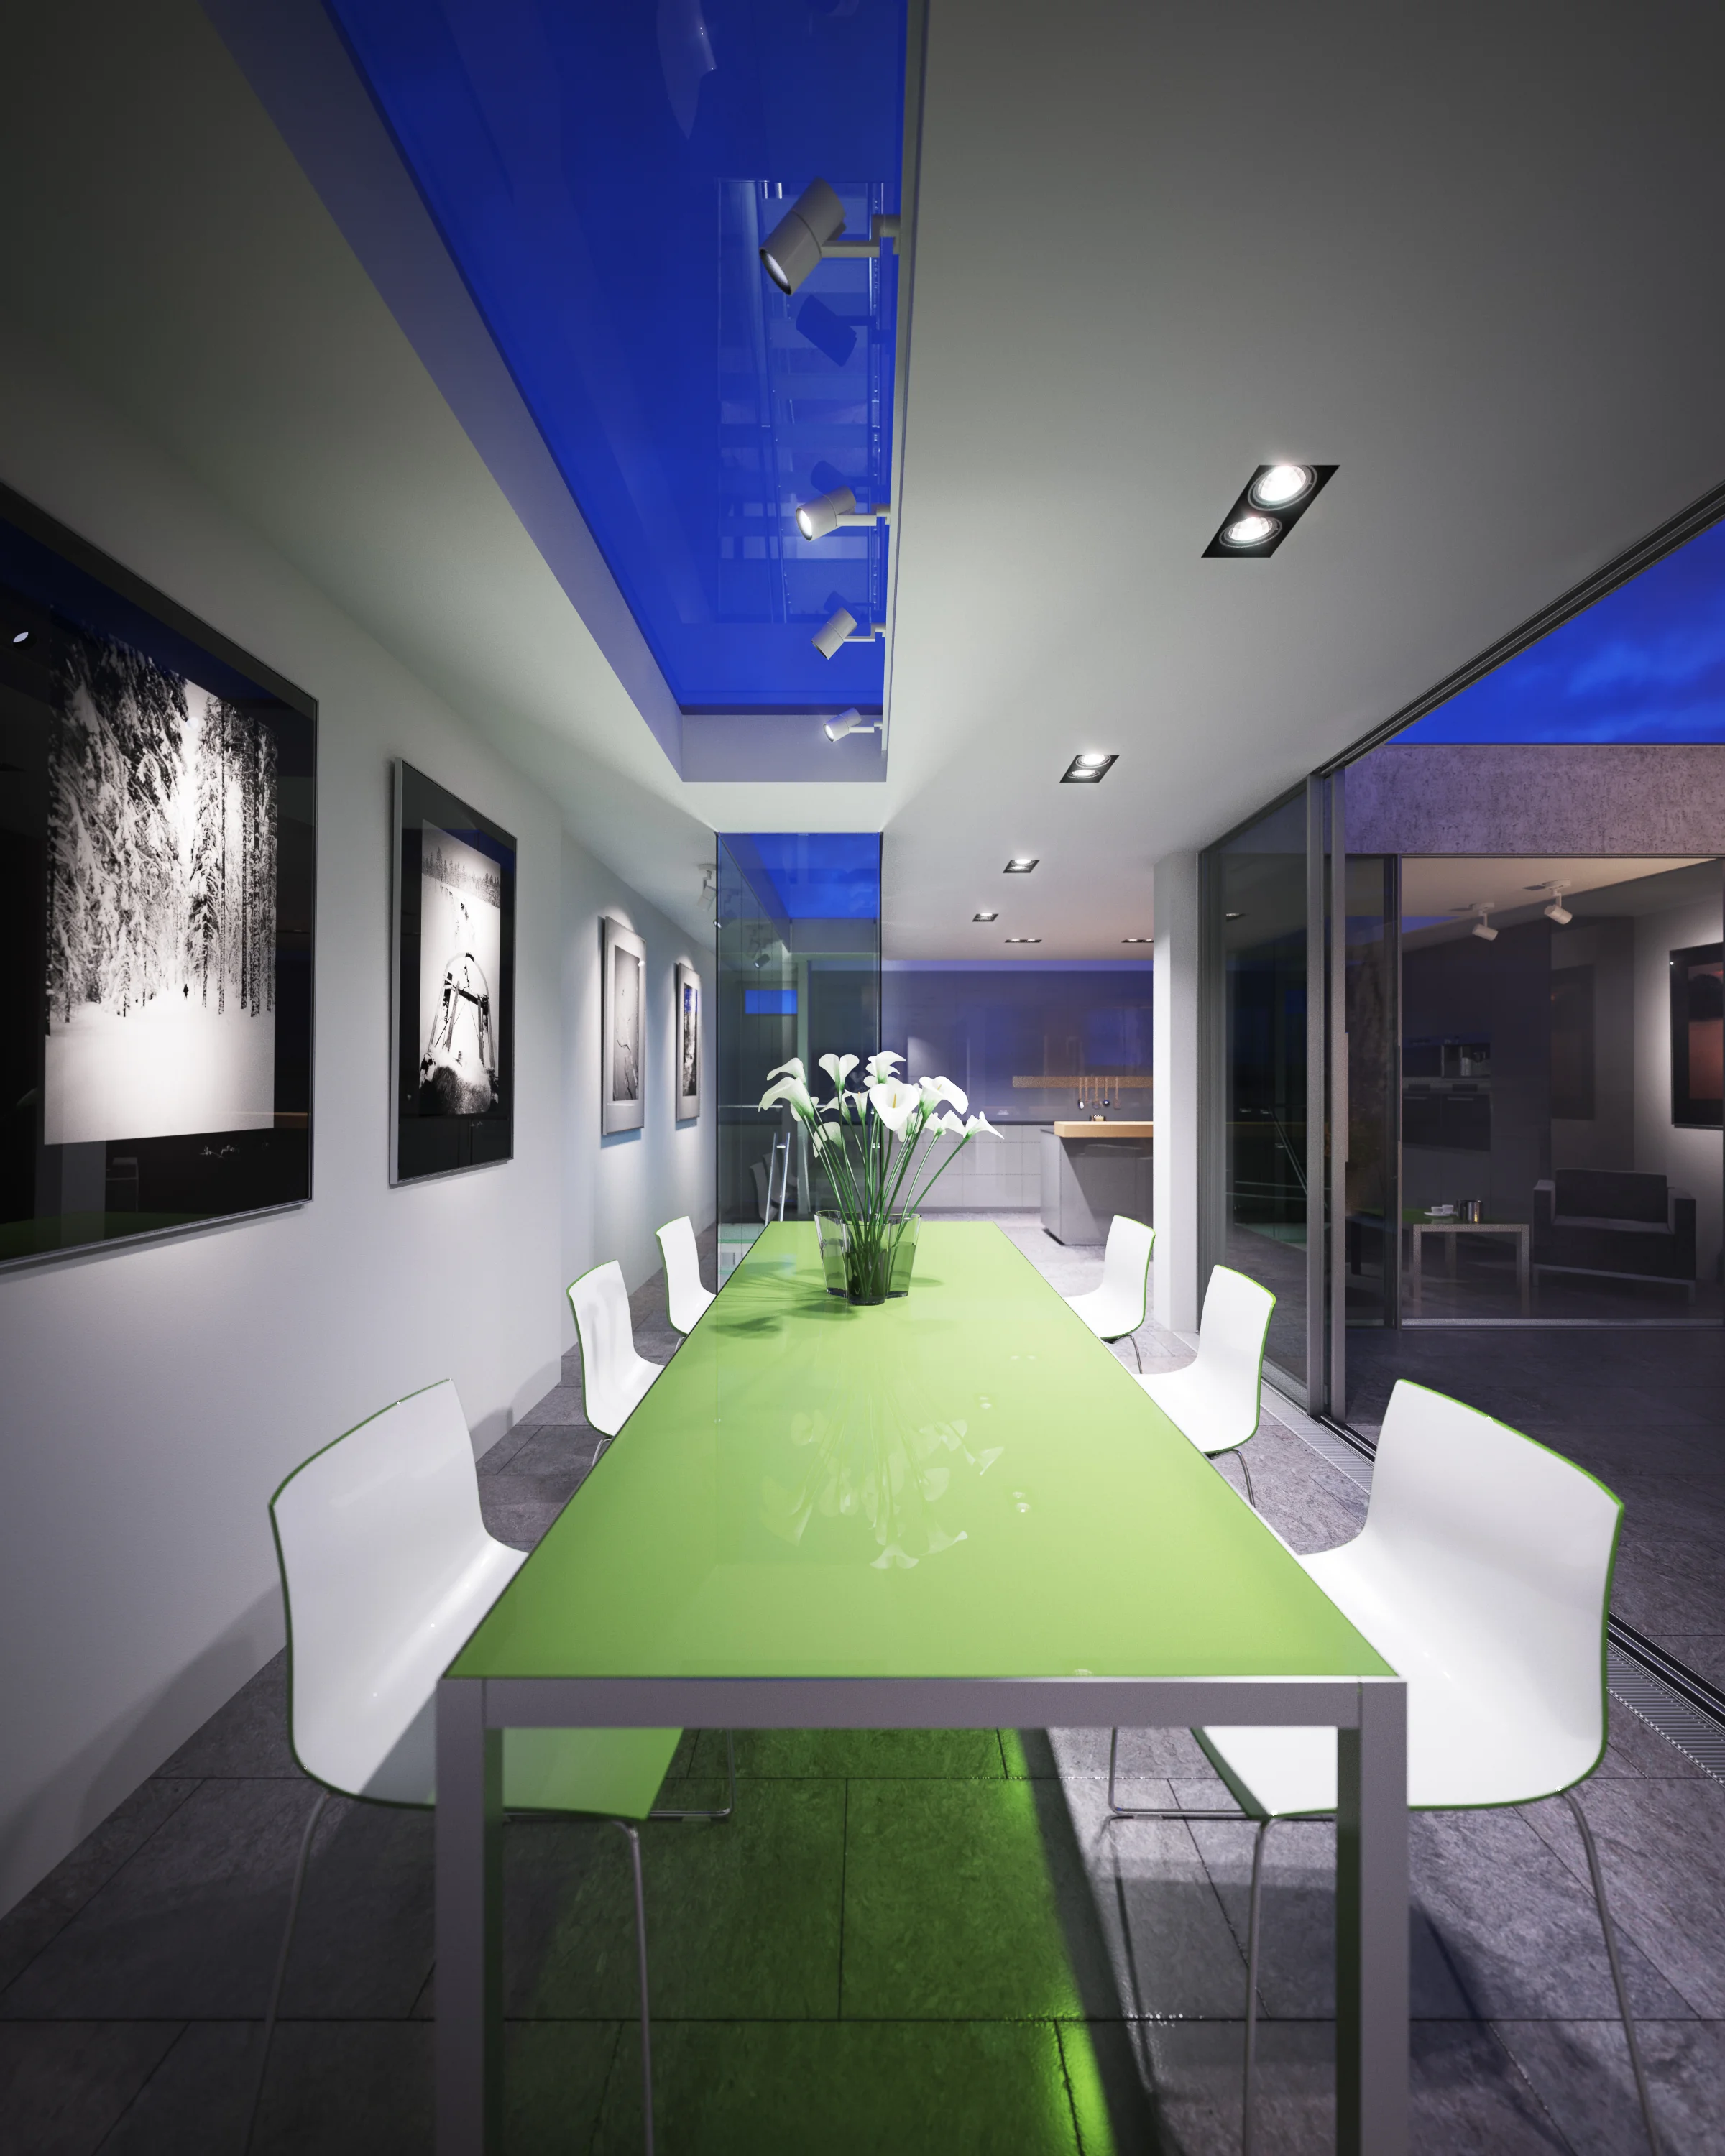
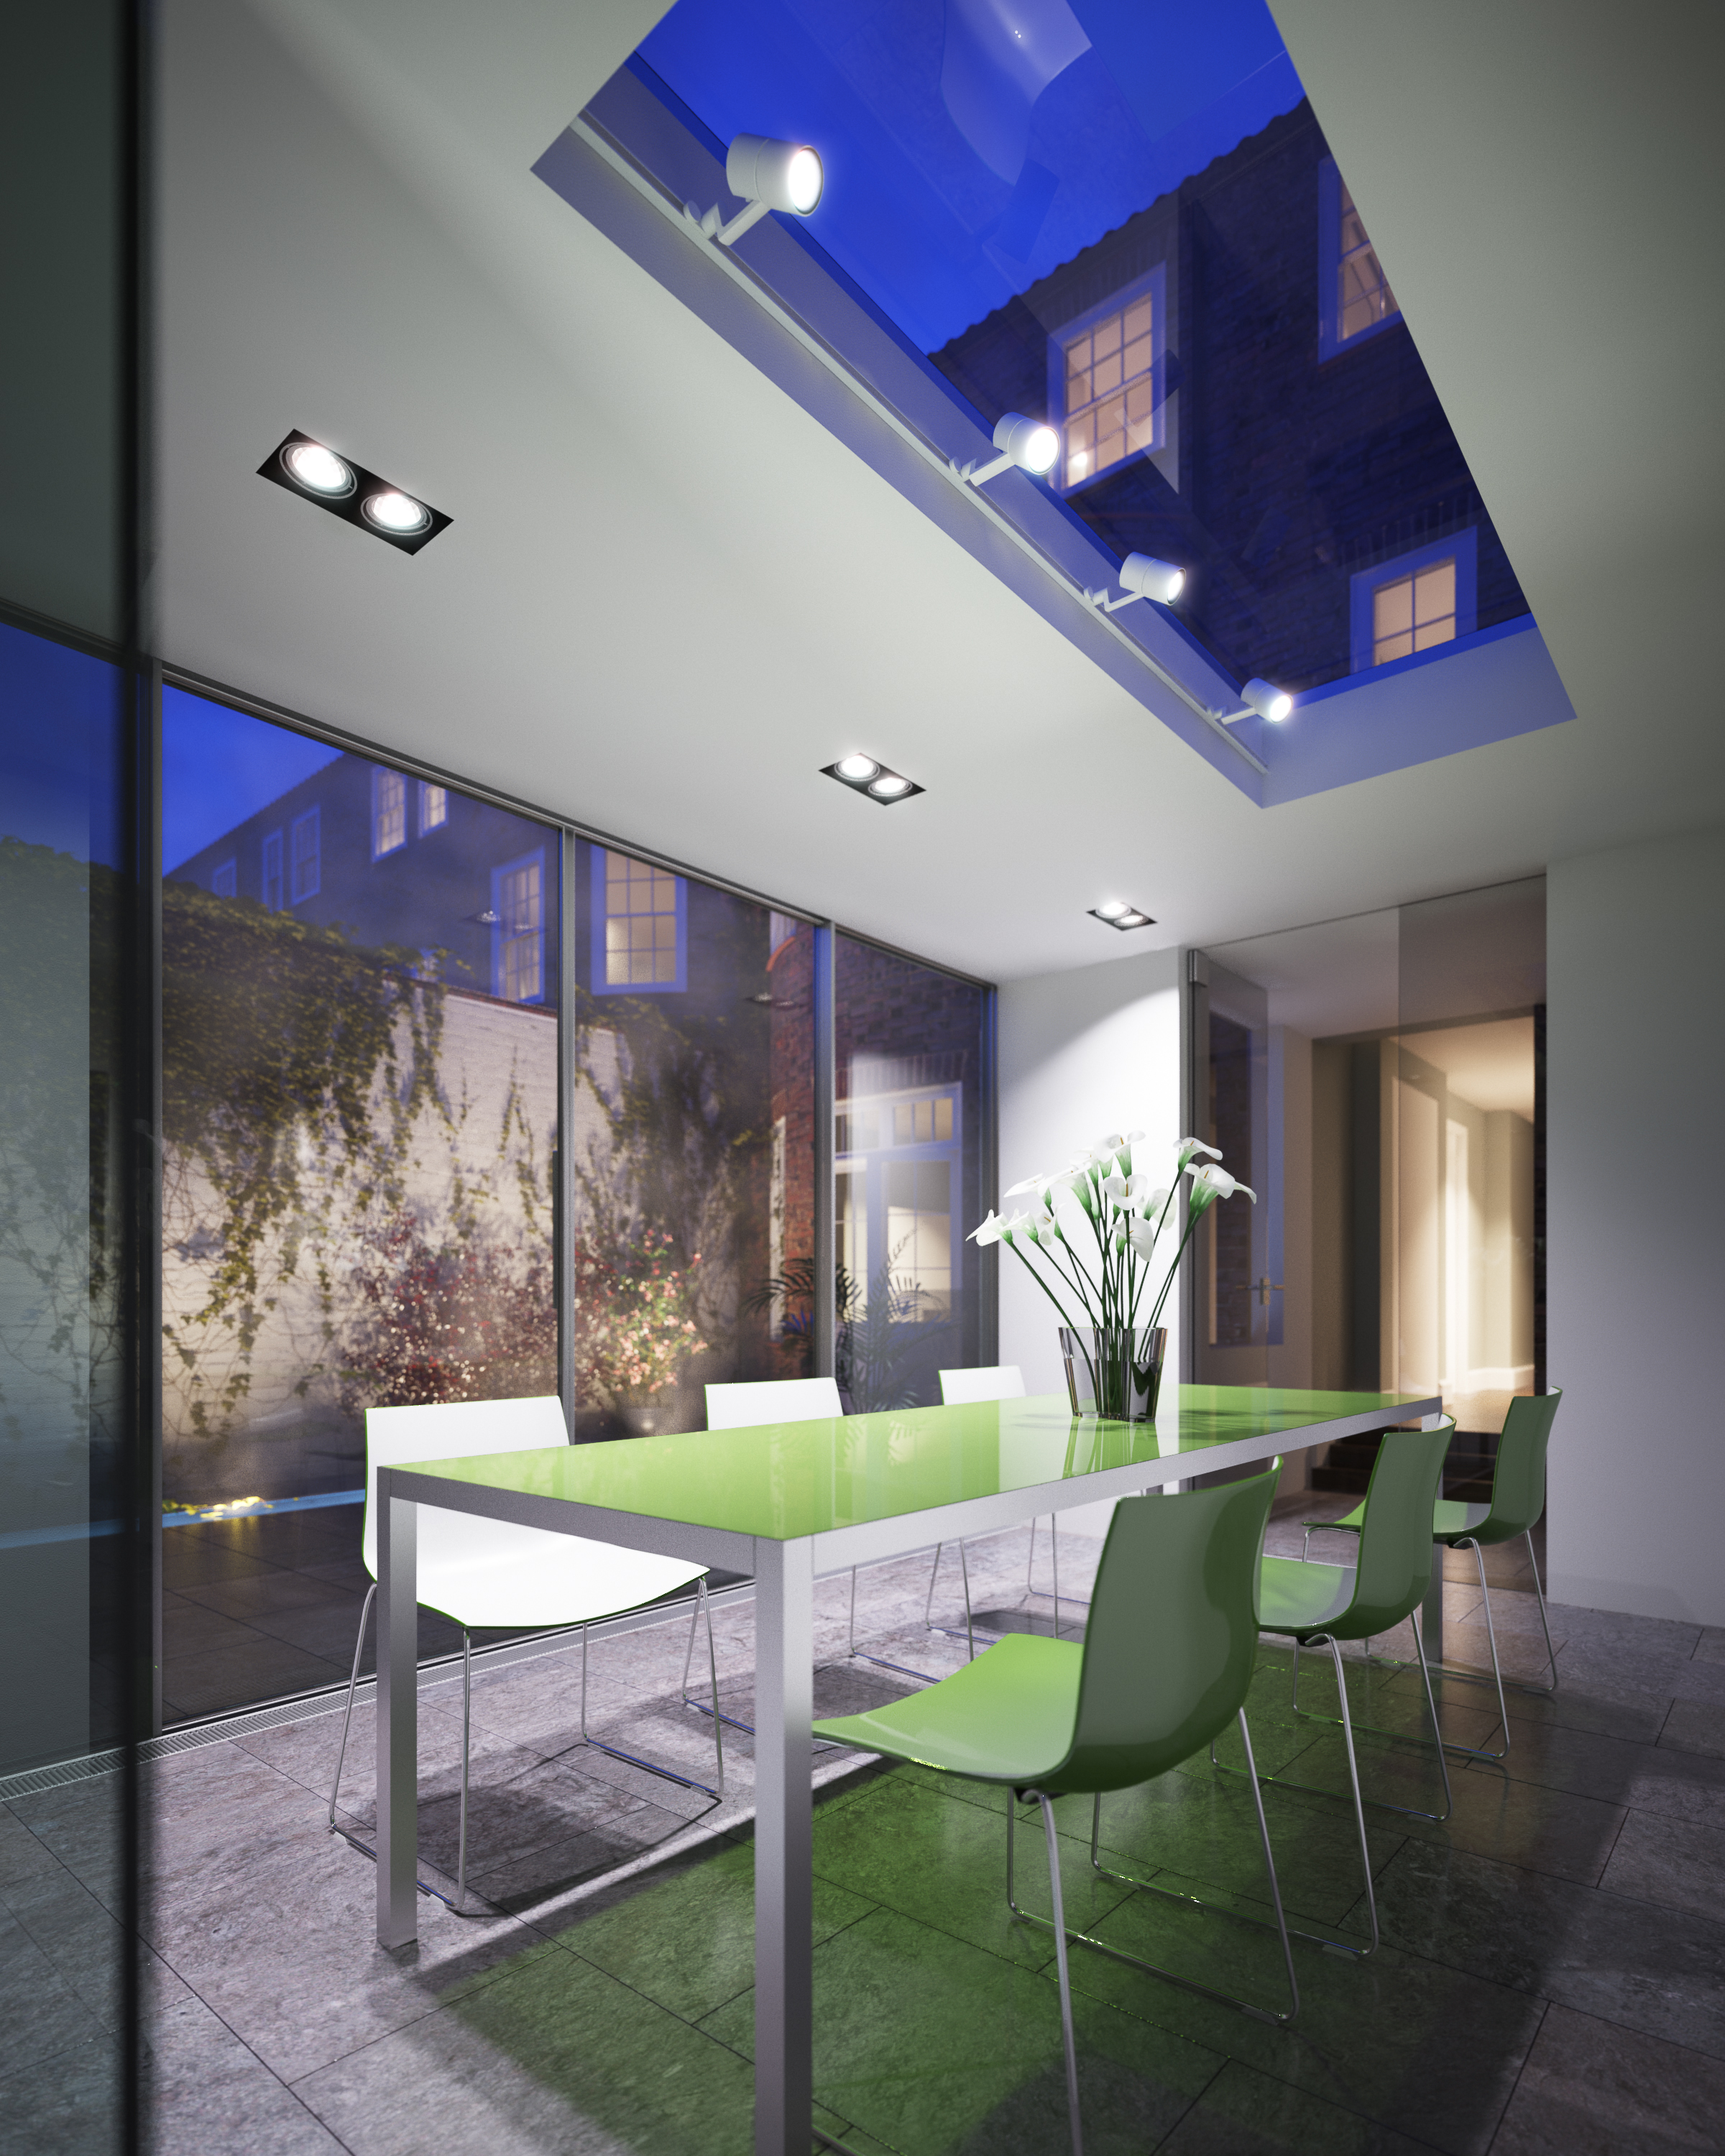
Slideshow of a recently completed project for Lynas Architecture in Hackney, London. Everything in this scene was 3d, so making the day/cloudy/dusk shots was simply a case of changing the HDR used to light the scene, and turn on/off lights.

The Third & The Seventh

--------------------------------------------------------------------------------------------------------------------------------------------------- http://www.thirdseventh-book.com/ --------------------------------------------------------------------------------------------------------------------------------------------------- "From Bits To The Lens" Book -- Beautiful 120+ hires imagery artwork, philosophy and processes behind the shortfilm in a 232 pages large format book. Help funding my next shortfilm through the book. All the book sales incomings will be destined to financing it. --------------------------------------------------------------------------------------------------------------------------------------------------- .Fullscreen it, please. A FULL-CG animated piece that tries to illustrate architecture art across a photographic point of view where main subjects are already-built spaces. Sometimes in an abstract way. Sometimes surreal. Credits: CG |Modelling - Texturing - Illumination - Rendering| Alex Roman POST |Postproduction & Editing| Alex Roman MUSIC Sequenced, Orchestrated & Mixed by Alex Roman (Sonar & EWQLSO Gold Pro XP) Sound Design by Alex Roman Based on original scores by: .Michael Laurence Edward Nyman. (The Departure) .Charles-Camille Saint-Saëns. (Le Carnaval des animaux) Directed by Alex Roman Done with 3dsmax, Vray, AfterEffects and Premiere.

If you haven't seen it already, make sure you check out Alex Roman's short film The Third & The Seventh. Truly inspirational, and an incredible piece of work by just one person. His passion for architecture and photography shines through.

The GH House Render challenge

4184916638_8864819a96_o.jpg

I'm on the judging panel for an exciting new architectural visualisation challenge on Ronen Bekerman's blog. The challenge will be to render a house design by Dunsky Kornhauser Architects and runs from the 15 Dec 2009 to 15 March 2010. Ronen has managed to assemble a really impressive list of prizes. Looking forward to seeing the entries!

If you haven't already bookmarked Ronen's site then make sure you pay him a visit, so many good tips and tutorials.

Chelsea Square Dusk

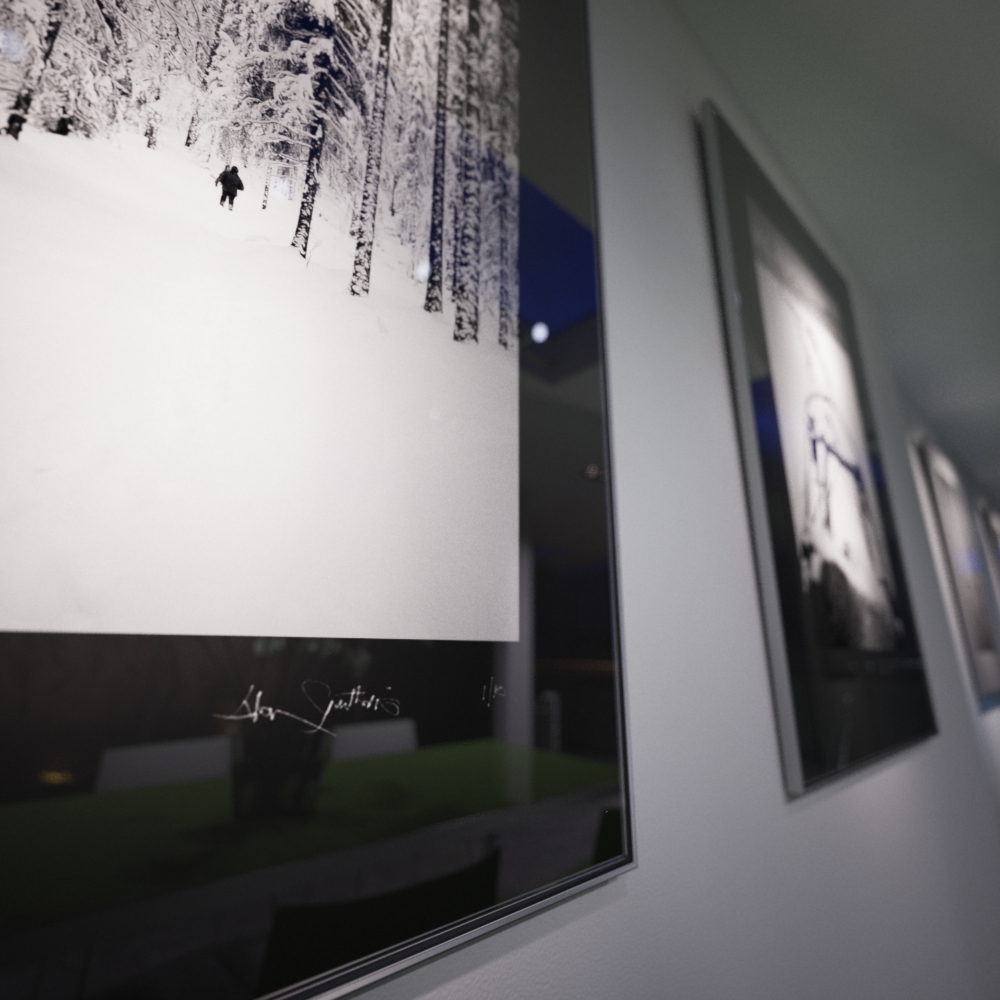
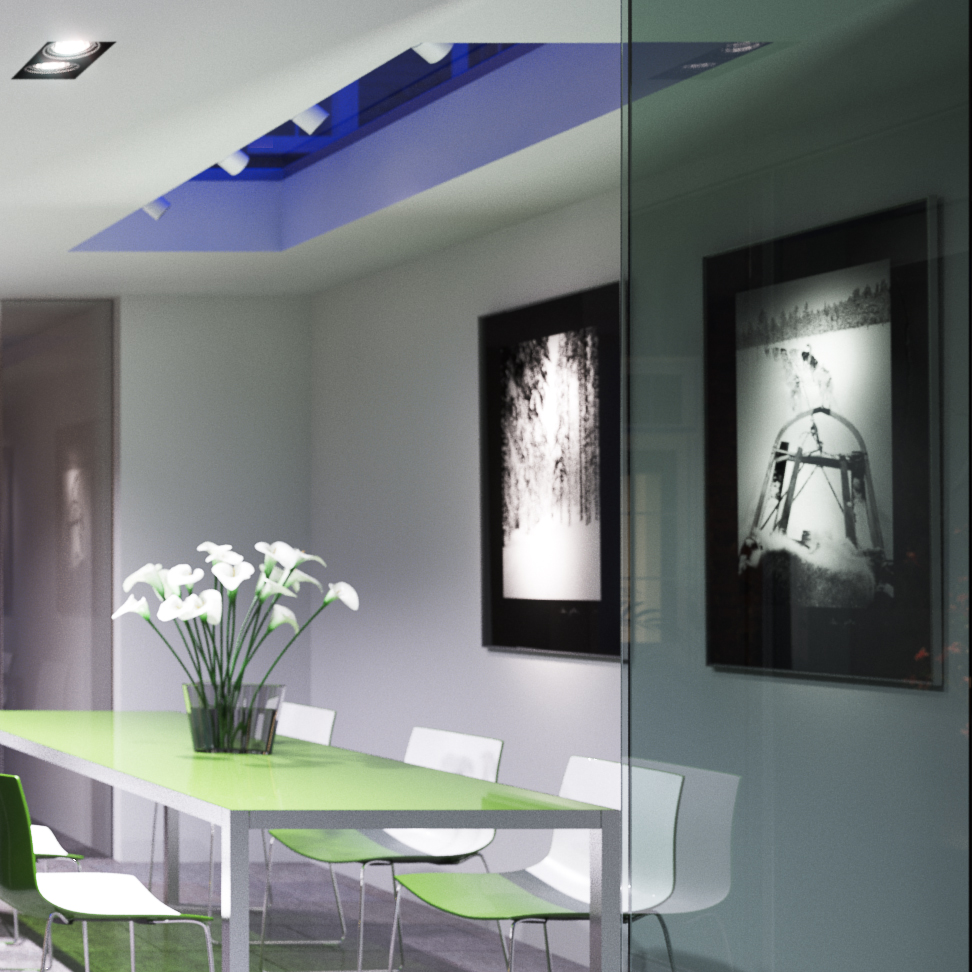
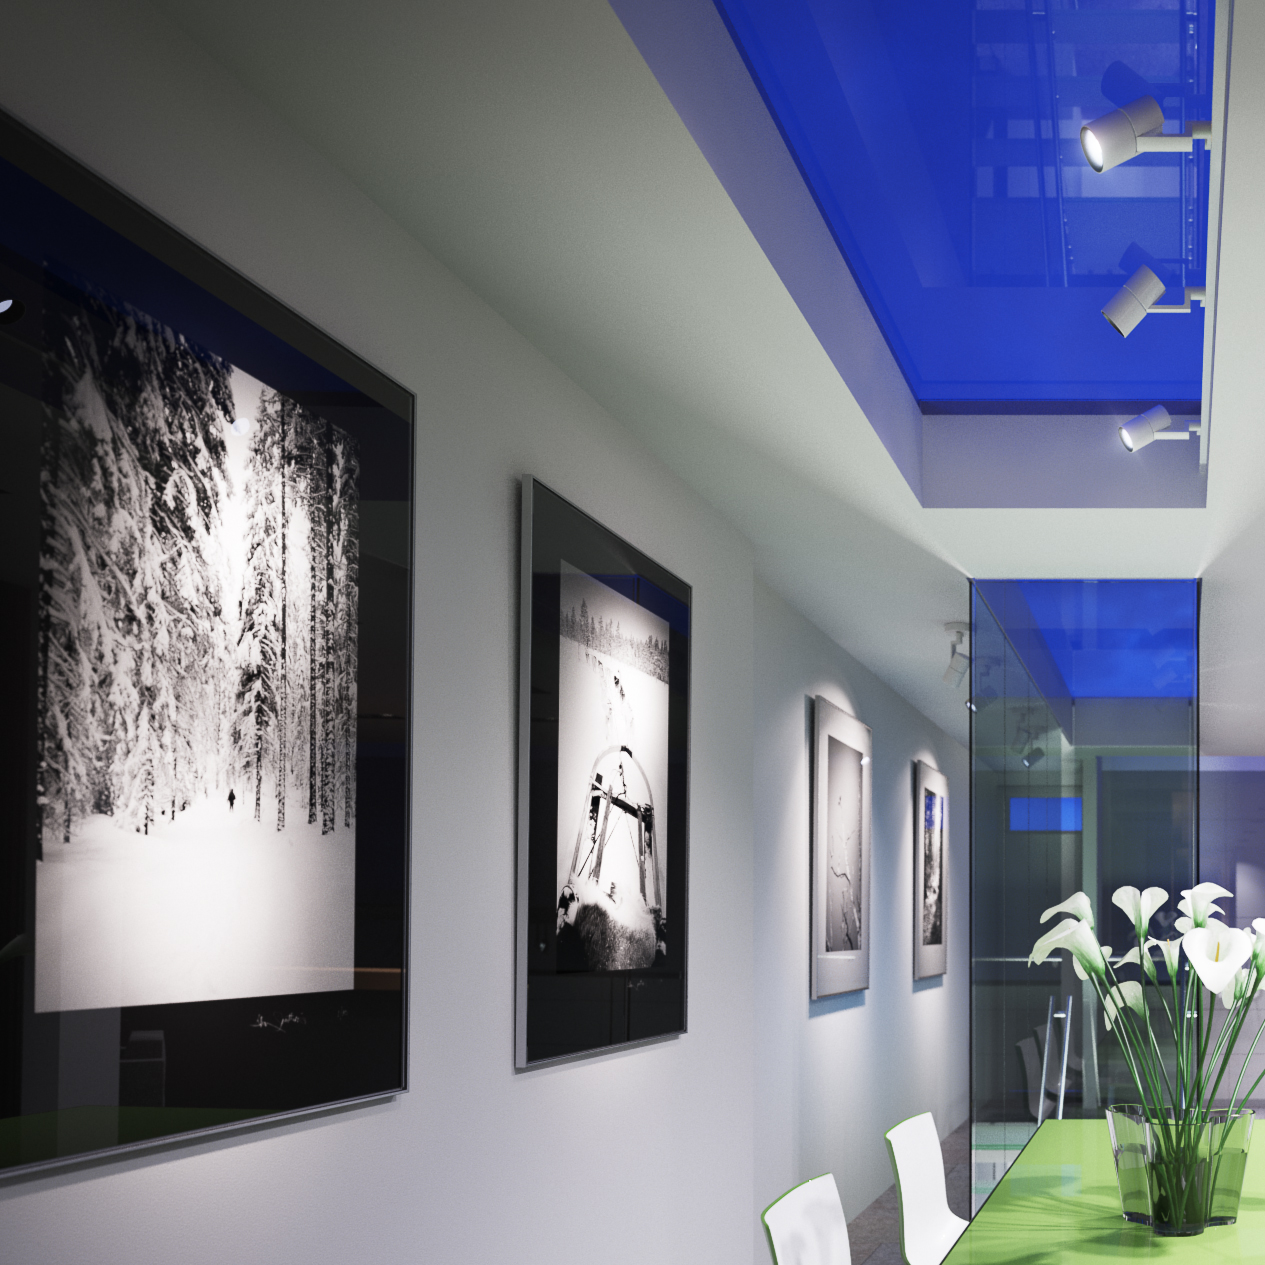
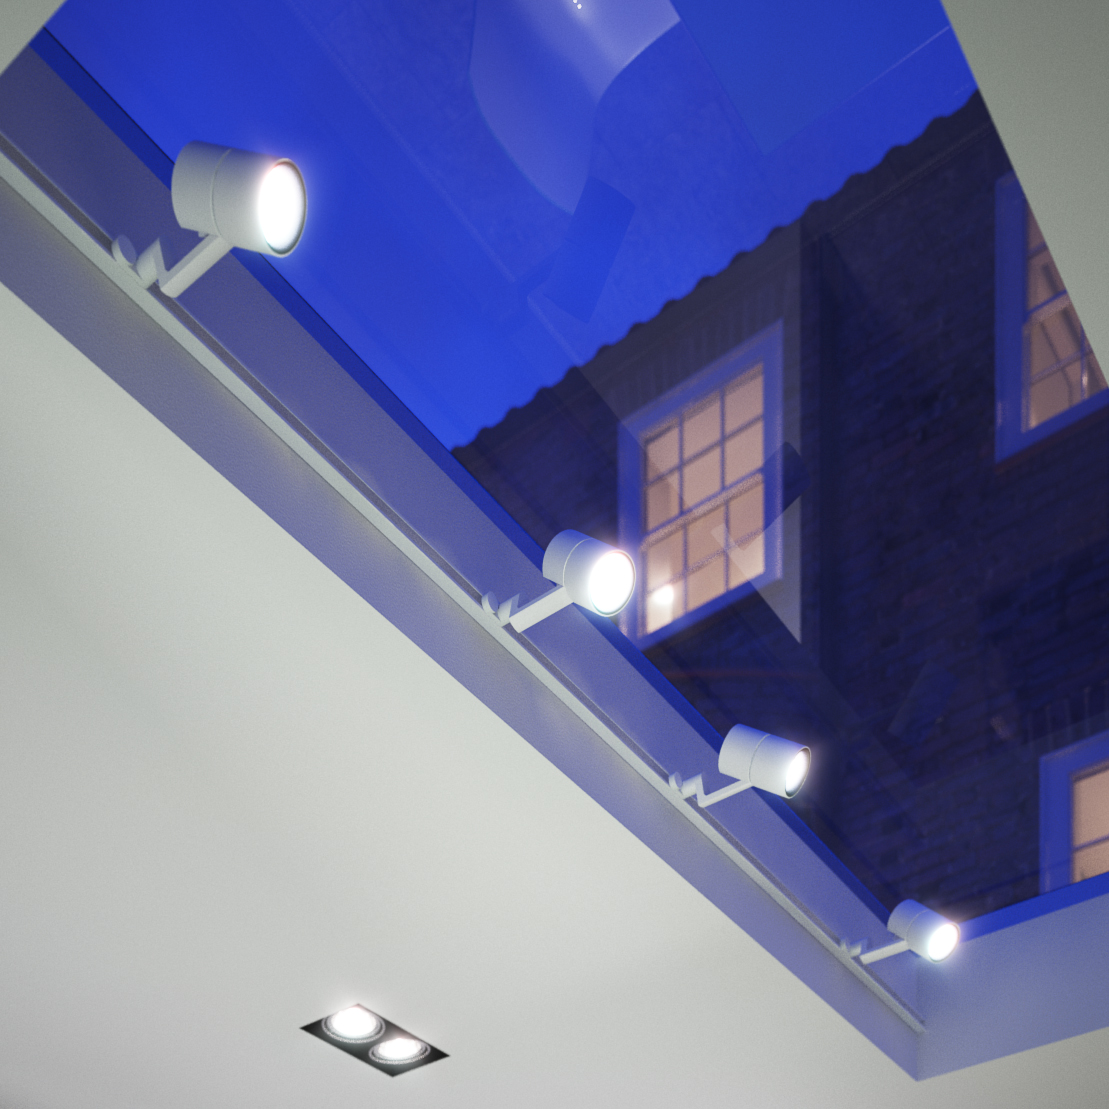
A project from earlier this year that I reworked a bit. Added some more props and lighting and other things I didn't get time to do previously. The photos are some of my favourite ones from my Dad's portfolio, and winter themed as the first snow has just started to fall here in Sweden. As usual, the renders are more or less as they were directly from vray, just added some glows to the lights.


3D tree material tutorial - Leaves

4089647680_744eb42ffc_o.jpg

A tutorial on making leaf materials for 3d trees, in this case a sugar maple (in autumn).

20091109 grey_noopacity

Firstly, some observations on opacity mapped leaves vs. geometry leaves. As you can see in the image above, the images in this post were made using opacity mapped leaves. After some tests on my farnsworth house project, I have come to the conclusion that it is quicker in most cases to use opacity mapped leaves. Its true that in simple scenes trees with geometry leaves may render quicker as VRay doesnt have to calculate the opacity of thousands of leaves, but in dealing with complex scenes with millions of polygons the advantage in using (a lot) less RAM is huge. The processes involved in swapping opacity mapped plates for geometry are also very long winded and very tedious!

Exporting from Onyxtree. I went with 4 polygons per leaf so that the leaves aren't just flat. Remember to set the dimensions you want the individual leaves, and change the units when you export. You can also make it export 3 different leaf IDs with varying sizes. I normally export as a .obj file.

onyxtree

Opacity mapping. It's important to make sure the opacity map is just pure black or white, with a sharp edge. The opacity map I used can be found here (its not a great example!). You should also turn off filtering in the bitmap loader options (screenshot).

20091109 grey

As imported to 3dsmax and given grey materials.

VRay2sidedMtl. The vray 2 sided material works best with geometry that has no thickness, which is what onyxtree outputs. It is a very quick way of generating a SSS (sub-surface scattering, think candle wax, skin, milk etc) type look. The image below is rendered using a vray2sidedmtl on all leaves with grey submaterials and a hand drawn image for the vein skeleton.

20091109 grey_transparency
2sided

Front material. The front side material is a basic vraymaterial with a diffuse map and a reflection map. Click here for front vray material set up. The color correction map is to produce slightly different hues of leaf for each of the 3 sub leaf types (you should have got a mult-subobject material when you imported the .obj file). I usually make the first leaf and then copy and paste it to the 2nd and 3rd and just change the hue value slightly. The diffuse map looks like this, and the reflection map is a b&w copy with levels adjusted to make it more contrasty.

20091109 no_2sided

Render showing front leaf material on both sides with no transparency.

Back material. The back material is a copy of the front material but with a different diffuse bitmap and not quite as reflective. Note that I overlaid the veins skeleton jpg on top in photoshop as well. (without it, the veins looked too light when viewed from the underside as they took 100% of the lighter back material)

20091109 no_transparency

Render showing 2sided material with correct front/back materials but no transparency.

Finished result Click image for 800px version. Rendered using vrayphysicalsky and sun, and a vrayphysicalcamera.

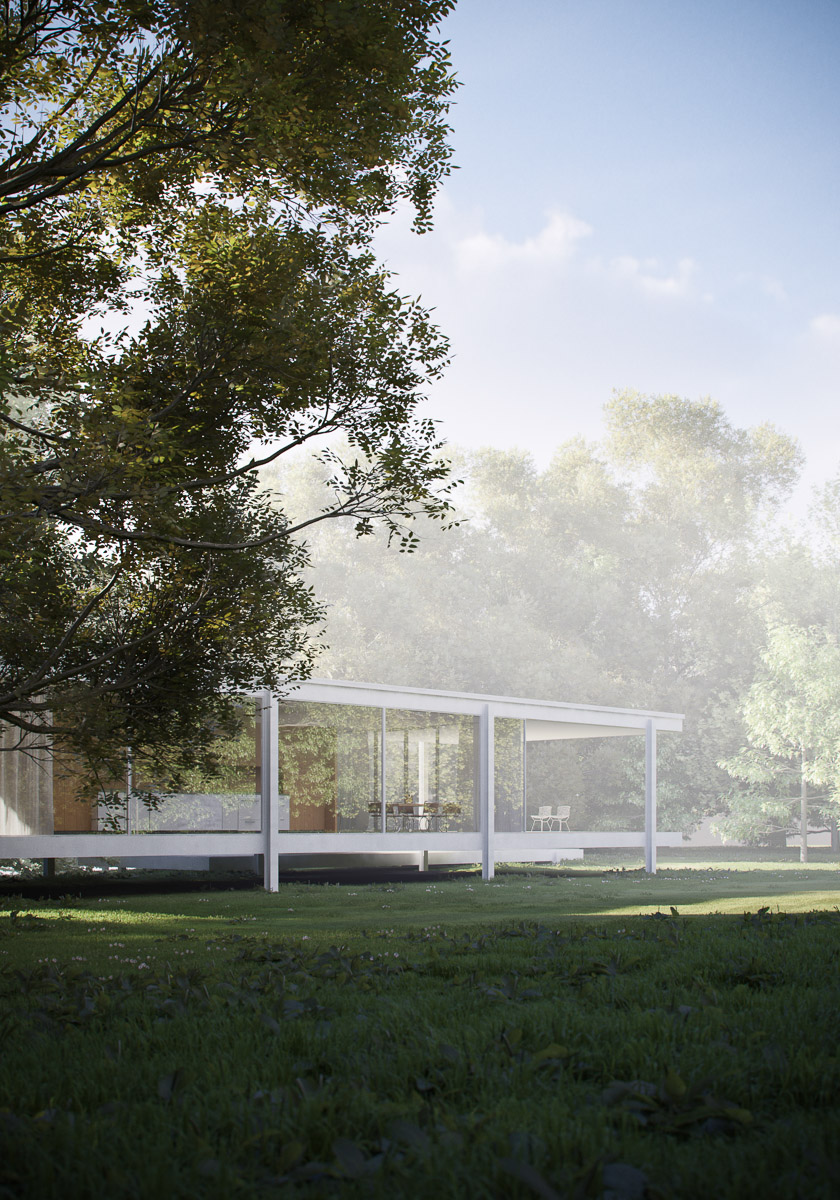
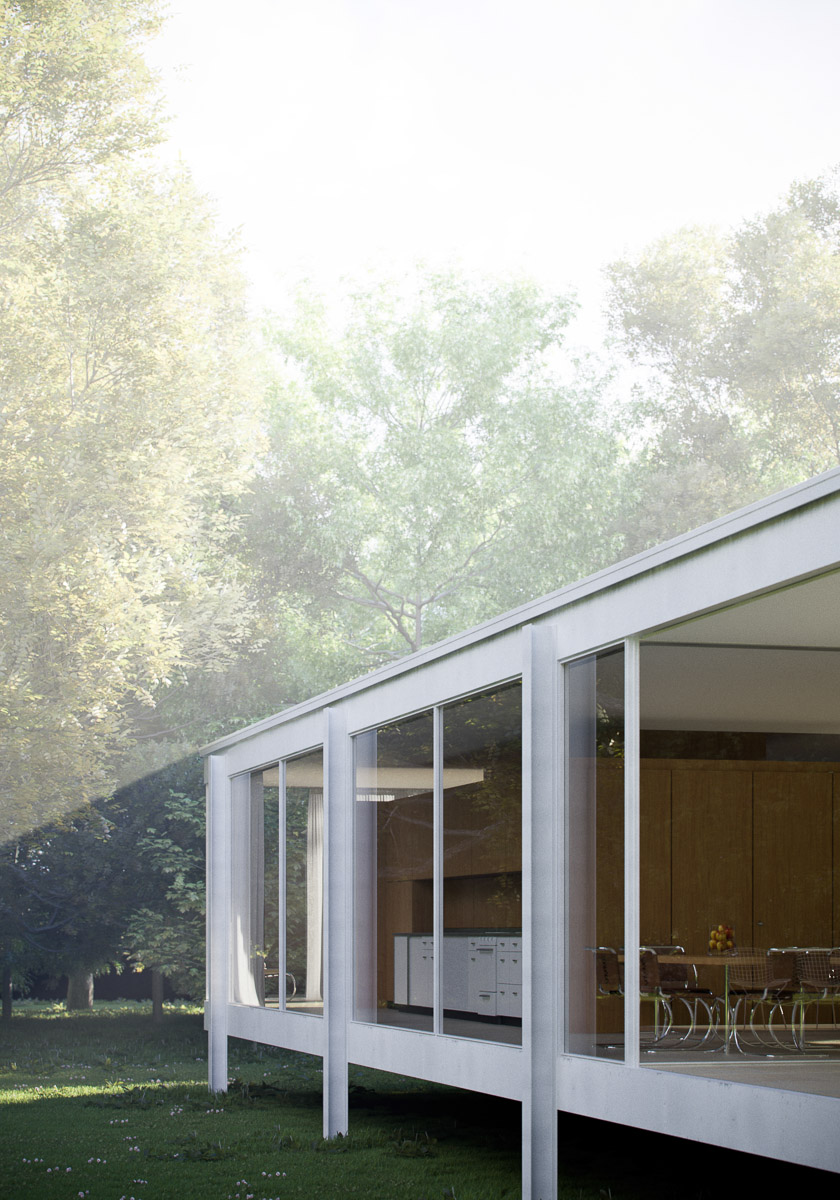
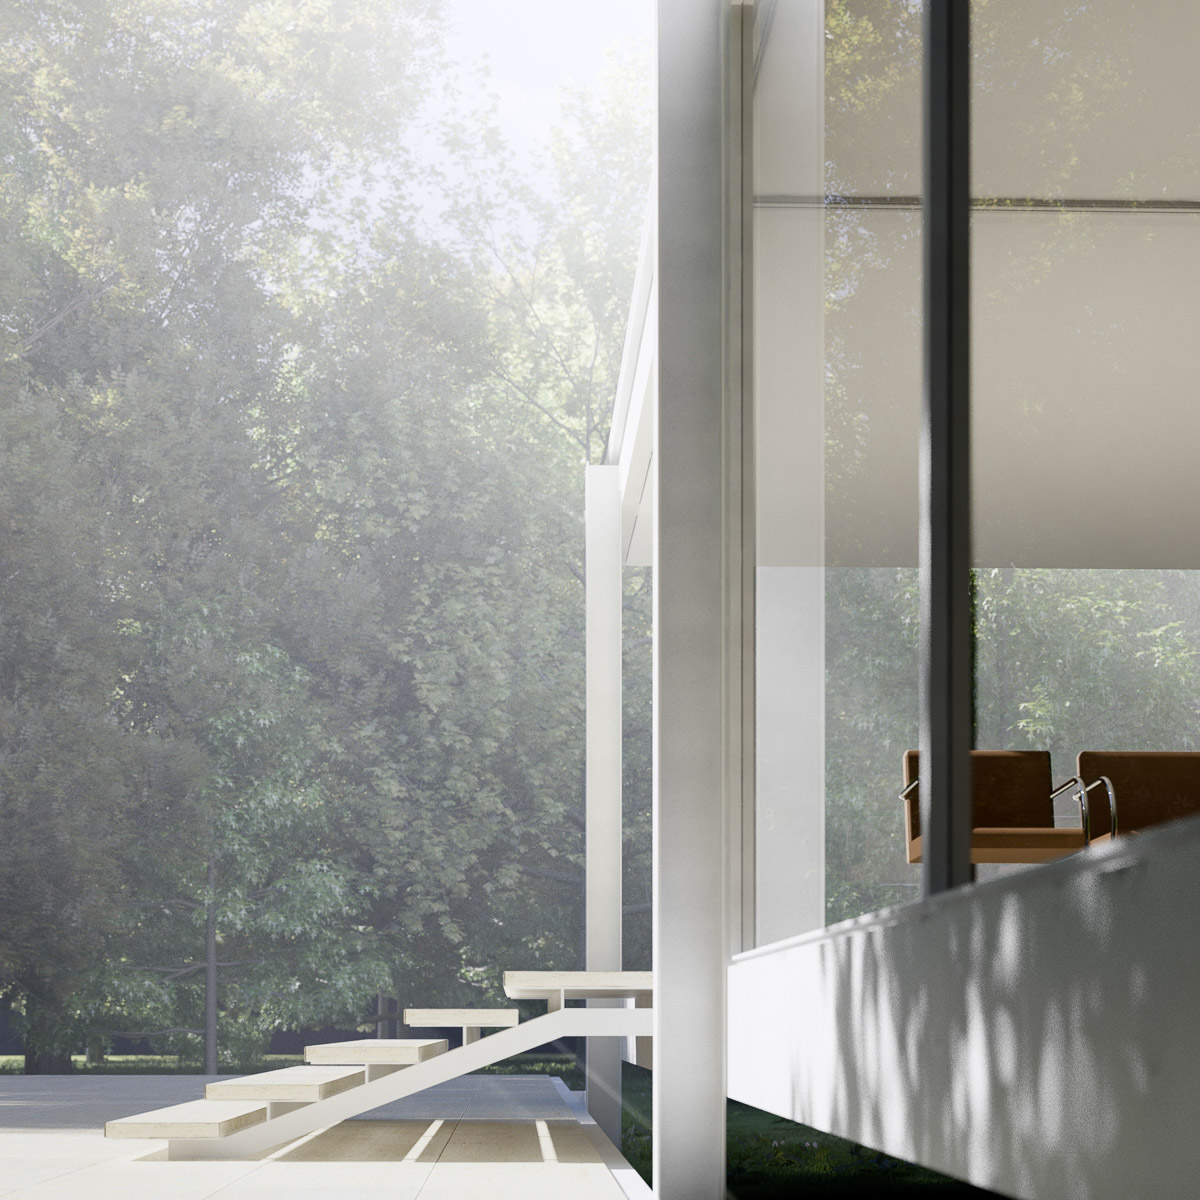
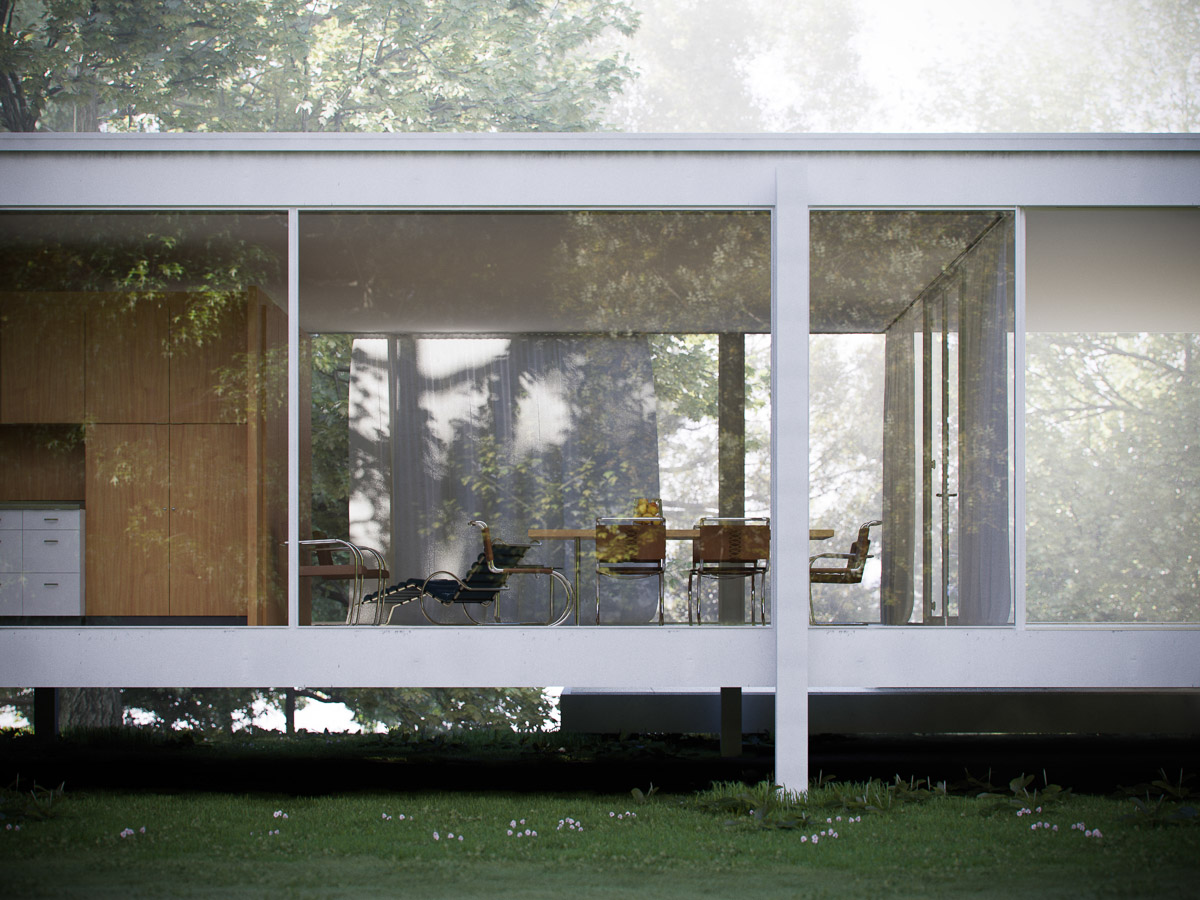
Farnsworth House

by Mies van der Rohe

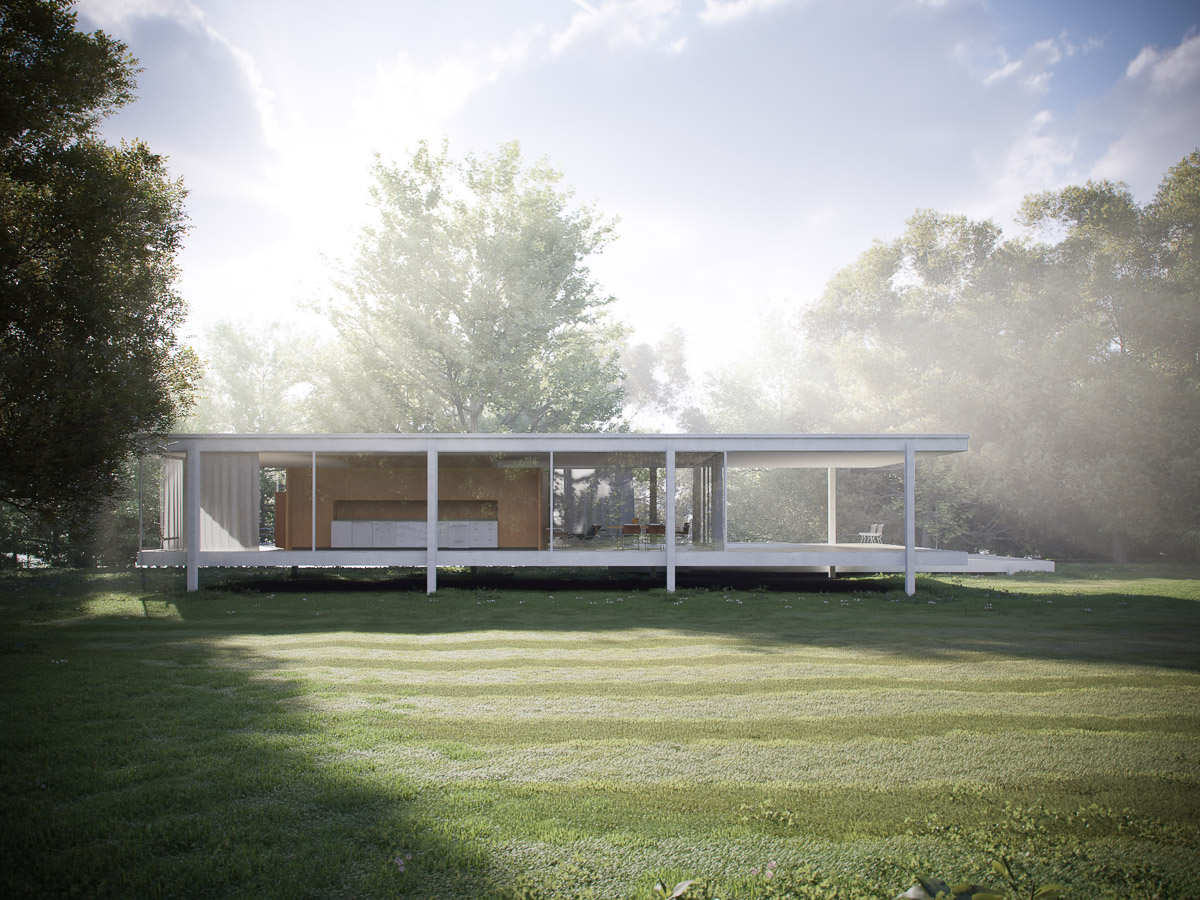
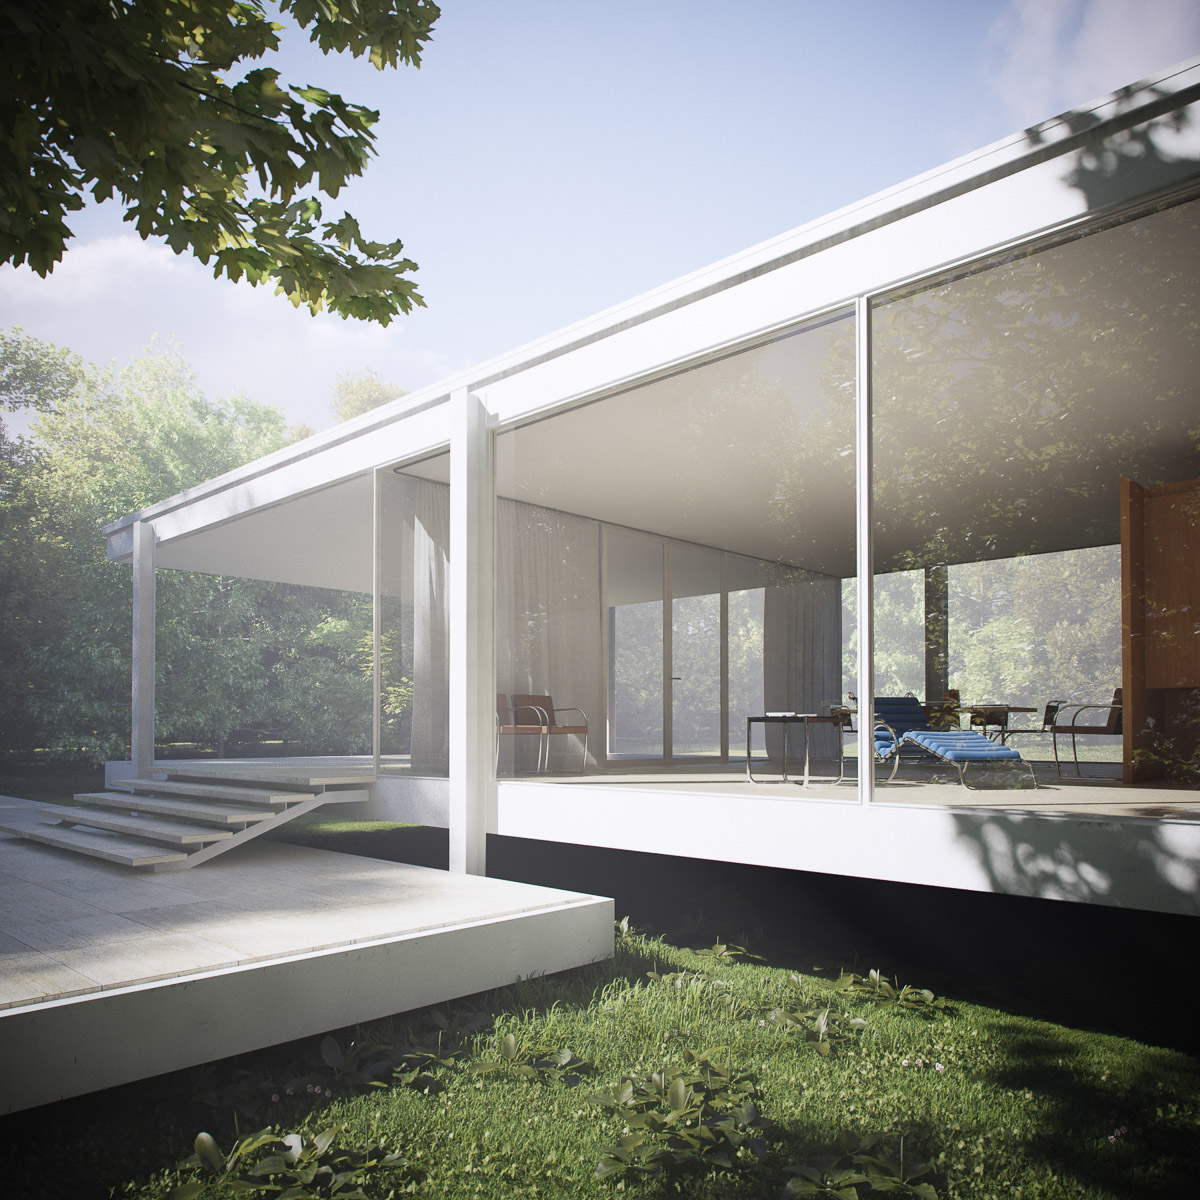
Something I've been working on for the best part of the last year (I previously blogged about the trees in... May, and the grass even before that!). Unfortunately paid work keeps getting in the way, I'm yet to figure out a solution to that problem.

I'm planning a tutorial on how I did the fog, (another) grass tutorial on how I did the mowed lawn and a making-of post summing up the whole process. Can also do one on optimizing the trees and making the tree materials if there is interest. The sketchup model of the house itself will be available on pushpullbar - details to follow in a separate post.

Technical Info:

  • Grass (short, medium & long), clover and plantago major all scattered with vrayscatter as per previous tutorials.
  • Trees are all made with Onyxtree. Species as per previous blog post.
  • The total poly count comes to approx. 10 billion. 1.34 billion for trees, 8.4 billion for grasses, 270k for house, 550k for furniture.
  • Renders took roughly 6 hrs each @ 2200px
  • Rendered with vrayphysicalcamera, vraysun, HDRi environment
  • VRayenvironmentfog was rendered as a separate pass and screened over in photoshop
  • Final colour corrections made in Adobe Lightroom