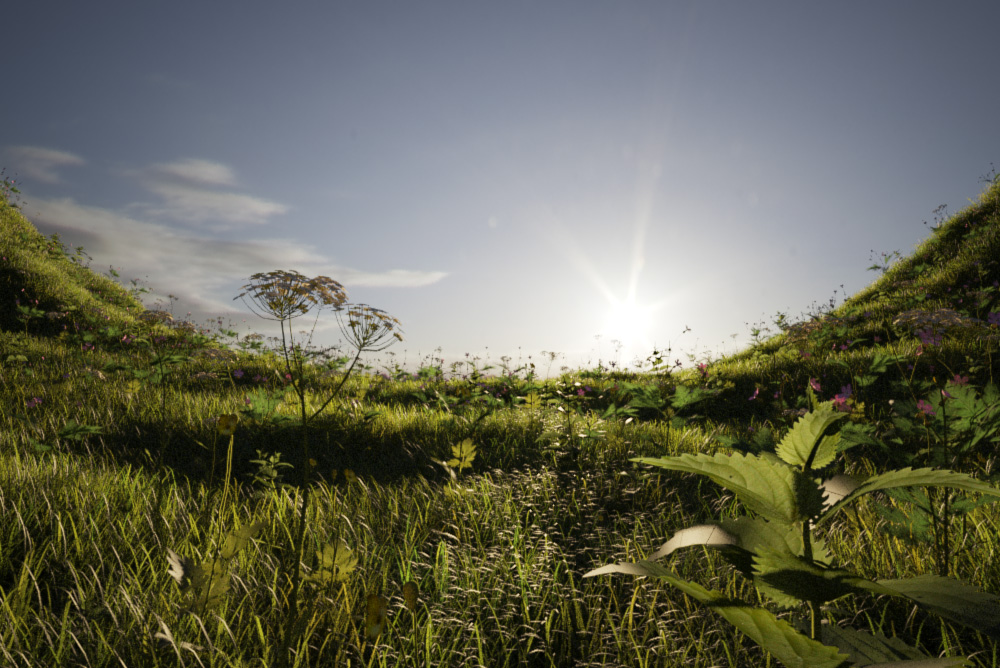
Or more specifically how to create a field of grass using vray proxy objects and the vrayscatter plugin. Software used: 3dstudio Max, vray (should work with mentalray proxies too), vrayscatter (for alternatives see below), advanced painter (free script)
The first stage is to create some individual blades of grass and then make a small area of grass that can later be distributed thousands of times onto your terrain.
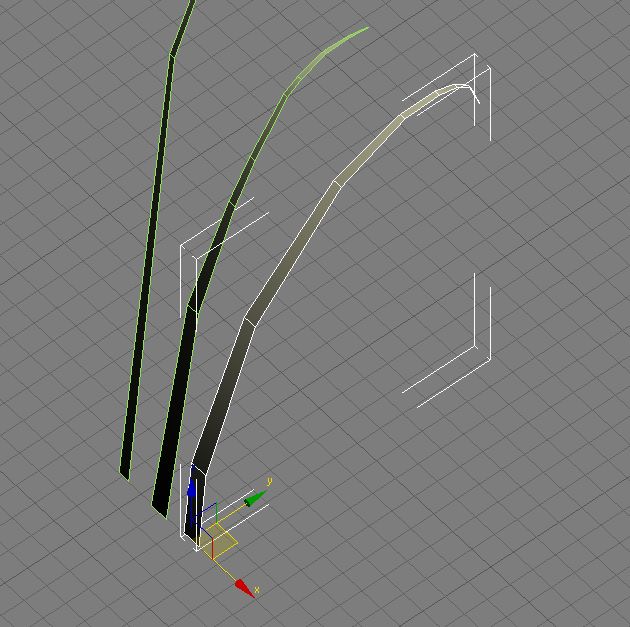
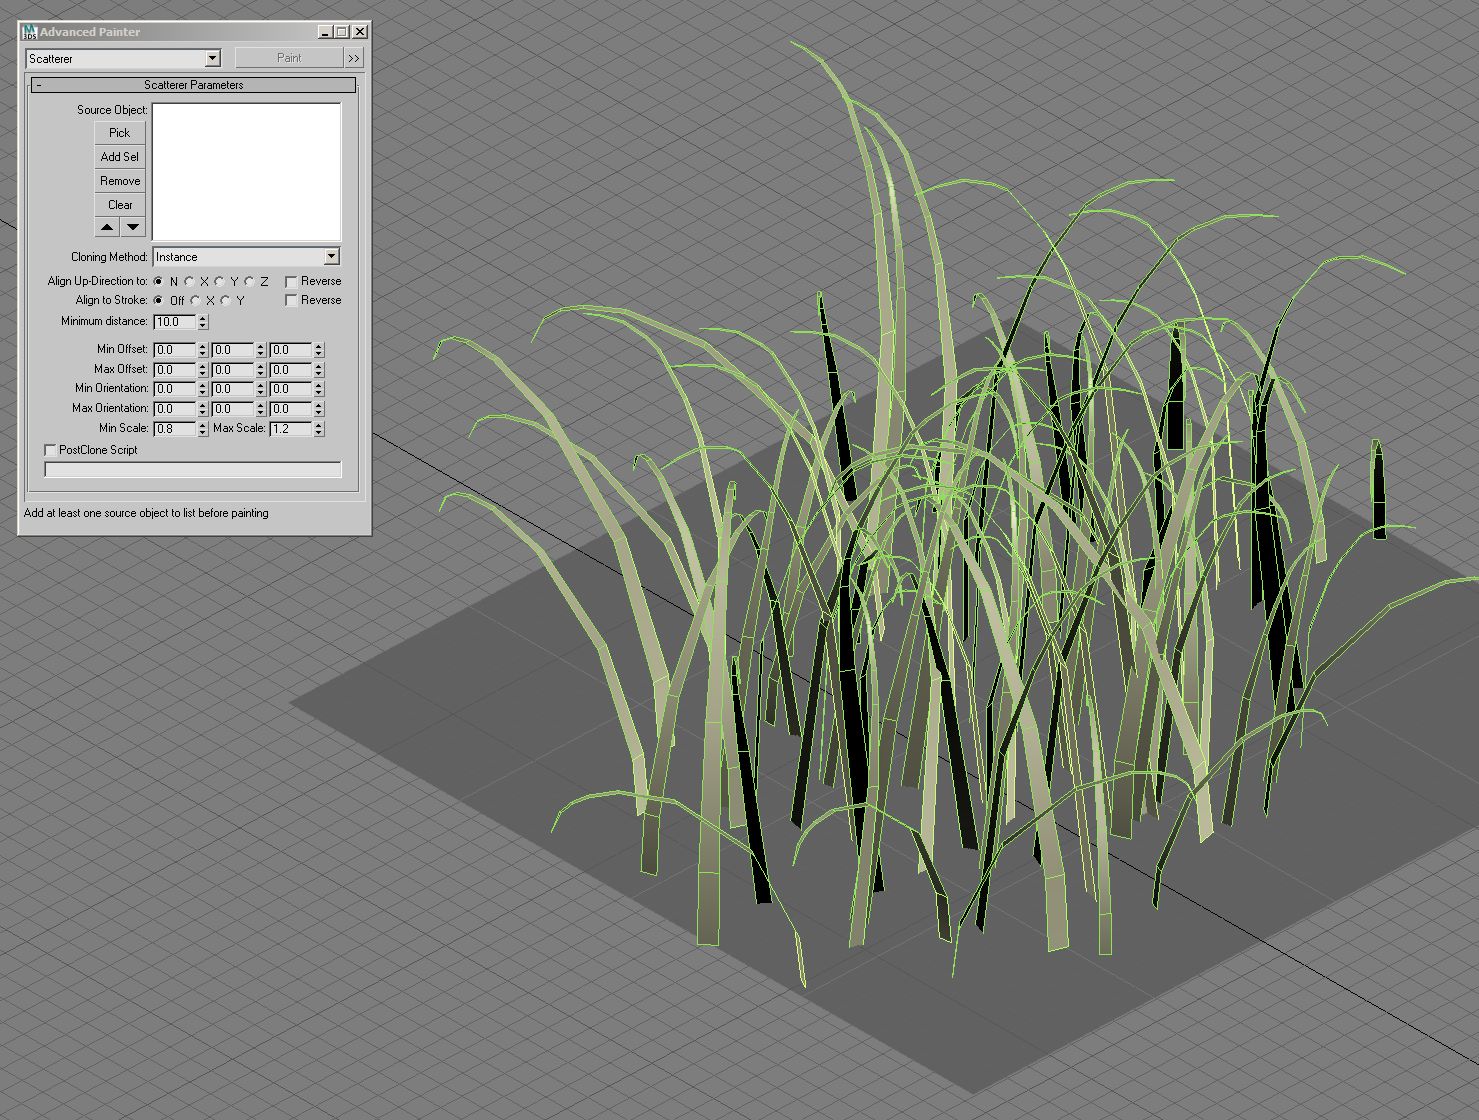
The 3 individual blades of grass were modeled as a plane object with 8x1 segments, collapsed to an editable poly and then I moved the vertices into position in the left and front viewports. You could use a bend modifier as well, just make sure the final object has as few polygons as you can get away with.
I then used a very handy script called advanced painter to 'paint' about 100 blades of grass over a 1m x 1m plane object. Set advanced painter to randomize mode, tell it to scatter as copies (not instances), pick the 3 blades of grass as the objects to be scattered and set the min and max scale and z rotation values to something like 0.75 - 1.25 and -45deg +45deg. Then select the plane object, click paint and paint the grass on until it looks like a natural clump of grass. I usually scatter some smaller blades round the circumference of the circle to the clumps blend together better when rendered. Instead of adv. painter, you could also use the 3dsmax compound scatter object, scatter by Peter Watjes, or just do it by hand!
The final stage here, before exporting as a vrayproxy, is to make sure your blades of grass aren't instances, otherwise you will run into problems later on. I normally collapse all the blades into one object (make one blade unique then attach all other blades to it when in editable poly mode). You could do a reset xform too, for good measure. Another thing I did was to apply a box Uvw map to it before I collapsed it, as I wanted to make the tips of the grass lighter. Right click on the mesh and choose the export to vray proxy option to save it as a vrmesh file.
Now comes the fun part! Choose vrayscatter from create/vray and place it somewhere in your scene. Switch to the edit panel and load up the vrmesh you made in the earlier steps. Then you need to choose your terrain object and at that point you should see lots of boxes being scattered over your terrain.
There are alternatives to vrayscatter as well:
- The makers of vrayscatter are currently working on a new product called multiscatter which will supersede vrayscatter and will also support mentalray proxies. - Forest by Itoosoft is apparently very capable, and there is a free version so well worth trying out. - Groundwiz Planter can use vray/mr proxies - you can just as easily use the free advanced painter script to distribute the proxies once you have made them. It might take a while though, and your viewport will probably slow down after a while - you could distribute the proxies using 3dsmax particles
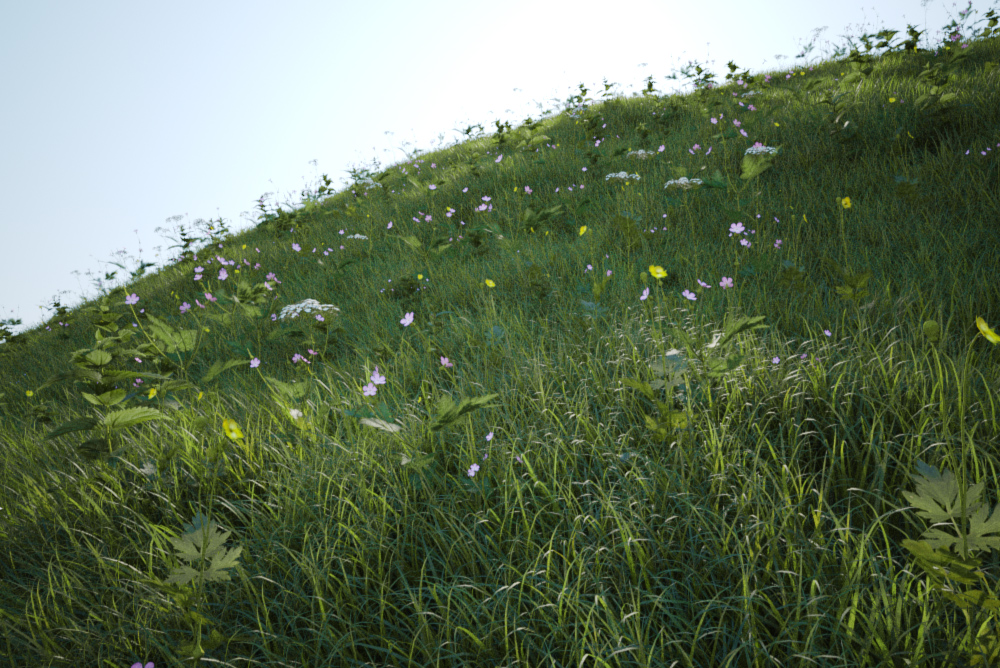
Check out part two of this tutorial where I use similar techniques to make shorter grass and go over the material set up for the grass blades. If there's anything you'd like to see covered in future feel free to make requests in the comments.

