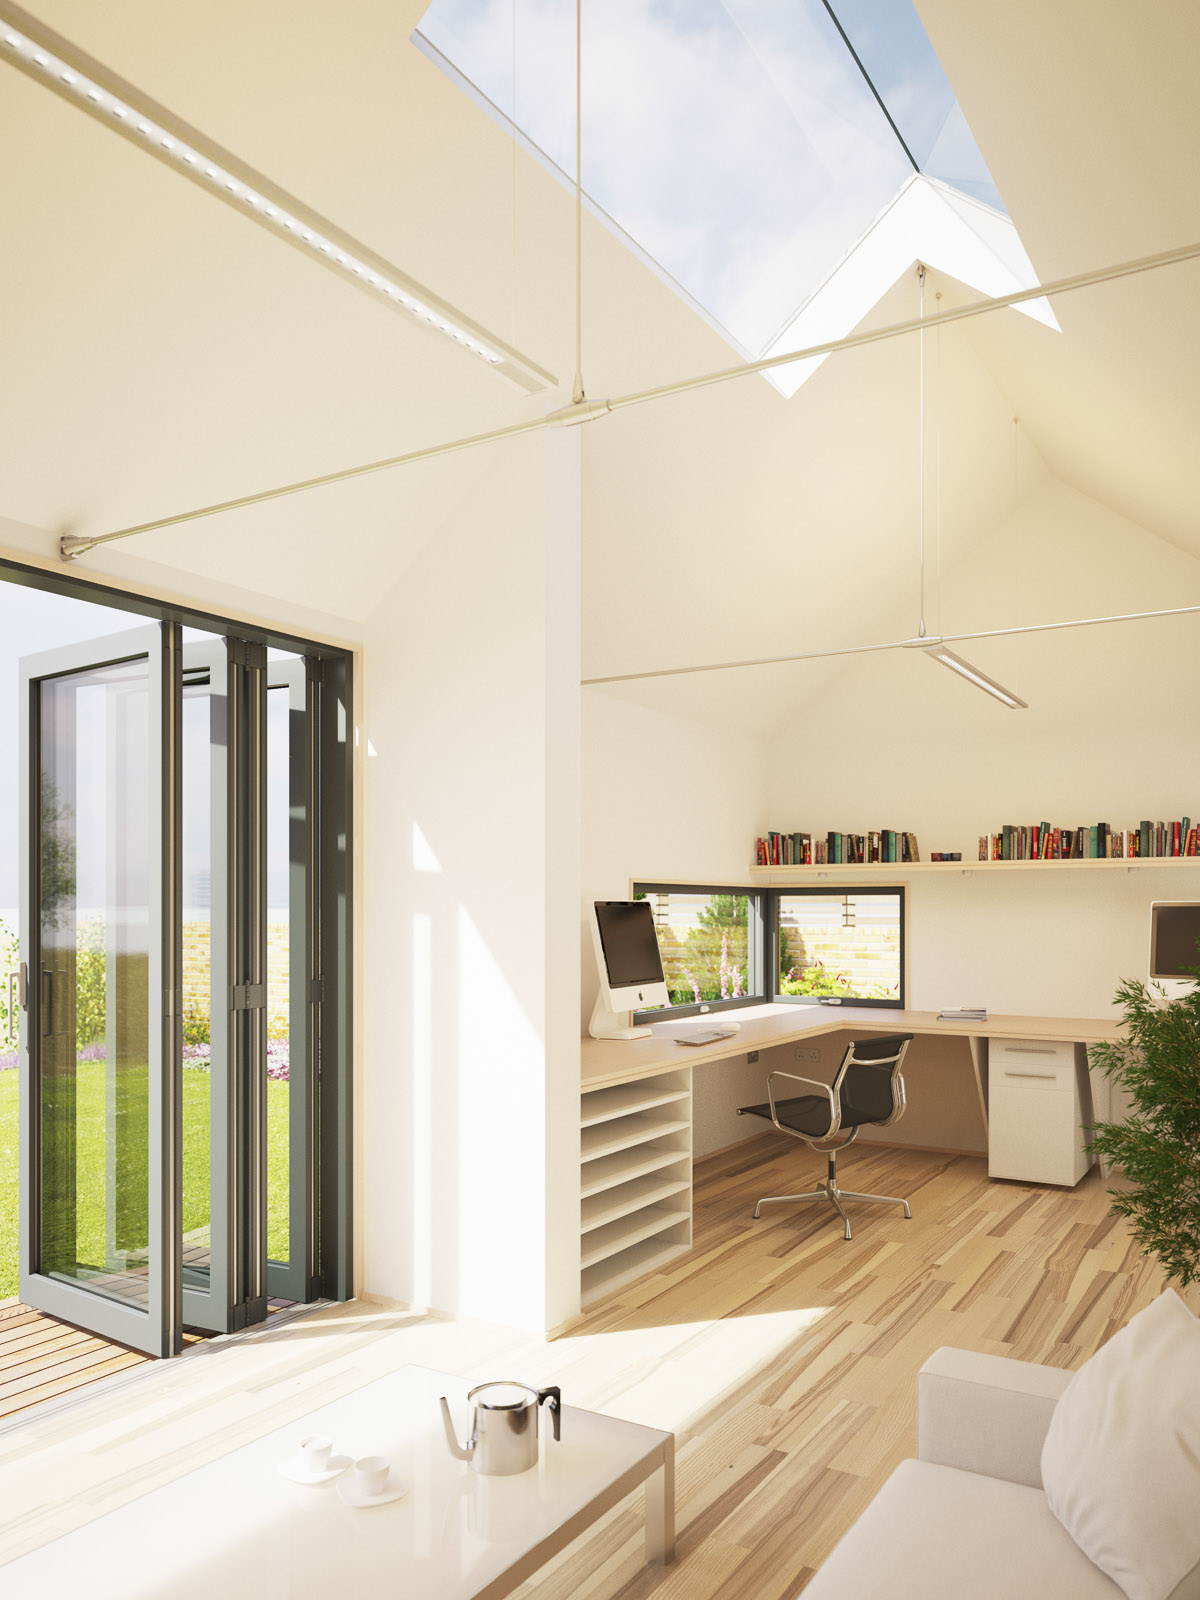
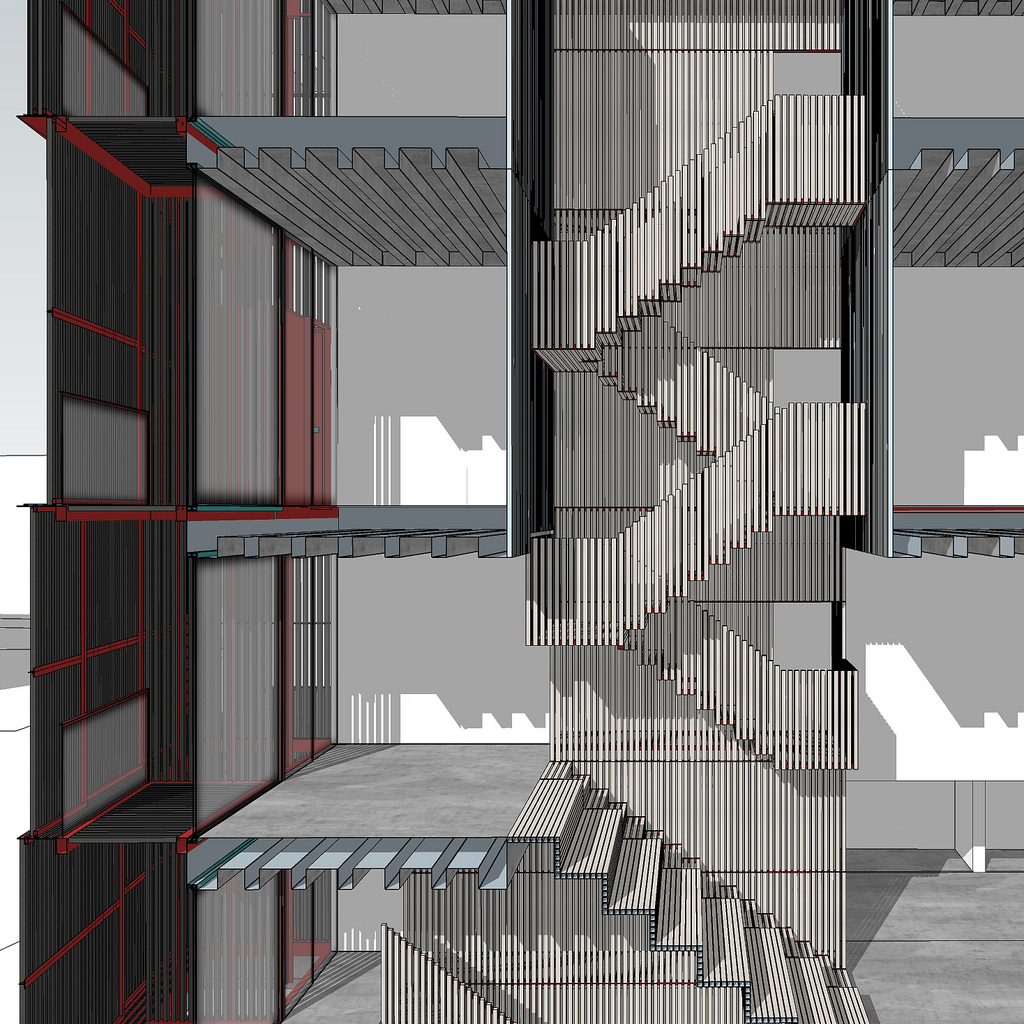
On the screengrab above, you can see the splines that are used to define different areas, and also to thin out the forest at its edges. Also evident is the clustering of plants which is a great feature in forest, it really helps make the forest look more natural and is very quick to experiment with too.
LIGHTING
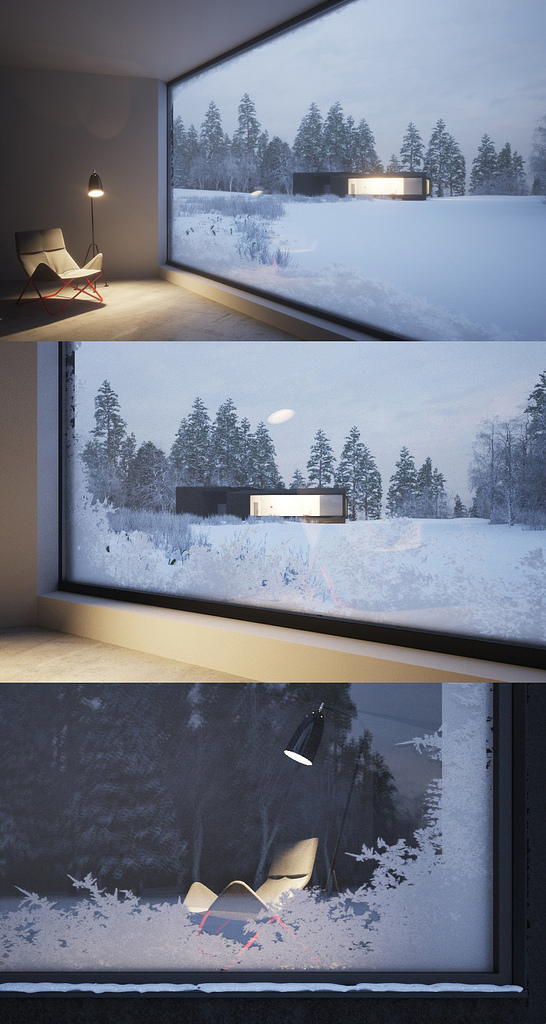
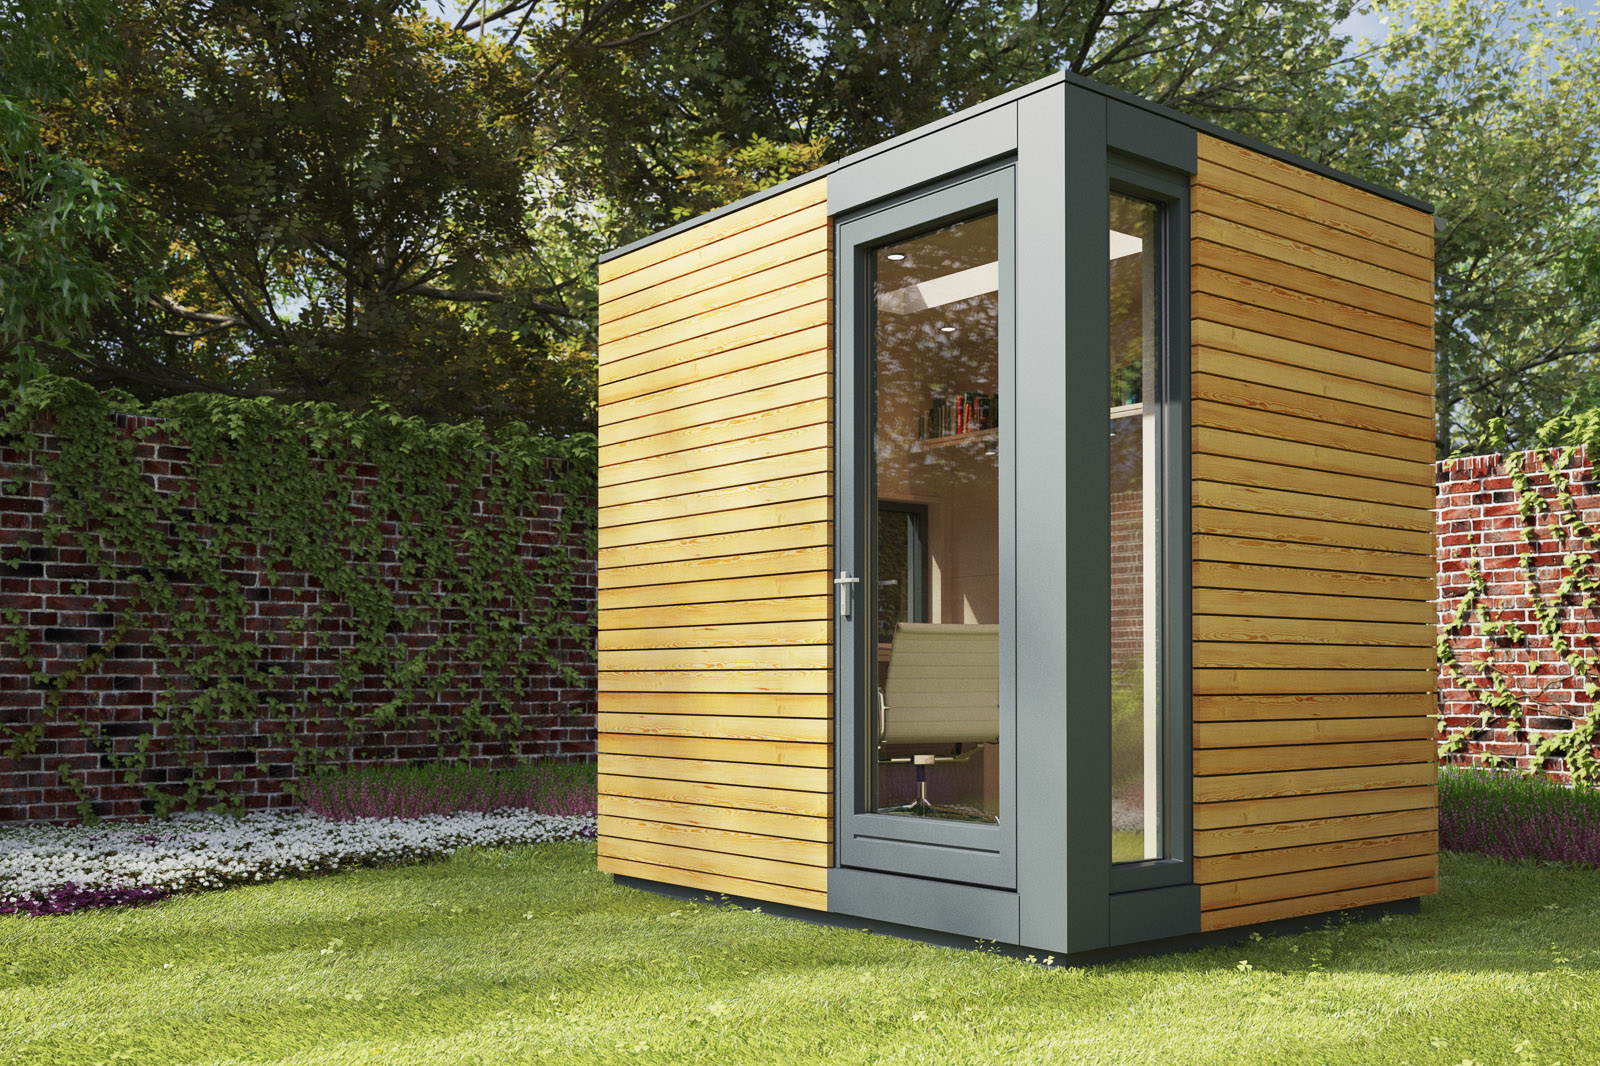
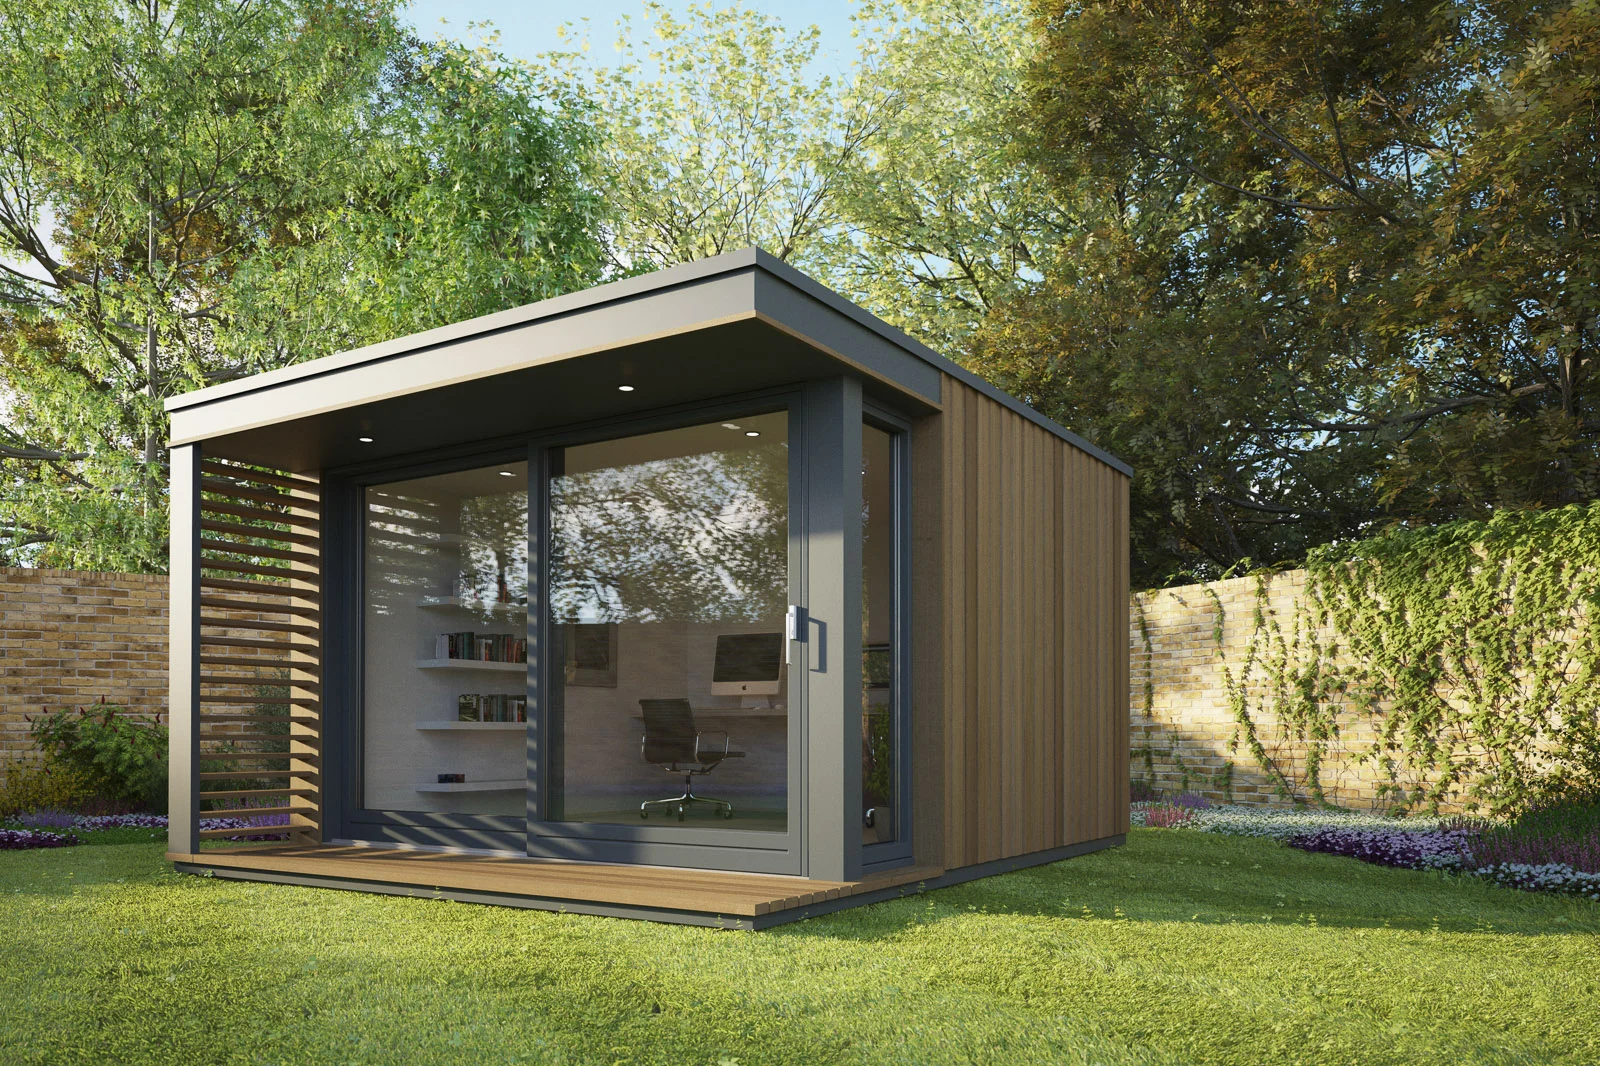
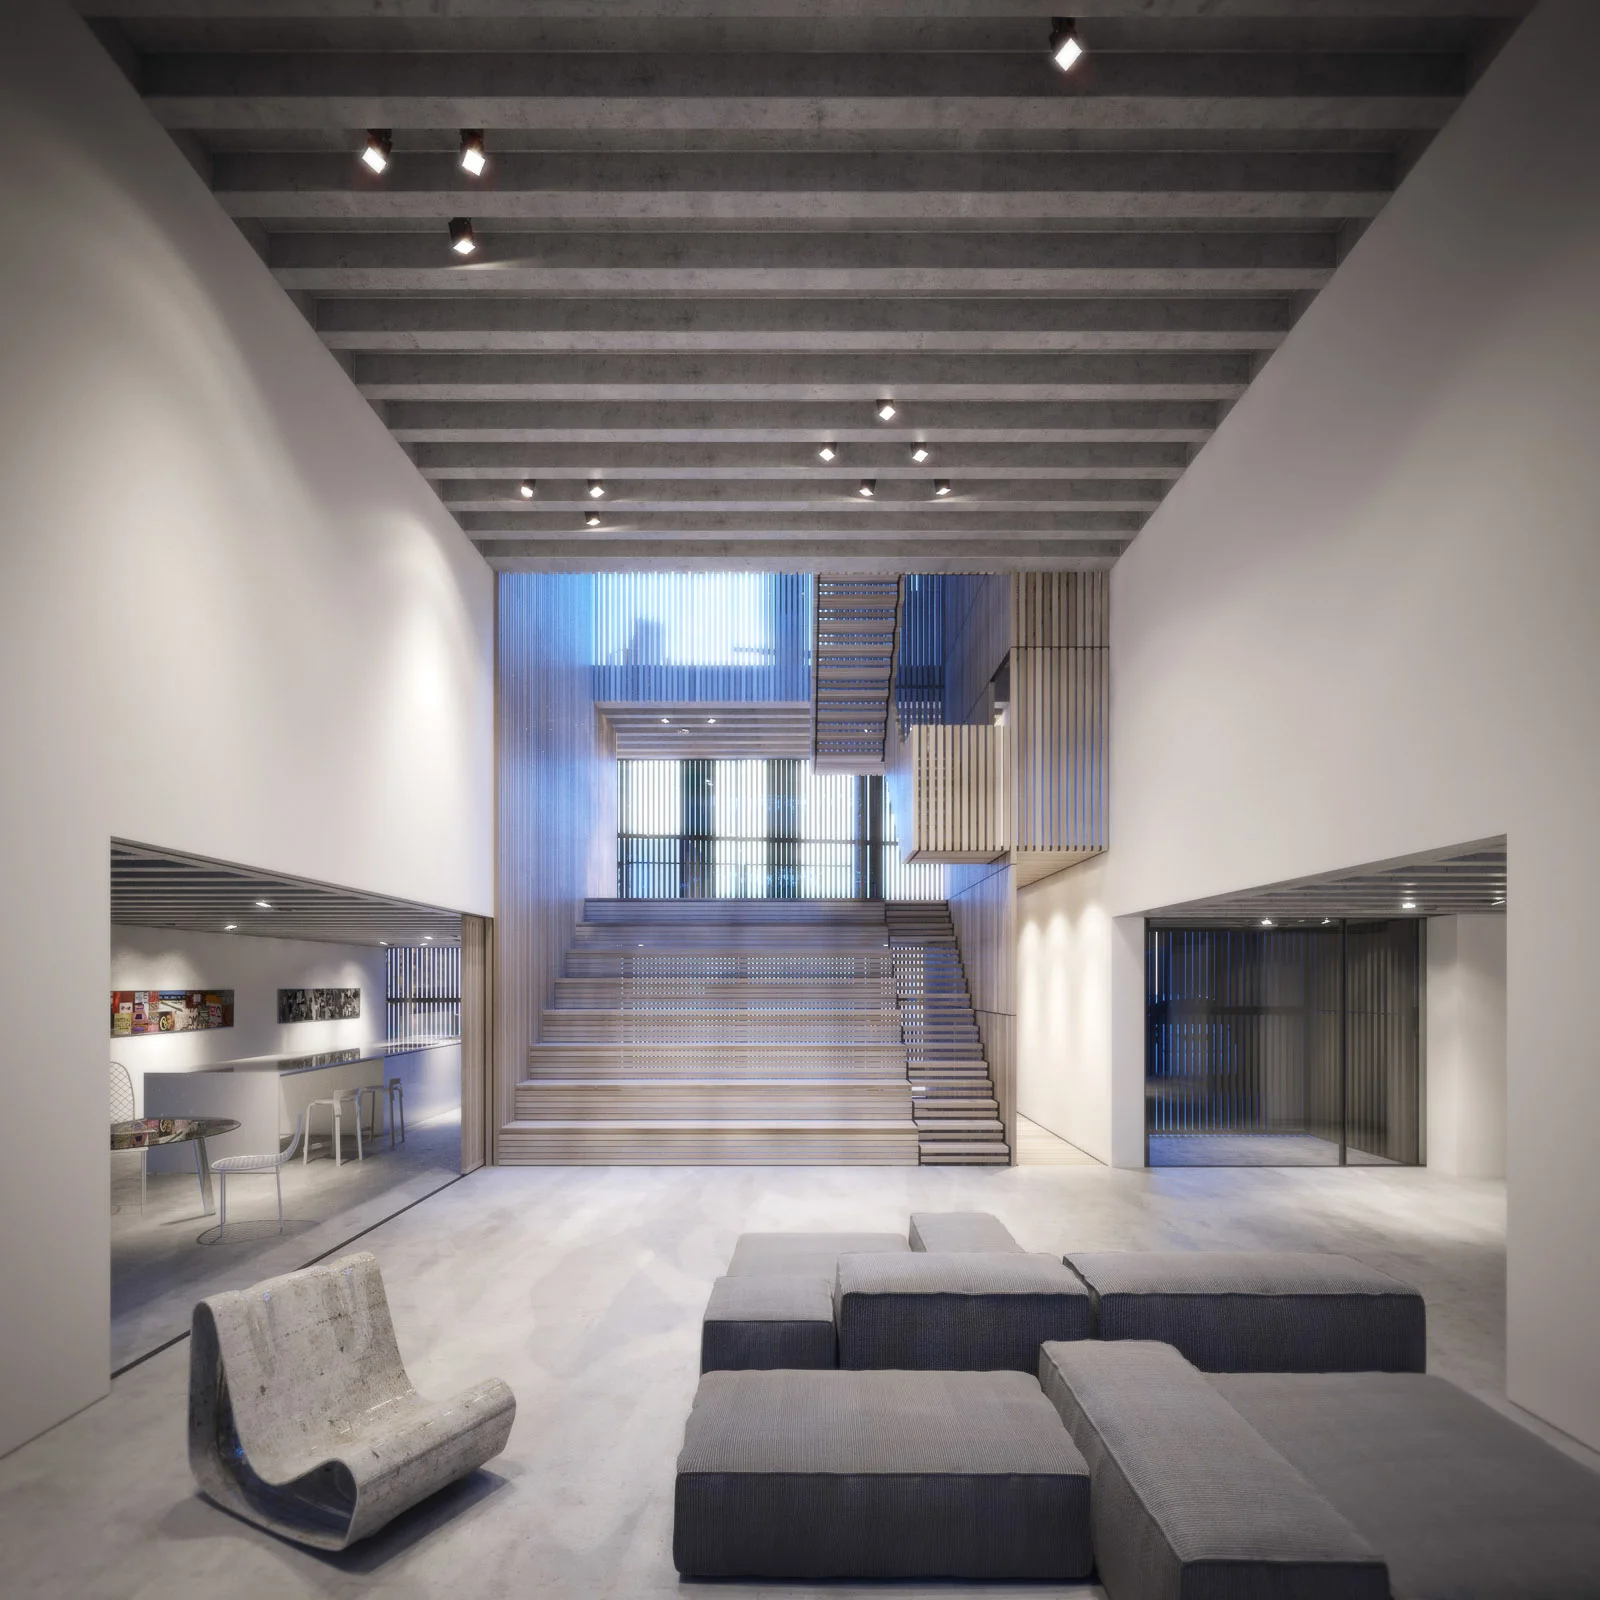
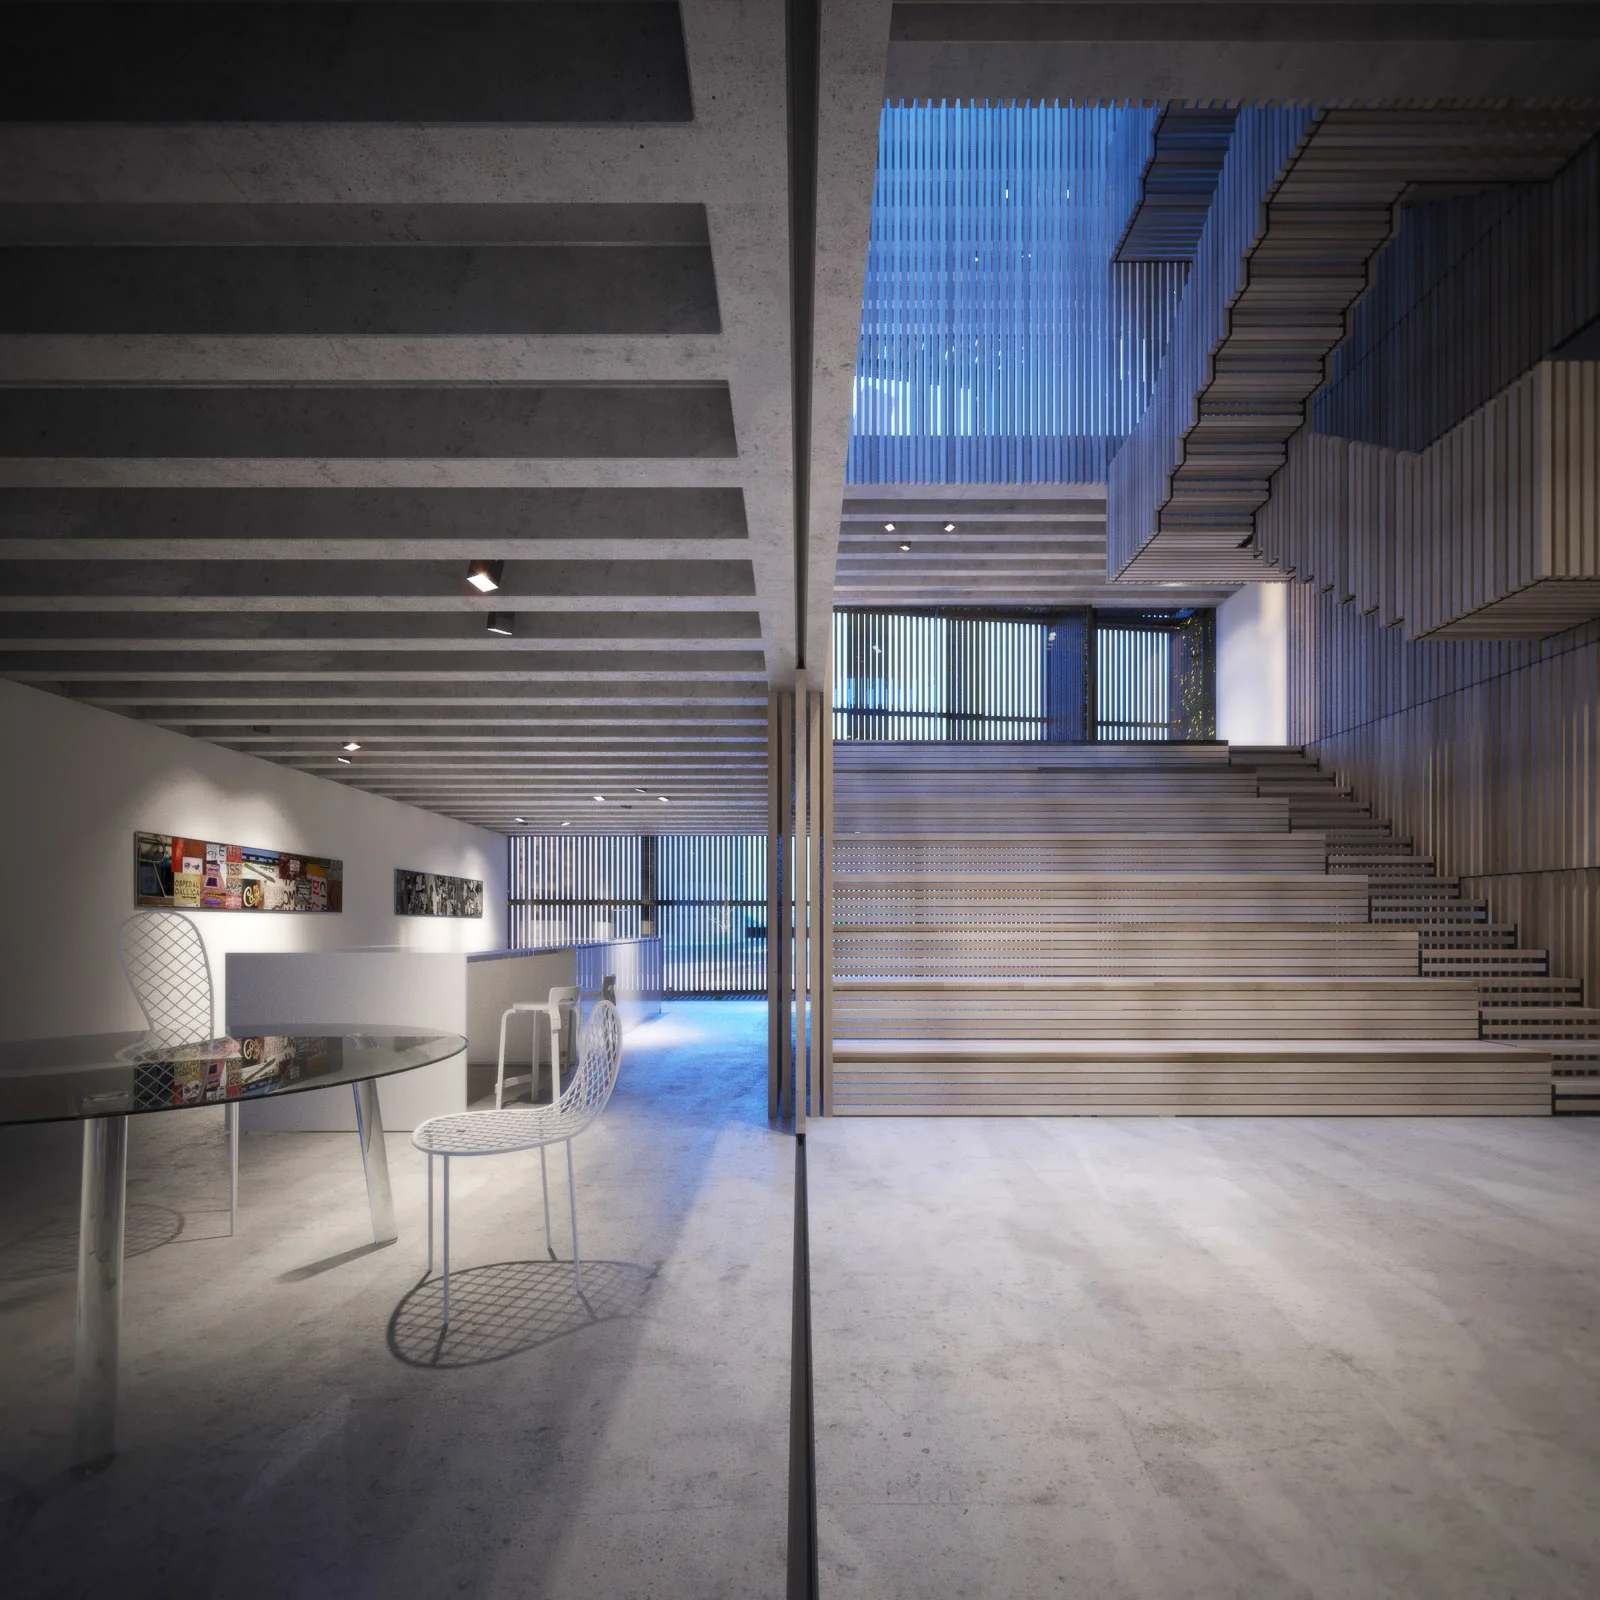
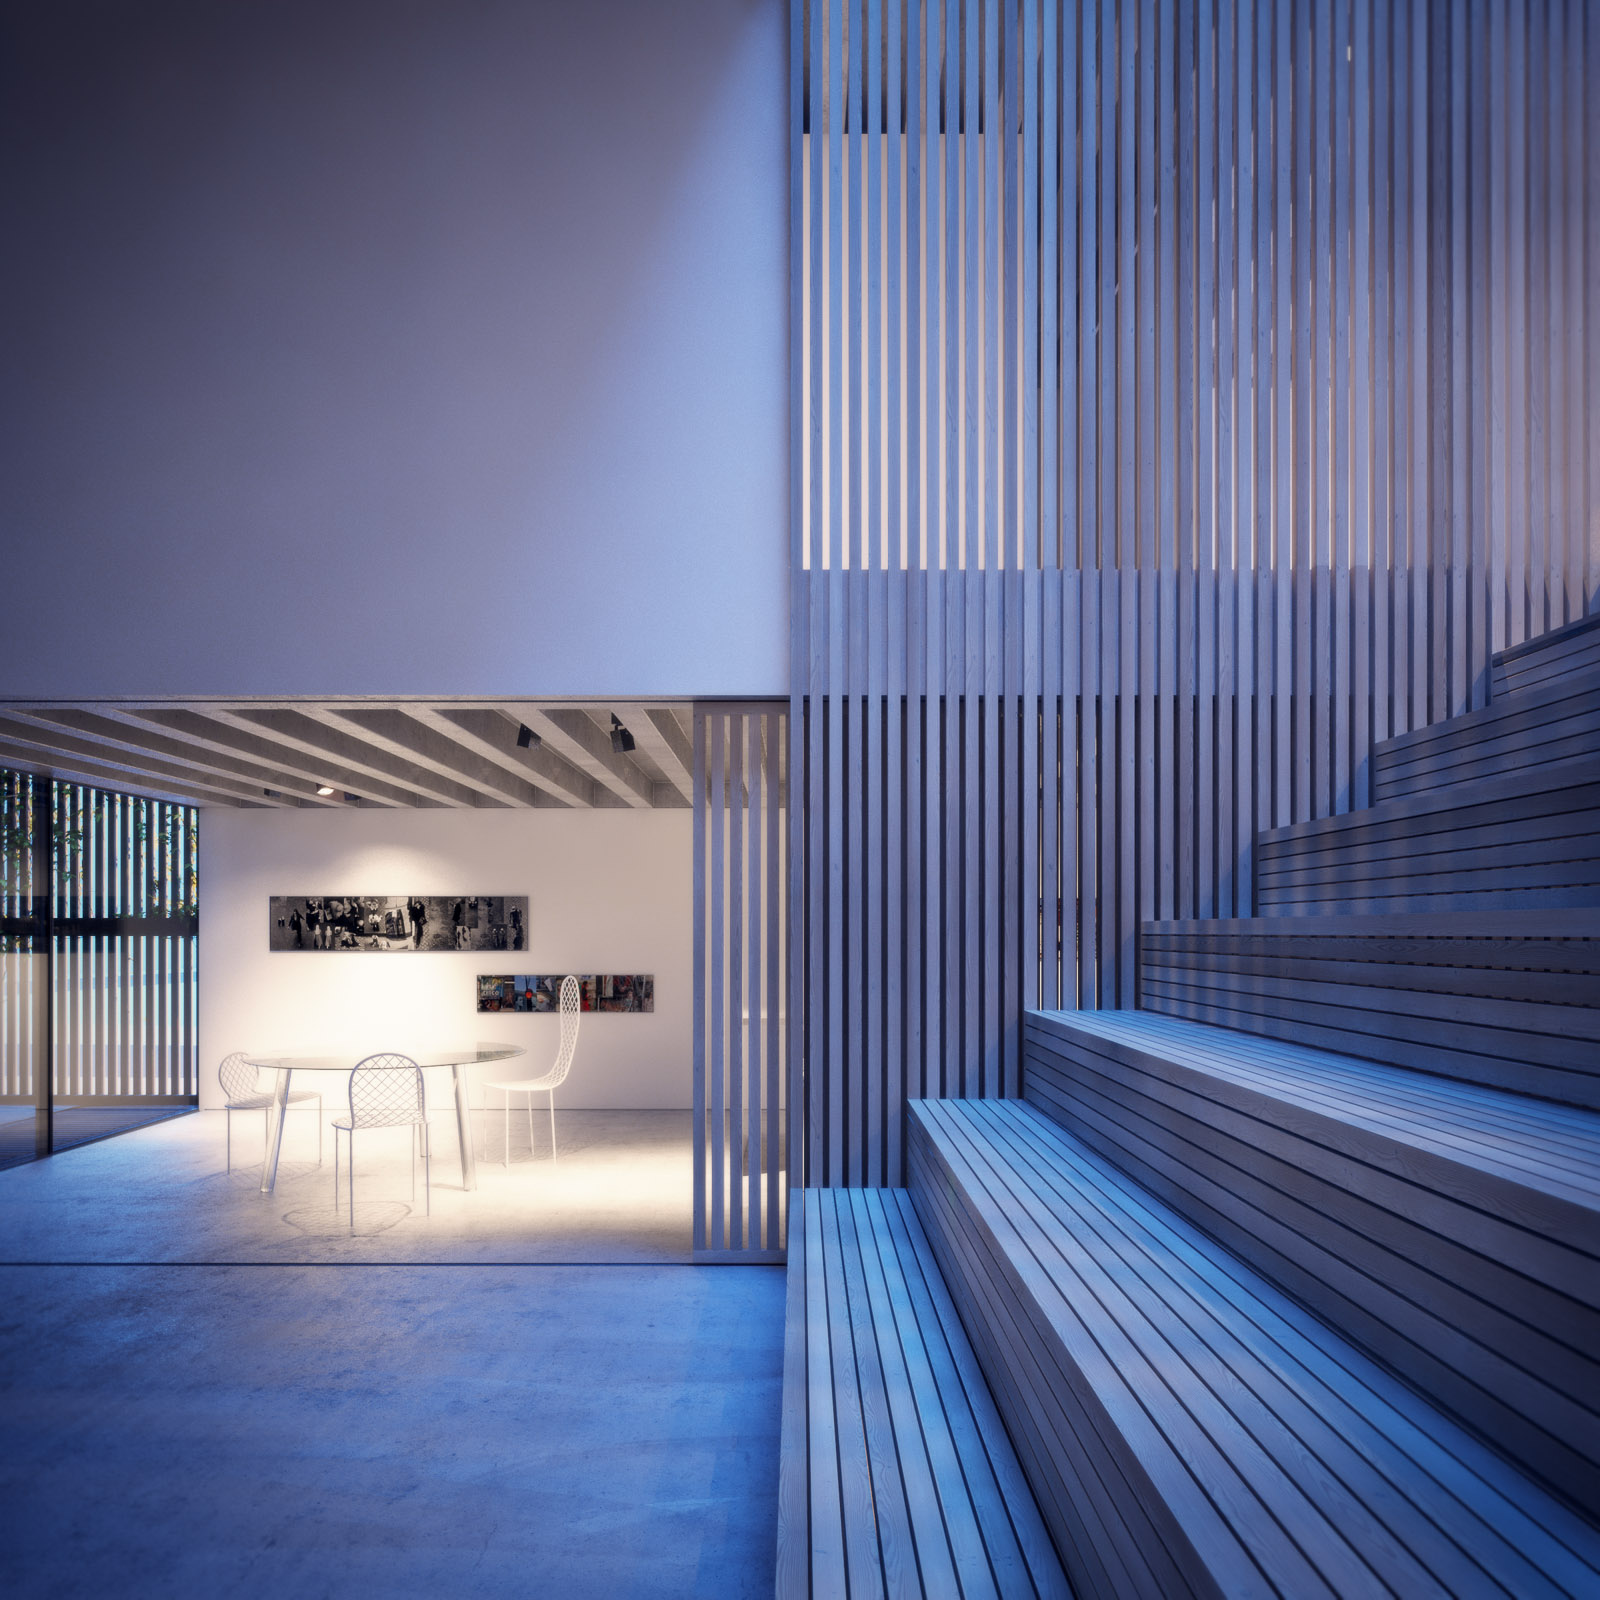
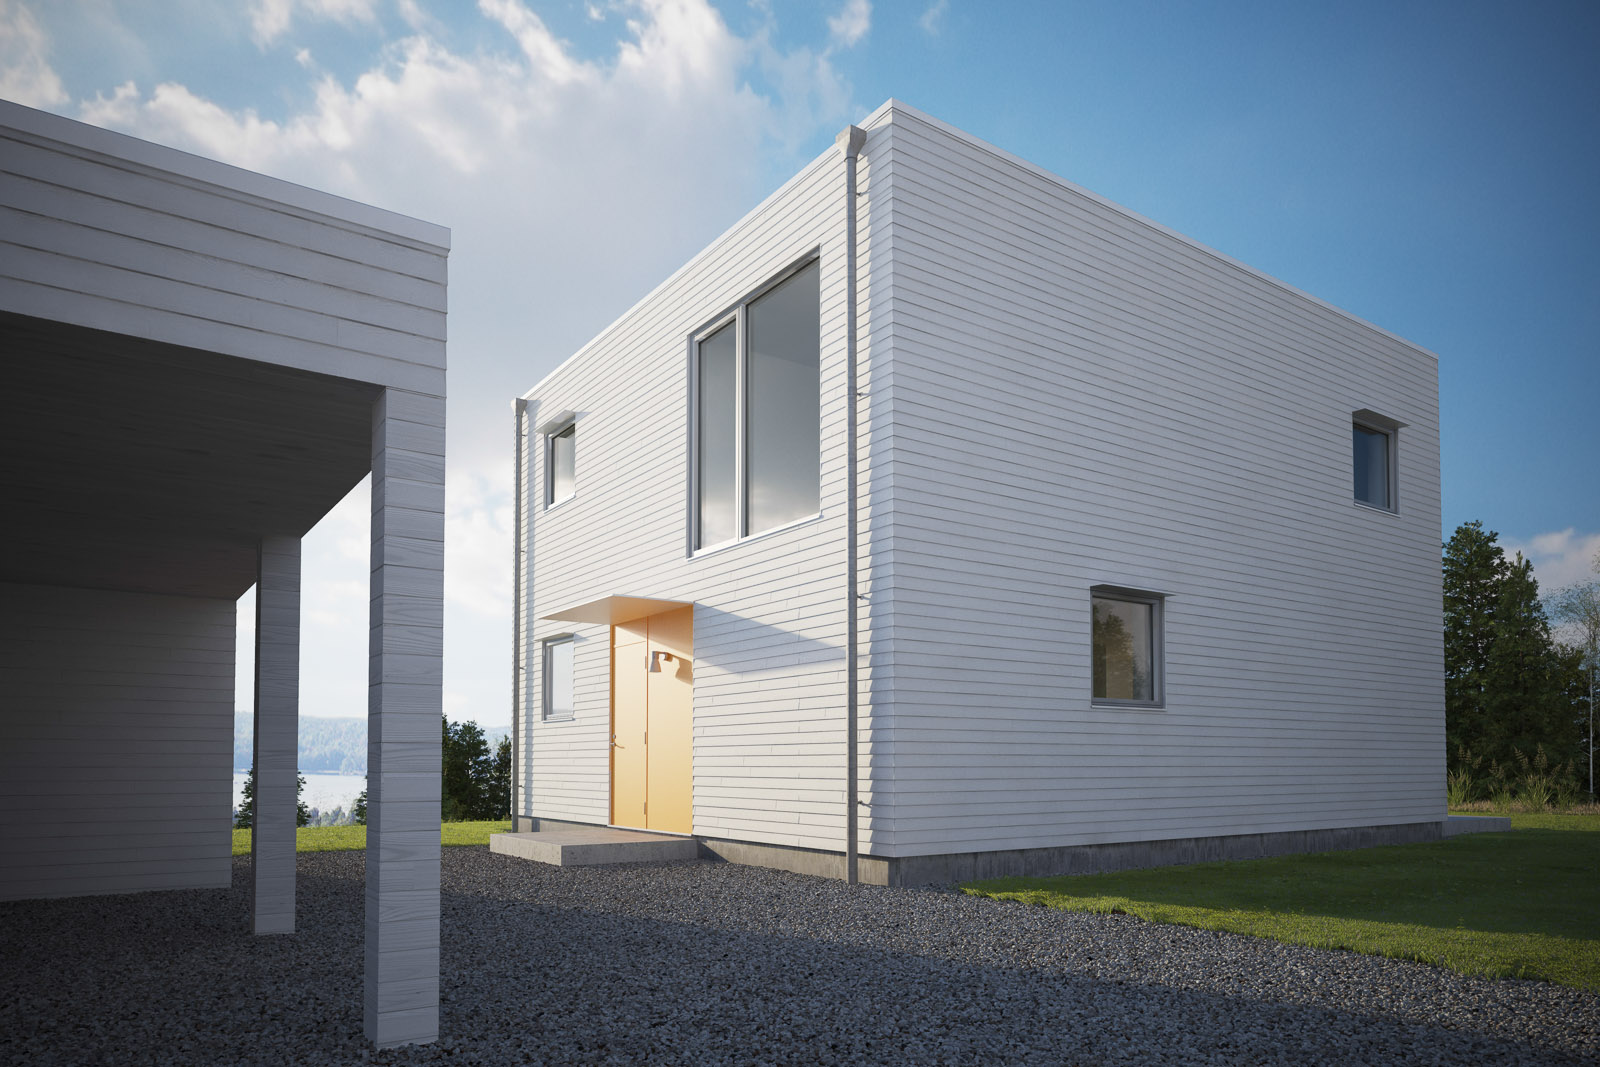
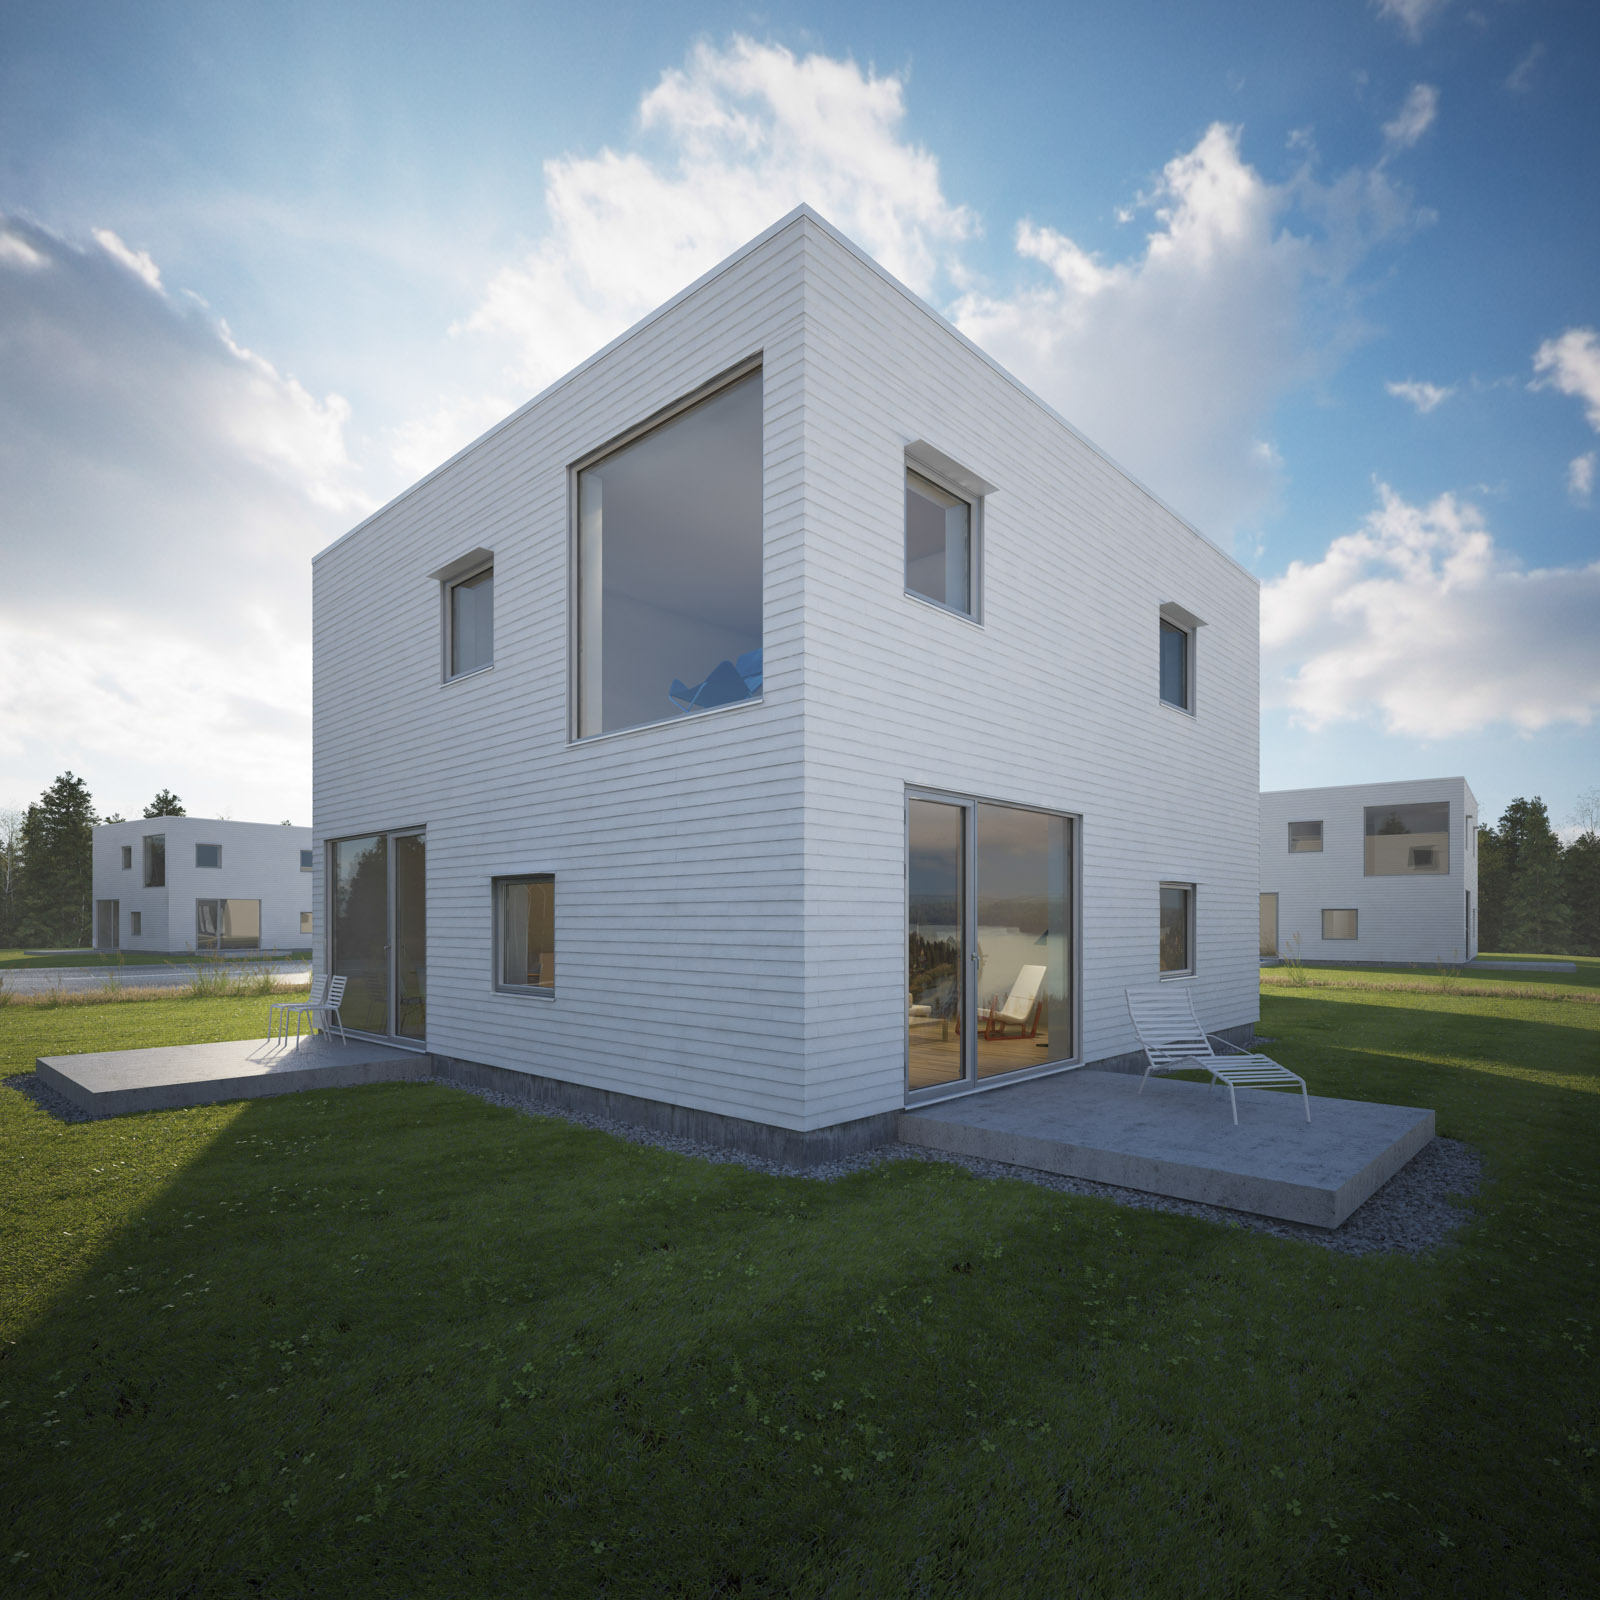
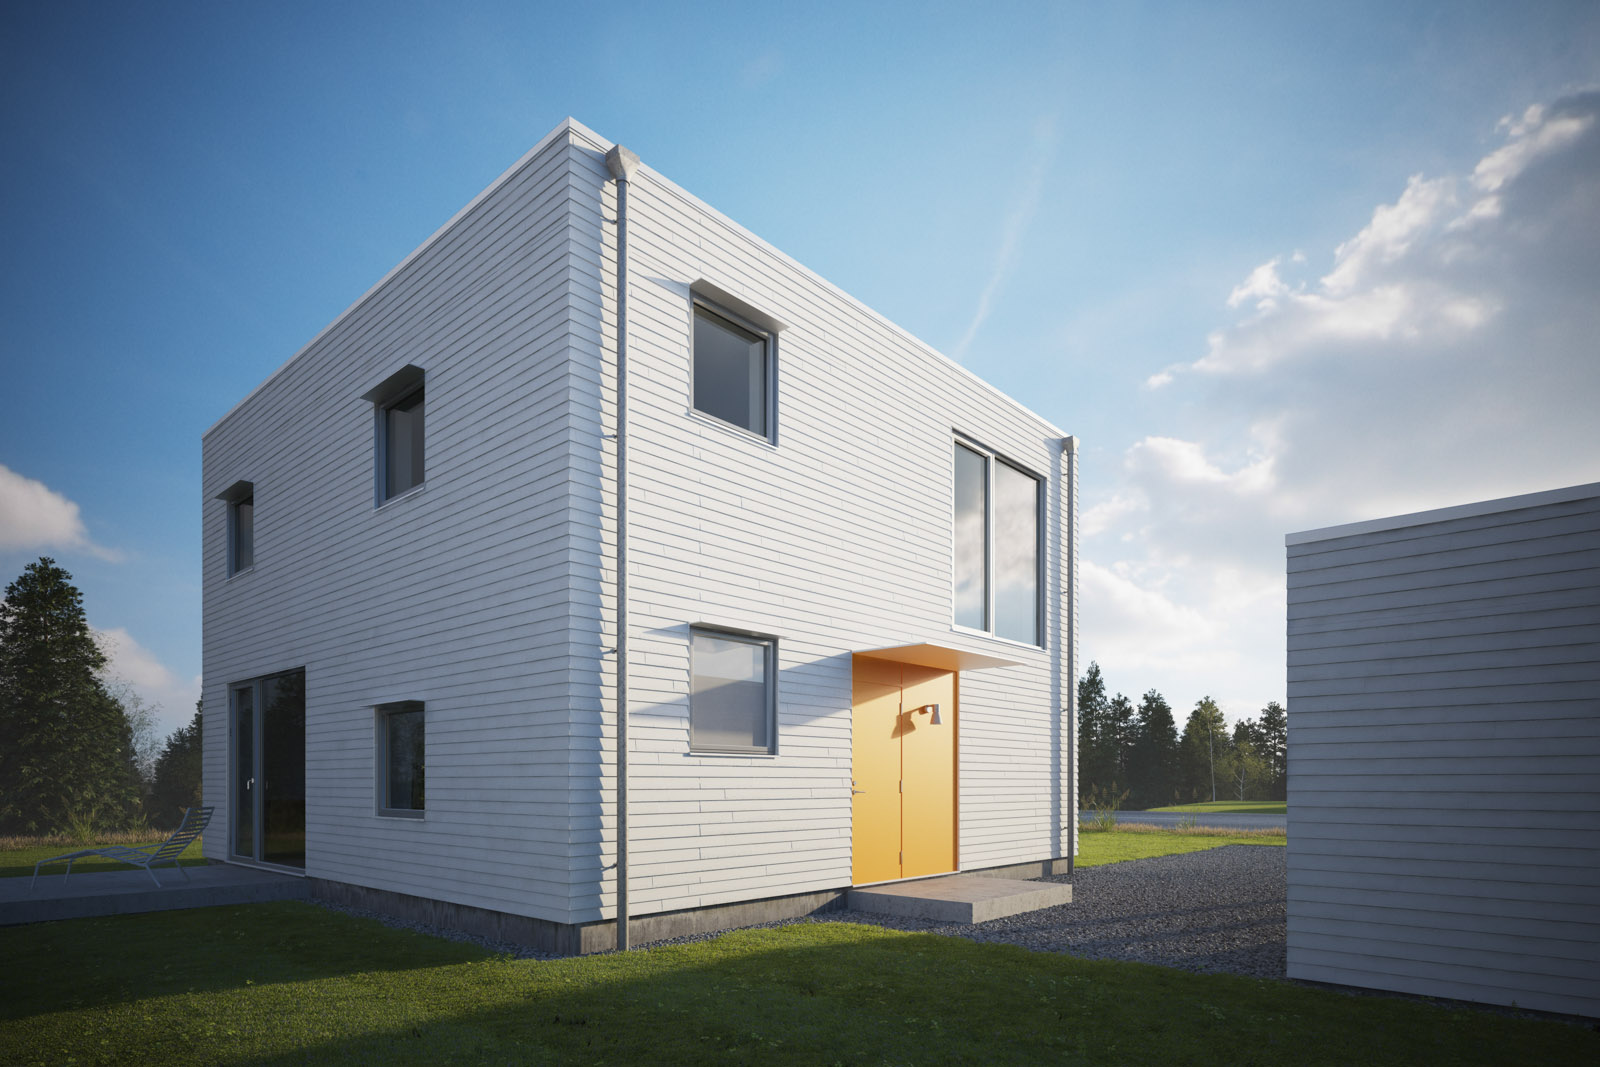
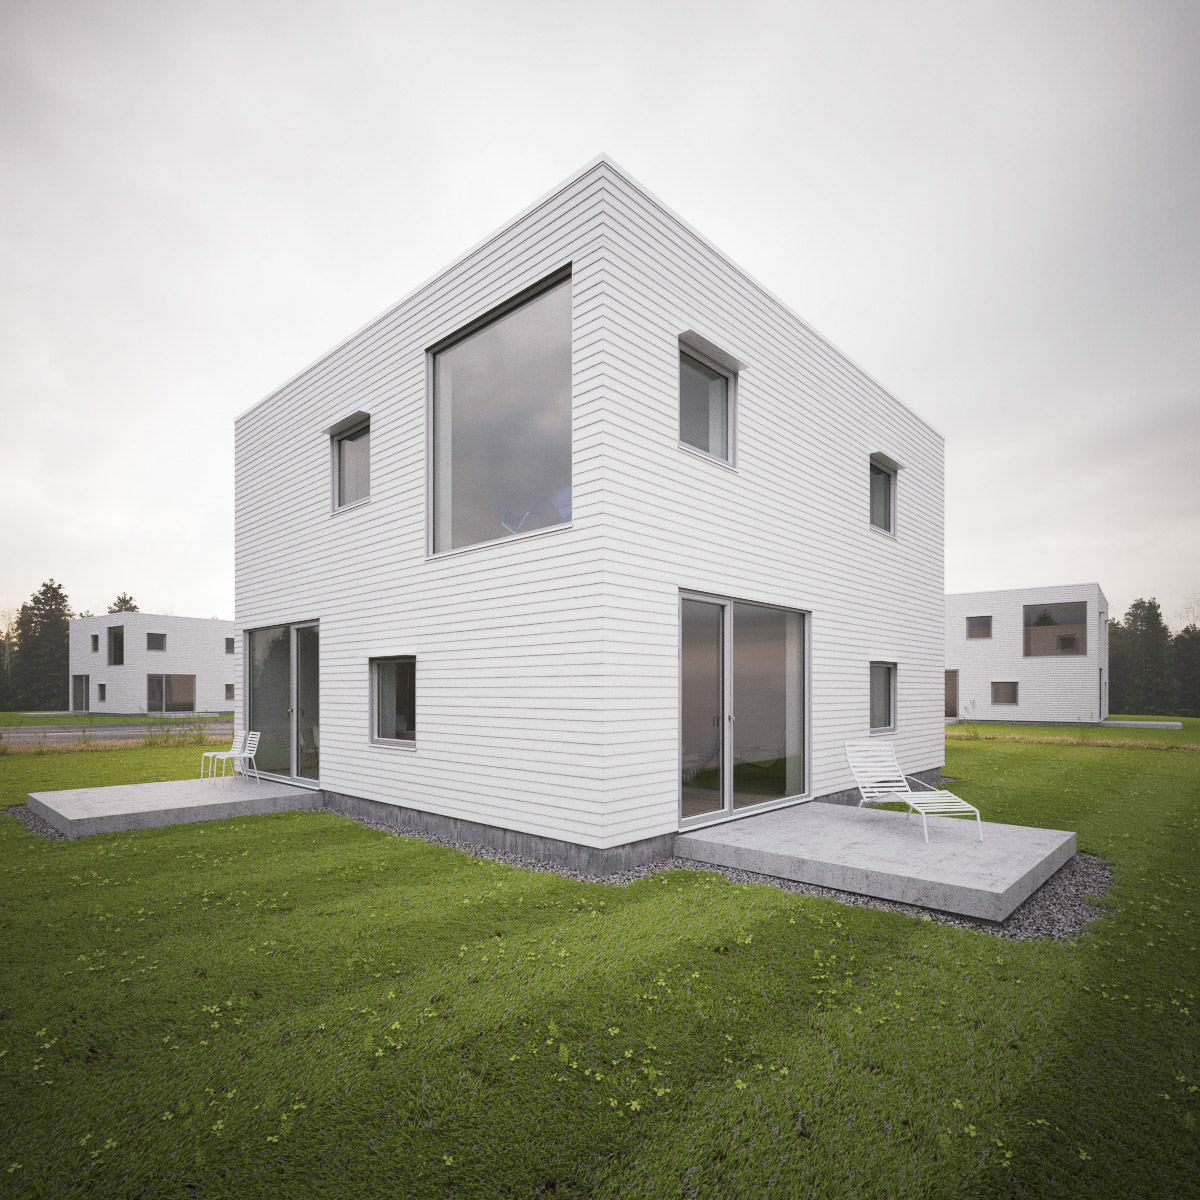
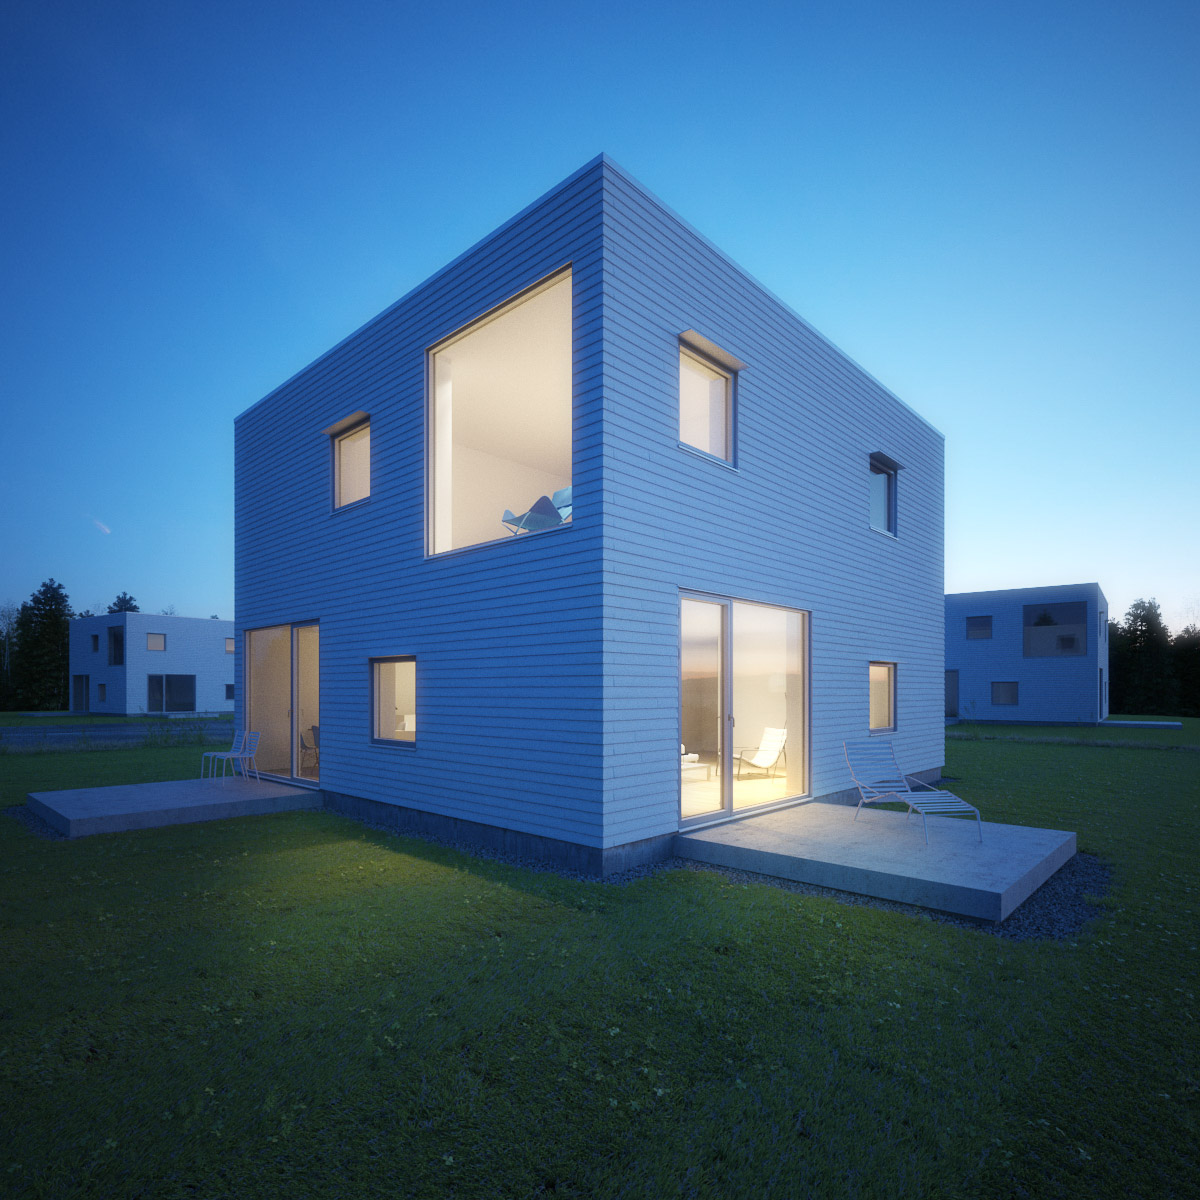
As always my favourite part of the project was the lighting. I knew I wanted to go for another subtle diffuse light set up, so experimented with some suitable HDR skies from my shop. The ones I tried were 1008, 0902 and 0743 but ended up going for 1008 again (as Allandale house) as having even a slight amount of warmth from the sun didnt look right.
I used vrayenvfog with a mesh as a gizmo to keep the fog away from the actual houses (didn't want fog inside!) and a fog distance of 450 metres. No maps controlling density, colour or emission. The fog is set to scatter GI as it looked nicer and there wasnt much difference in render time. If I had gone for a darker time of day, having the interior lights interact with the fog outside the windows would have been really interesting, maybe next time!
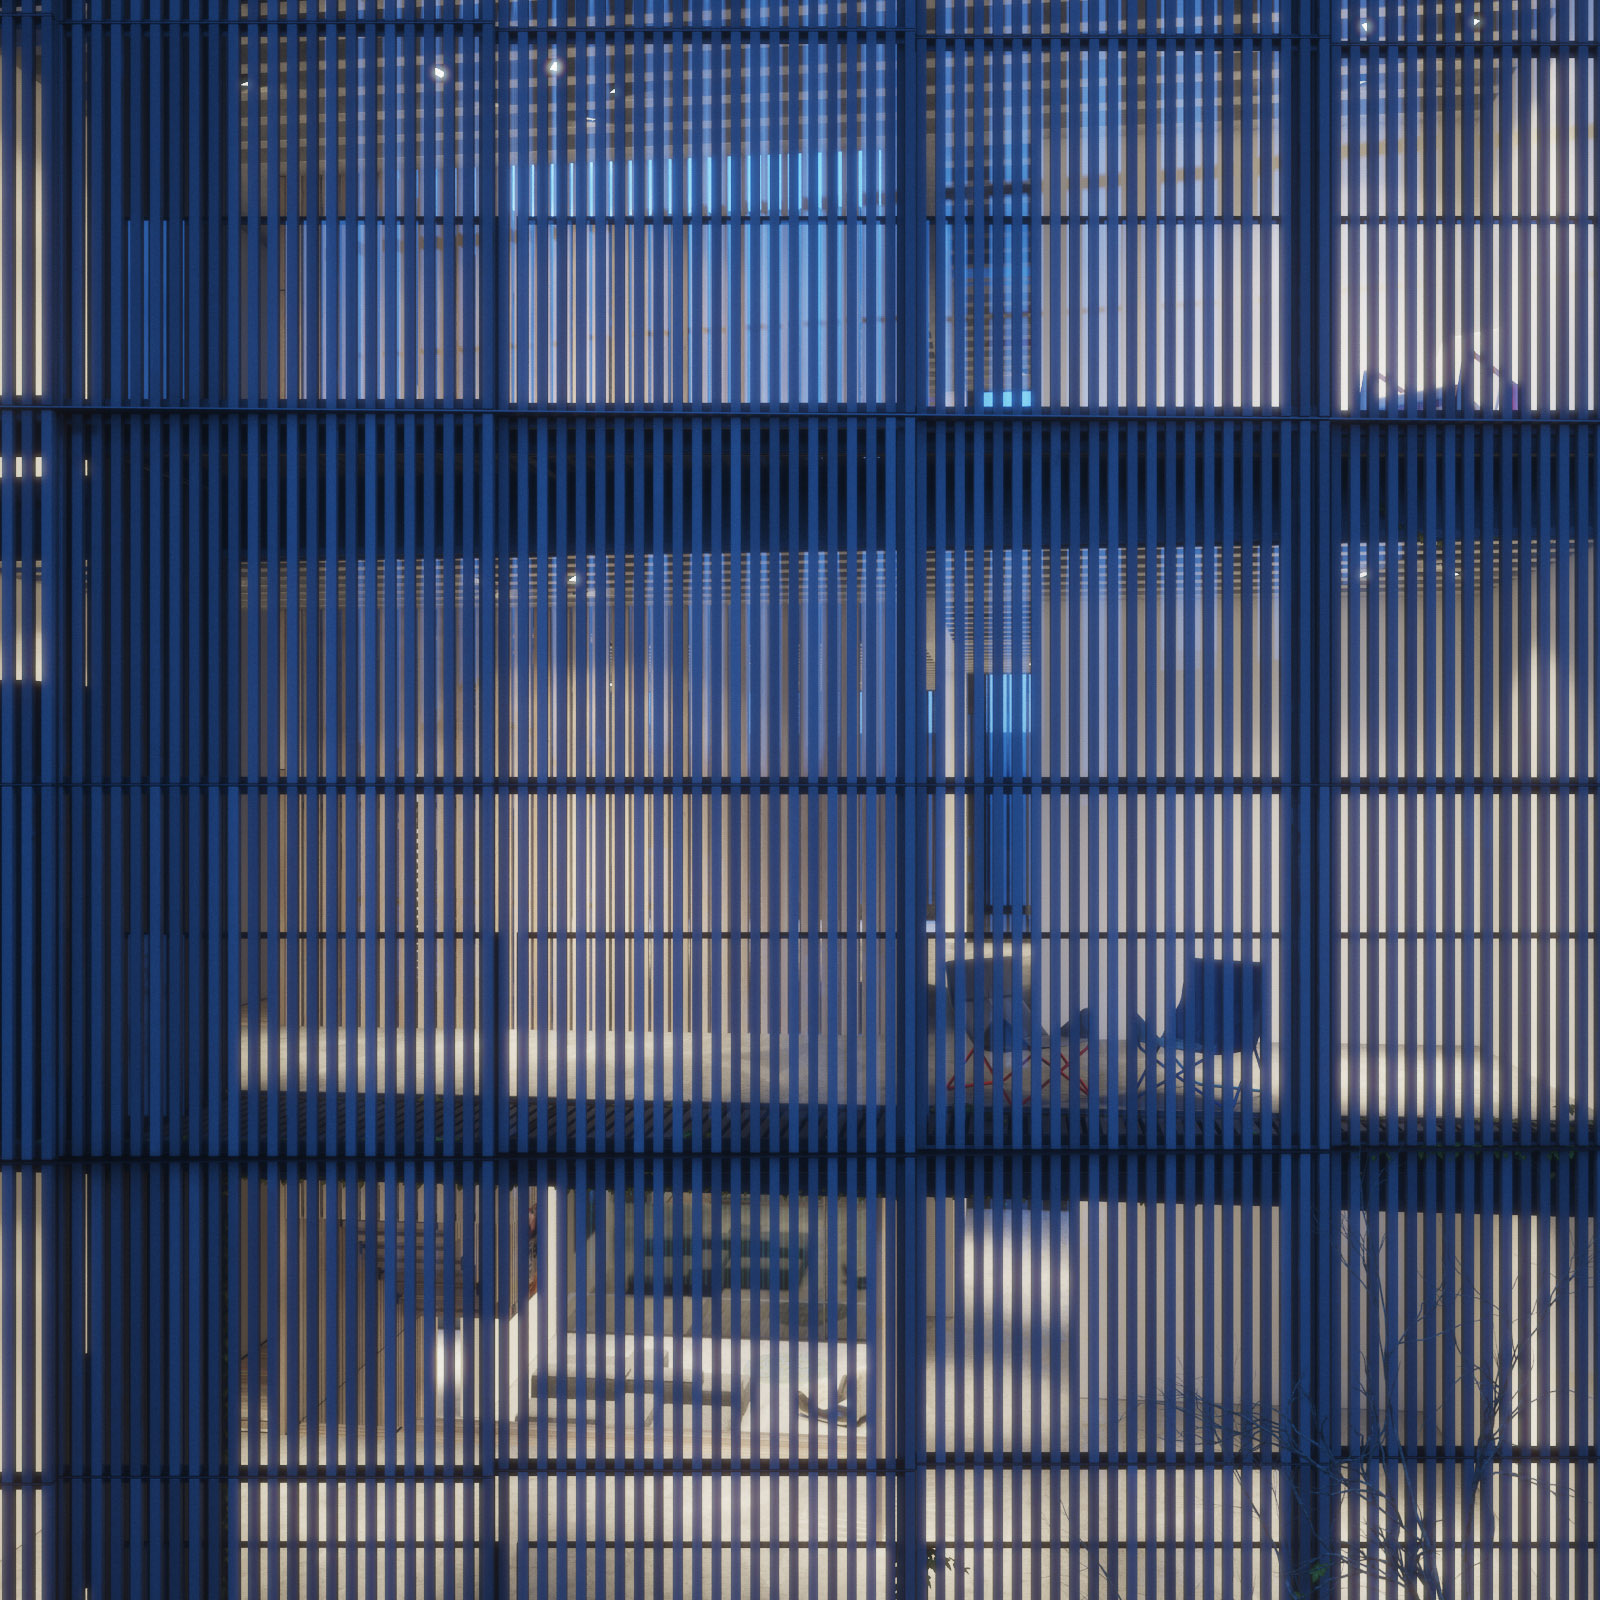
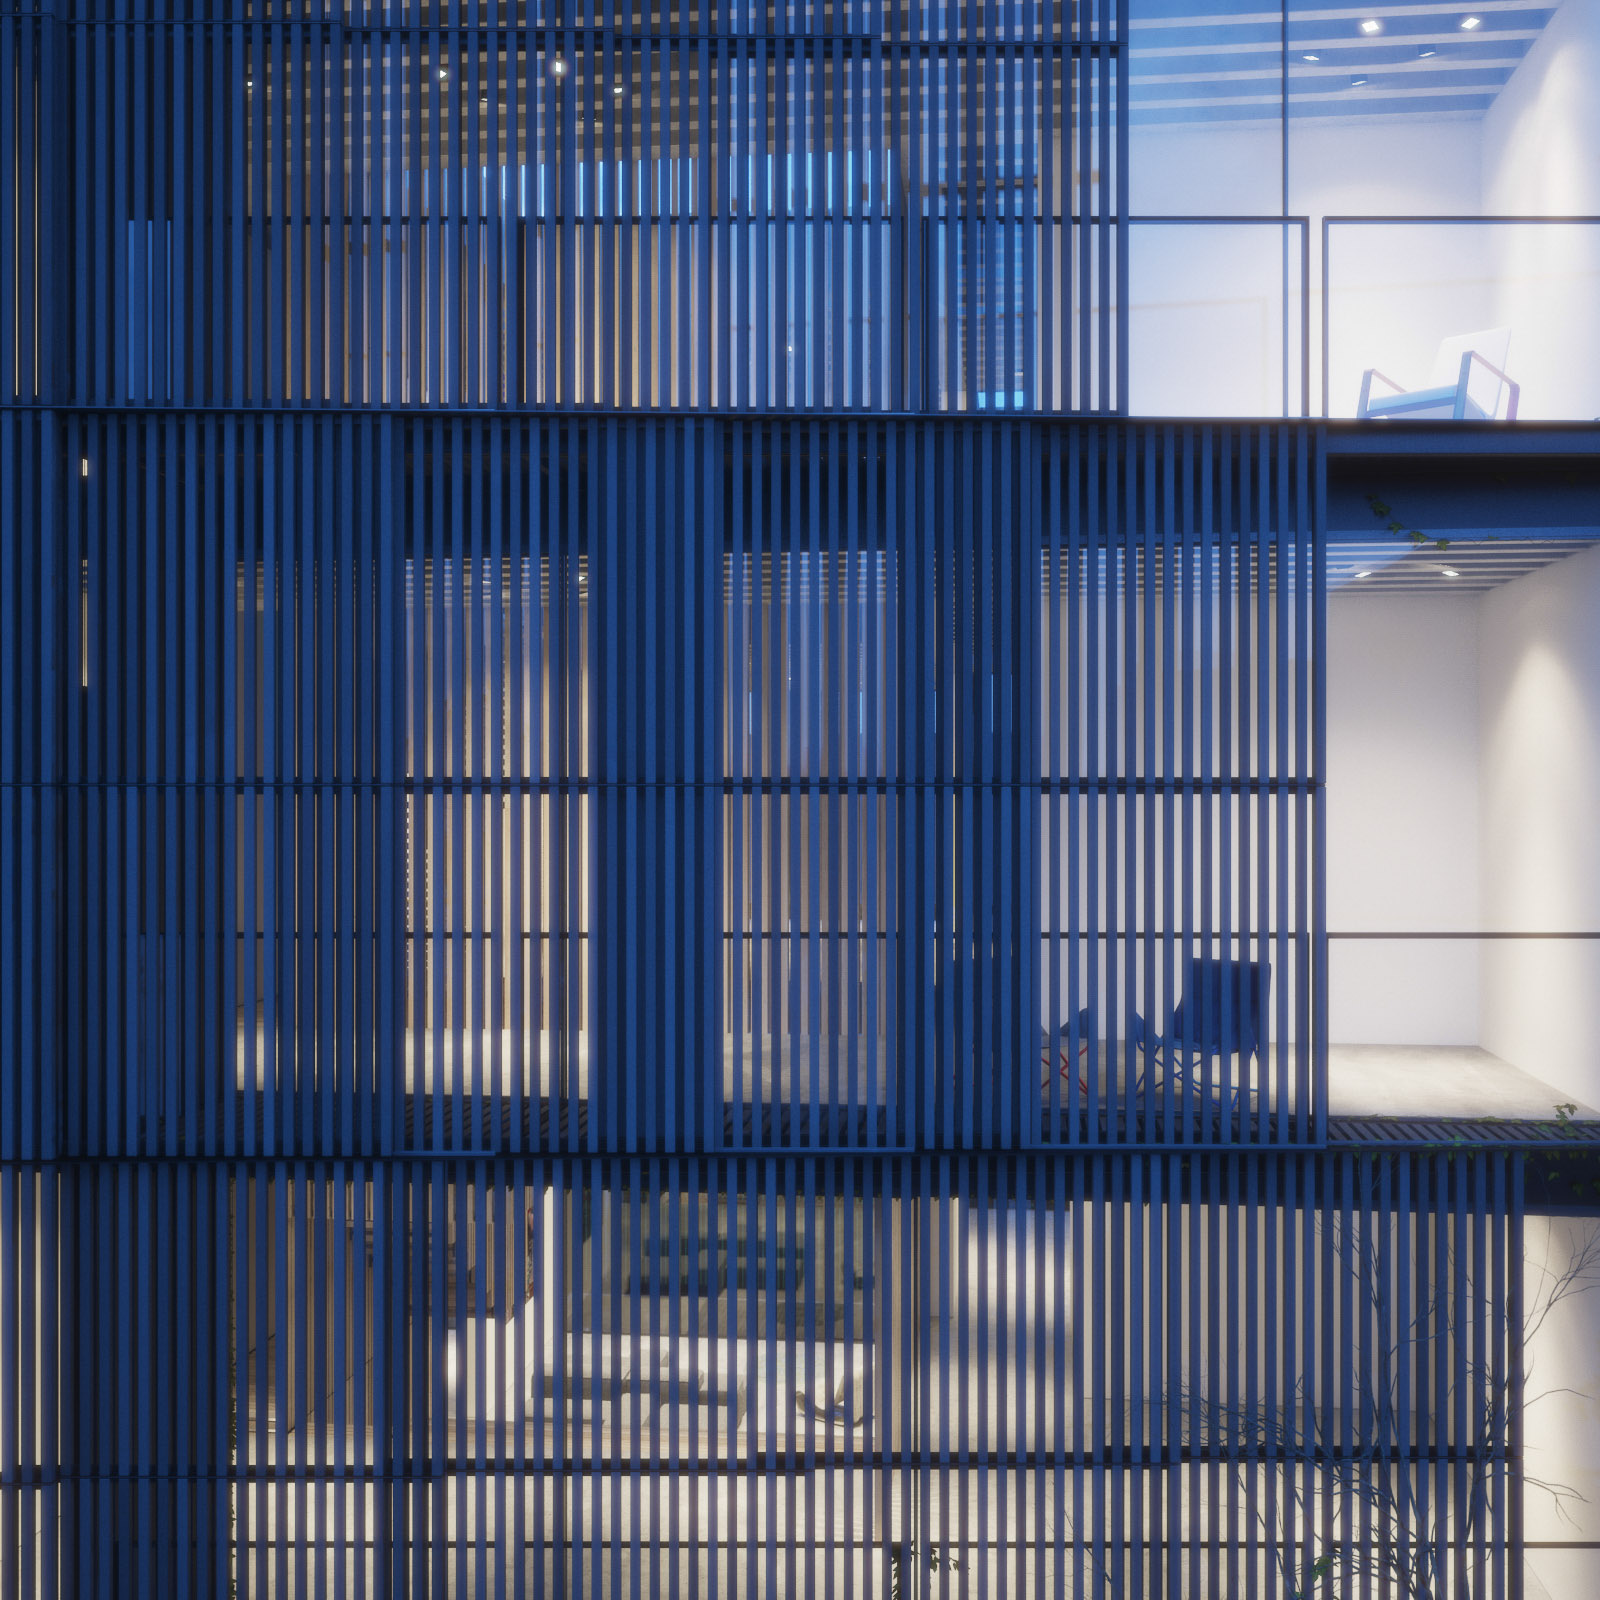
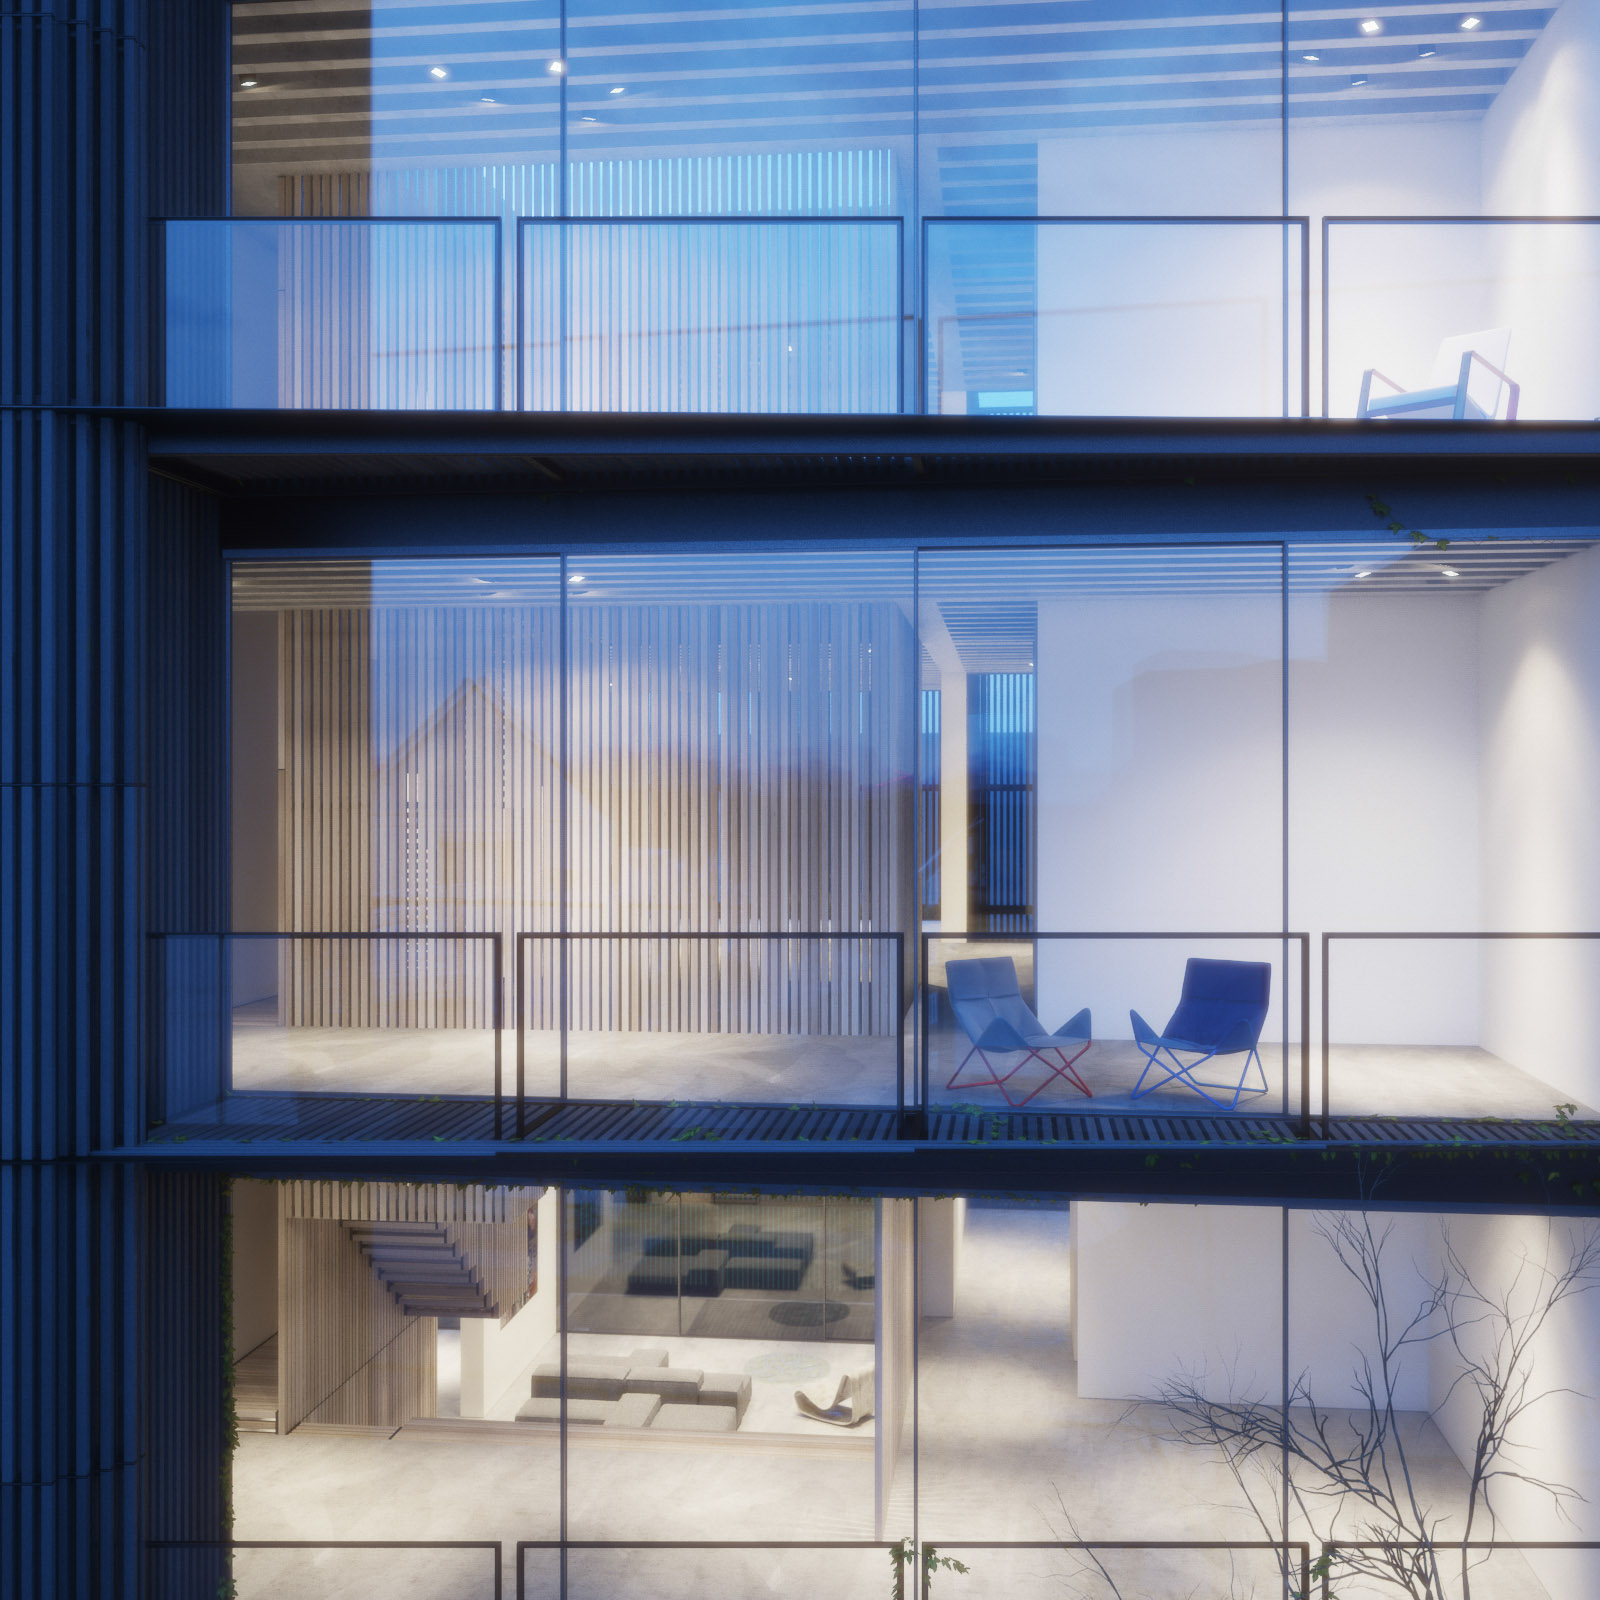
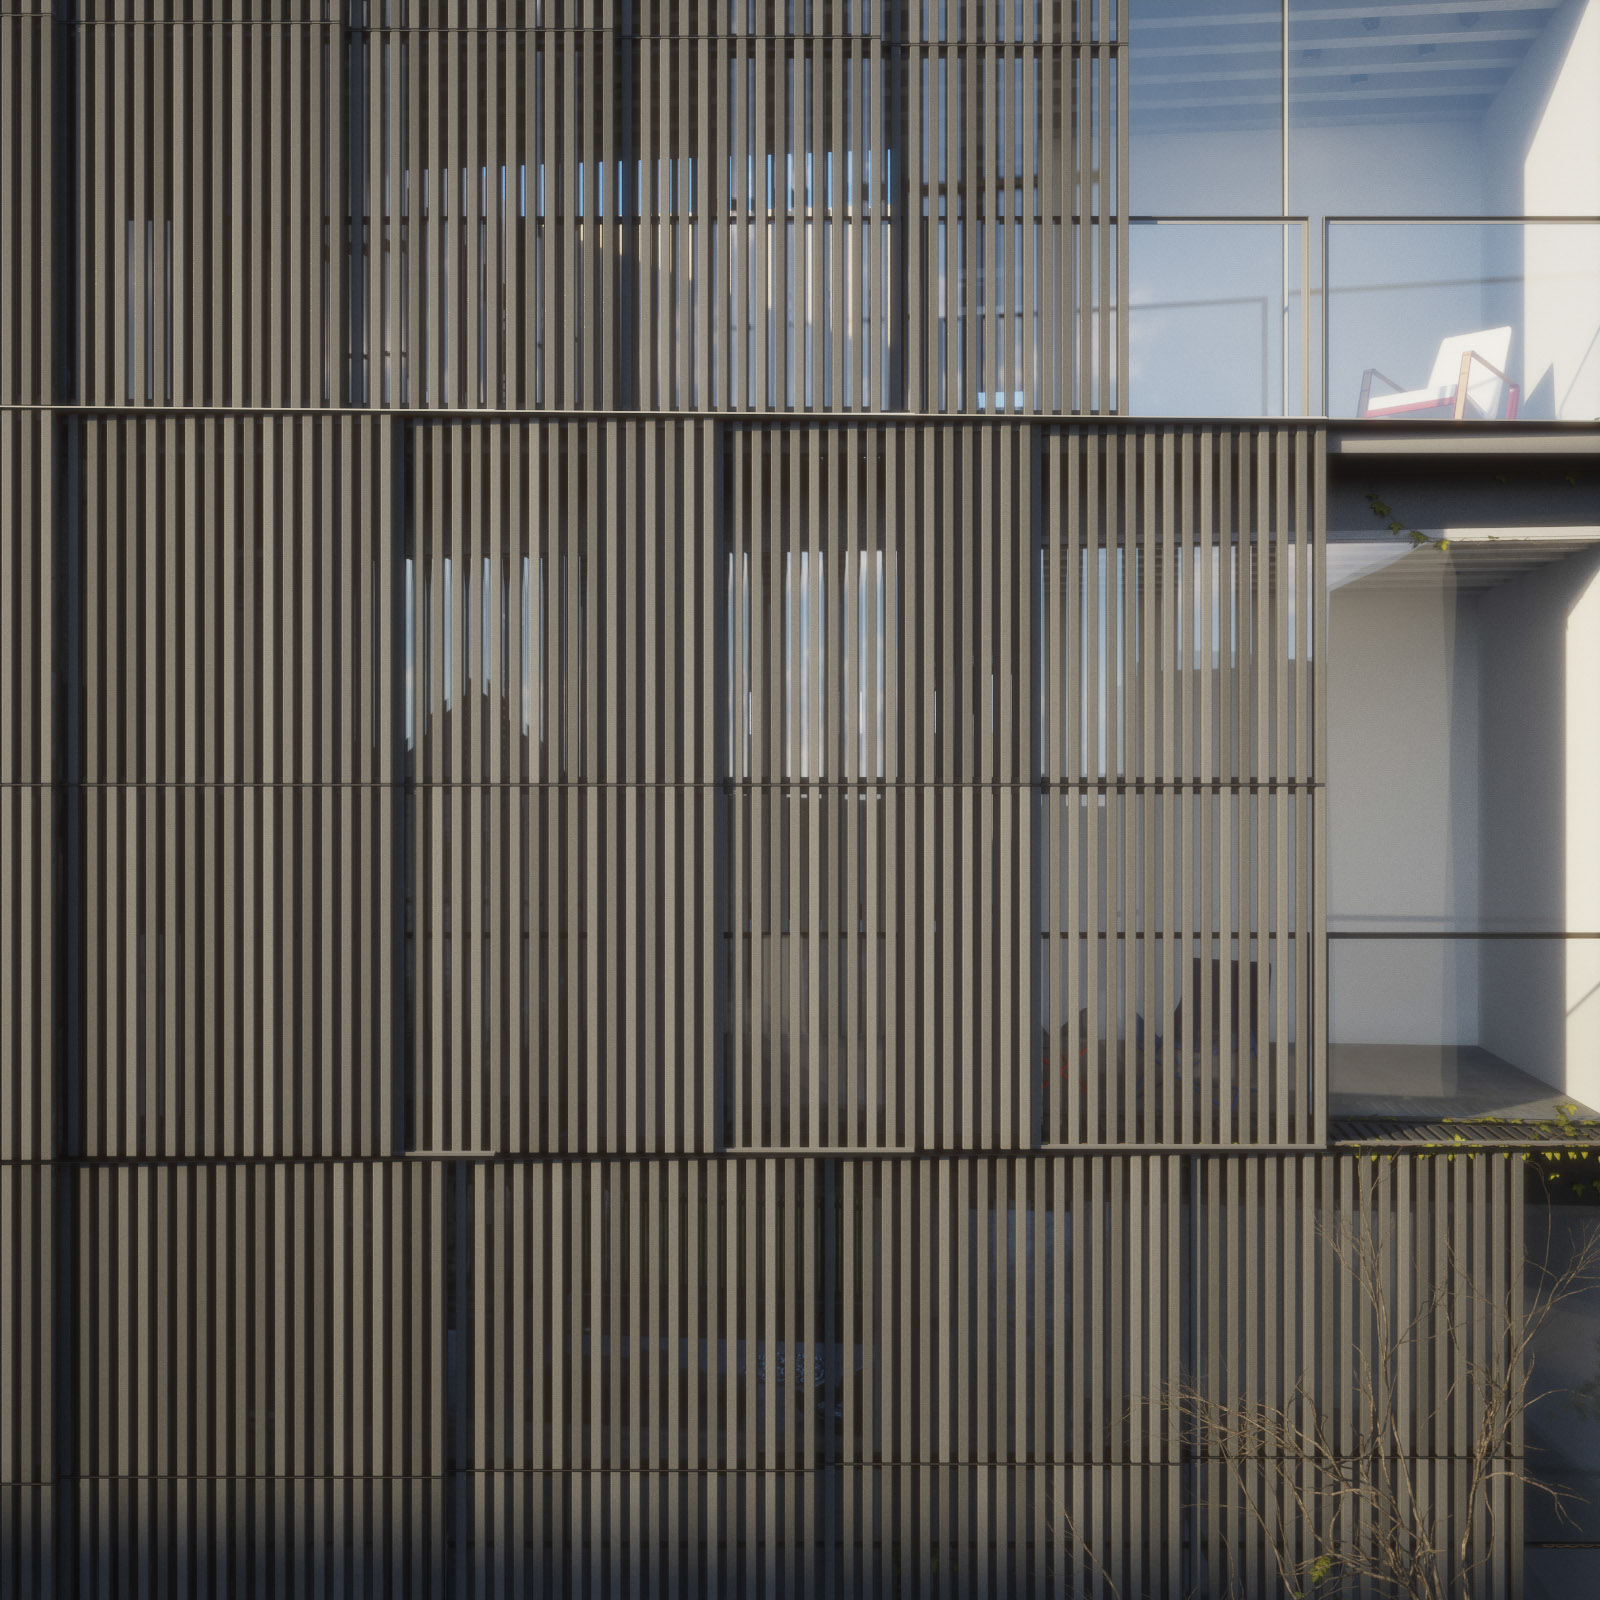
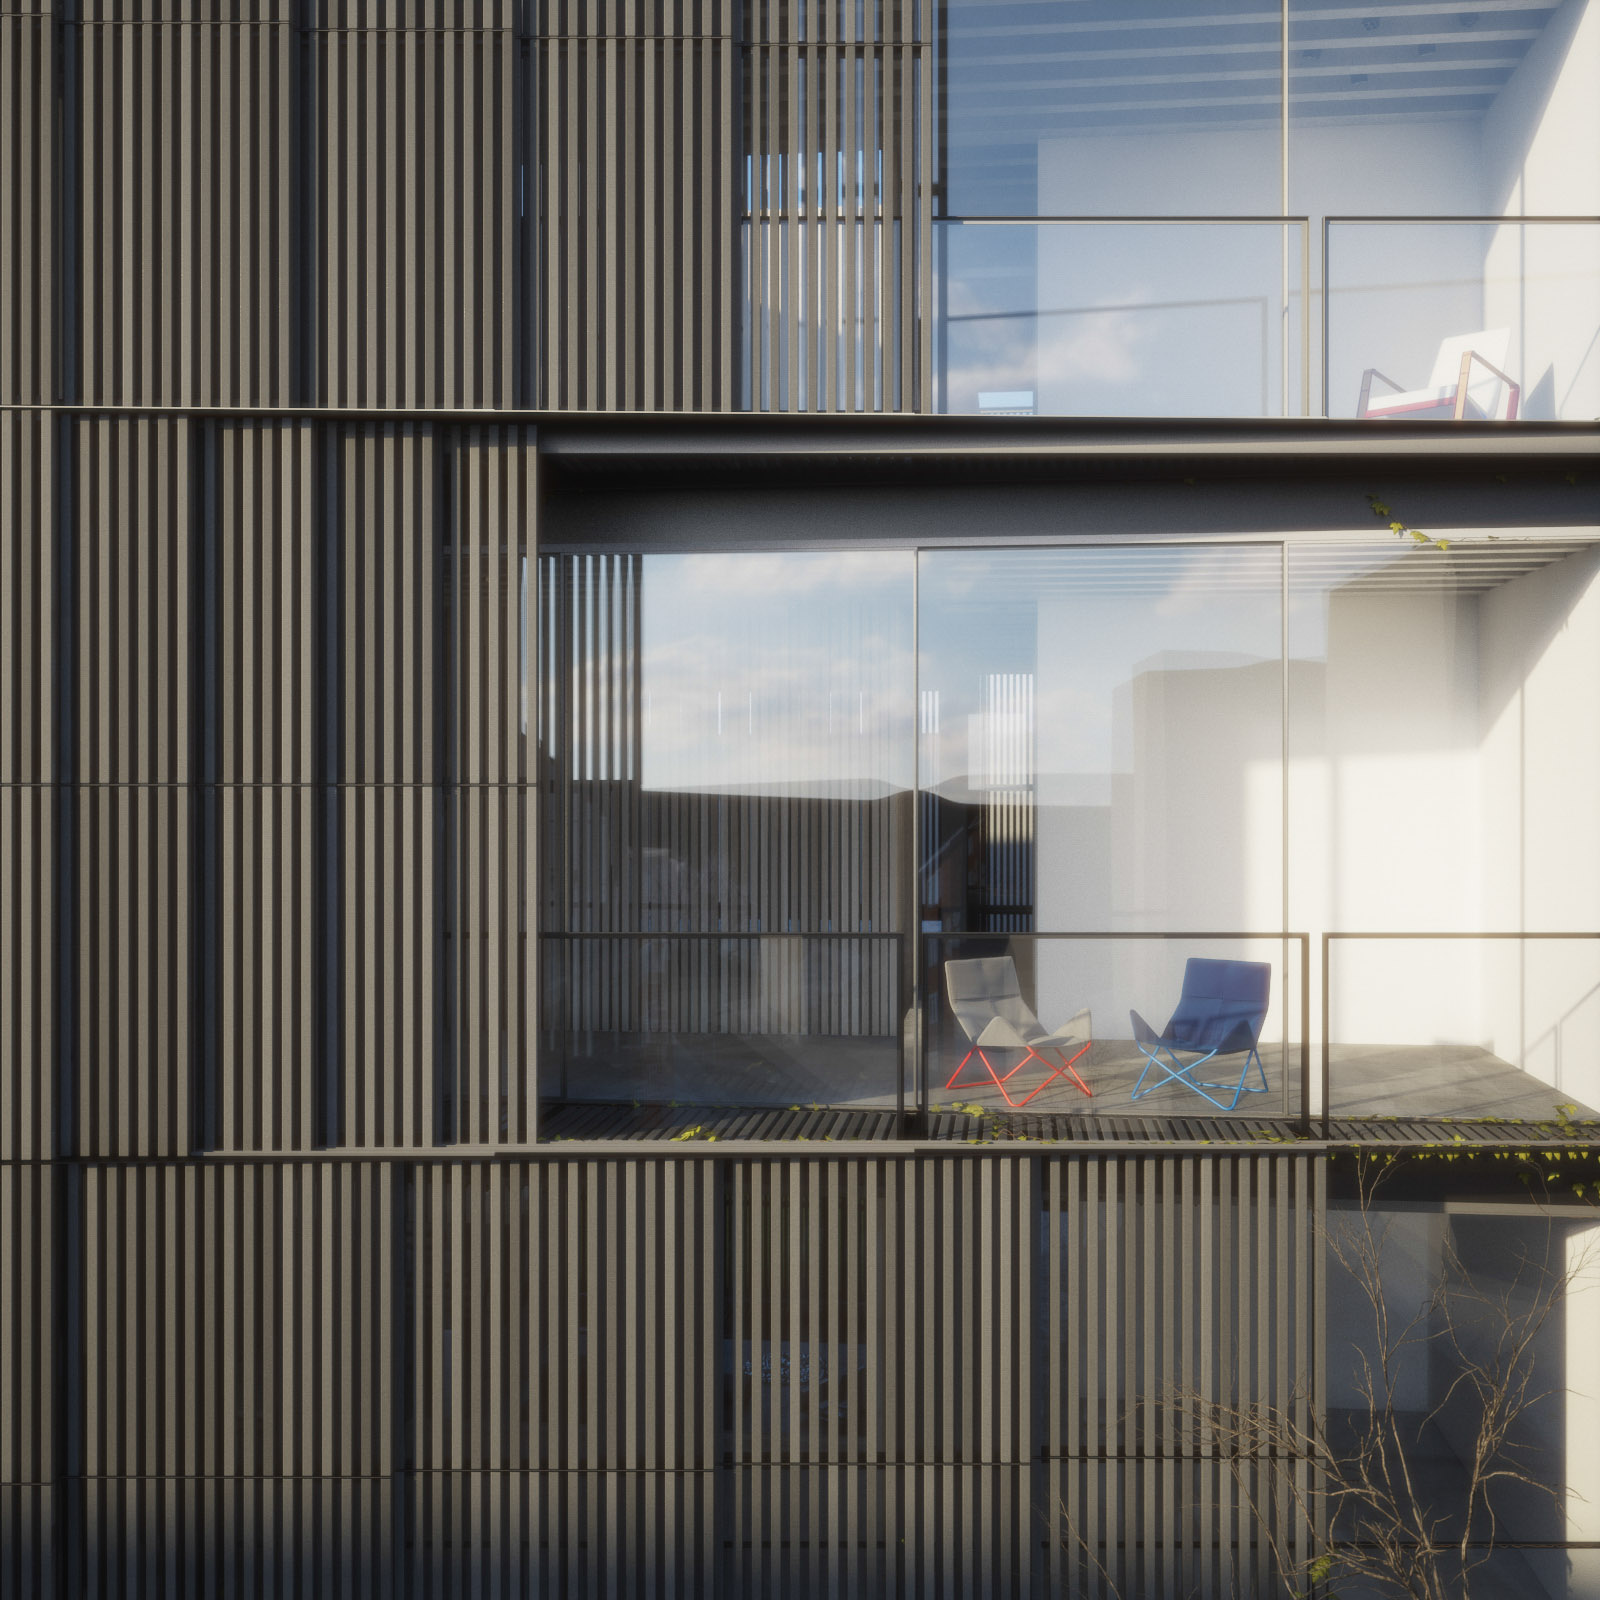
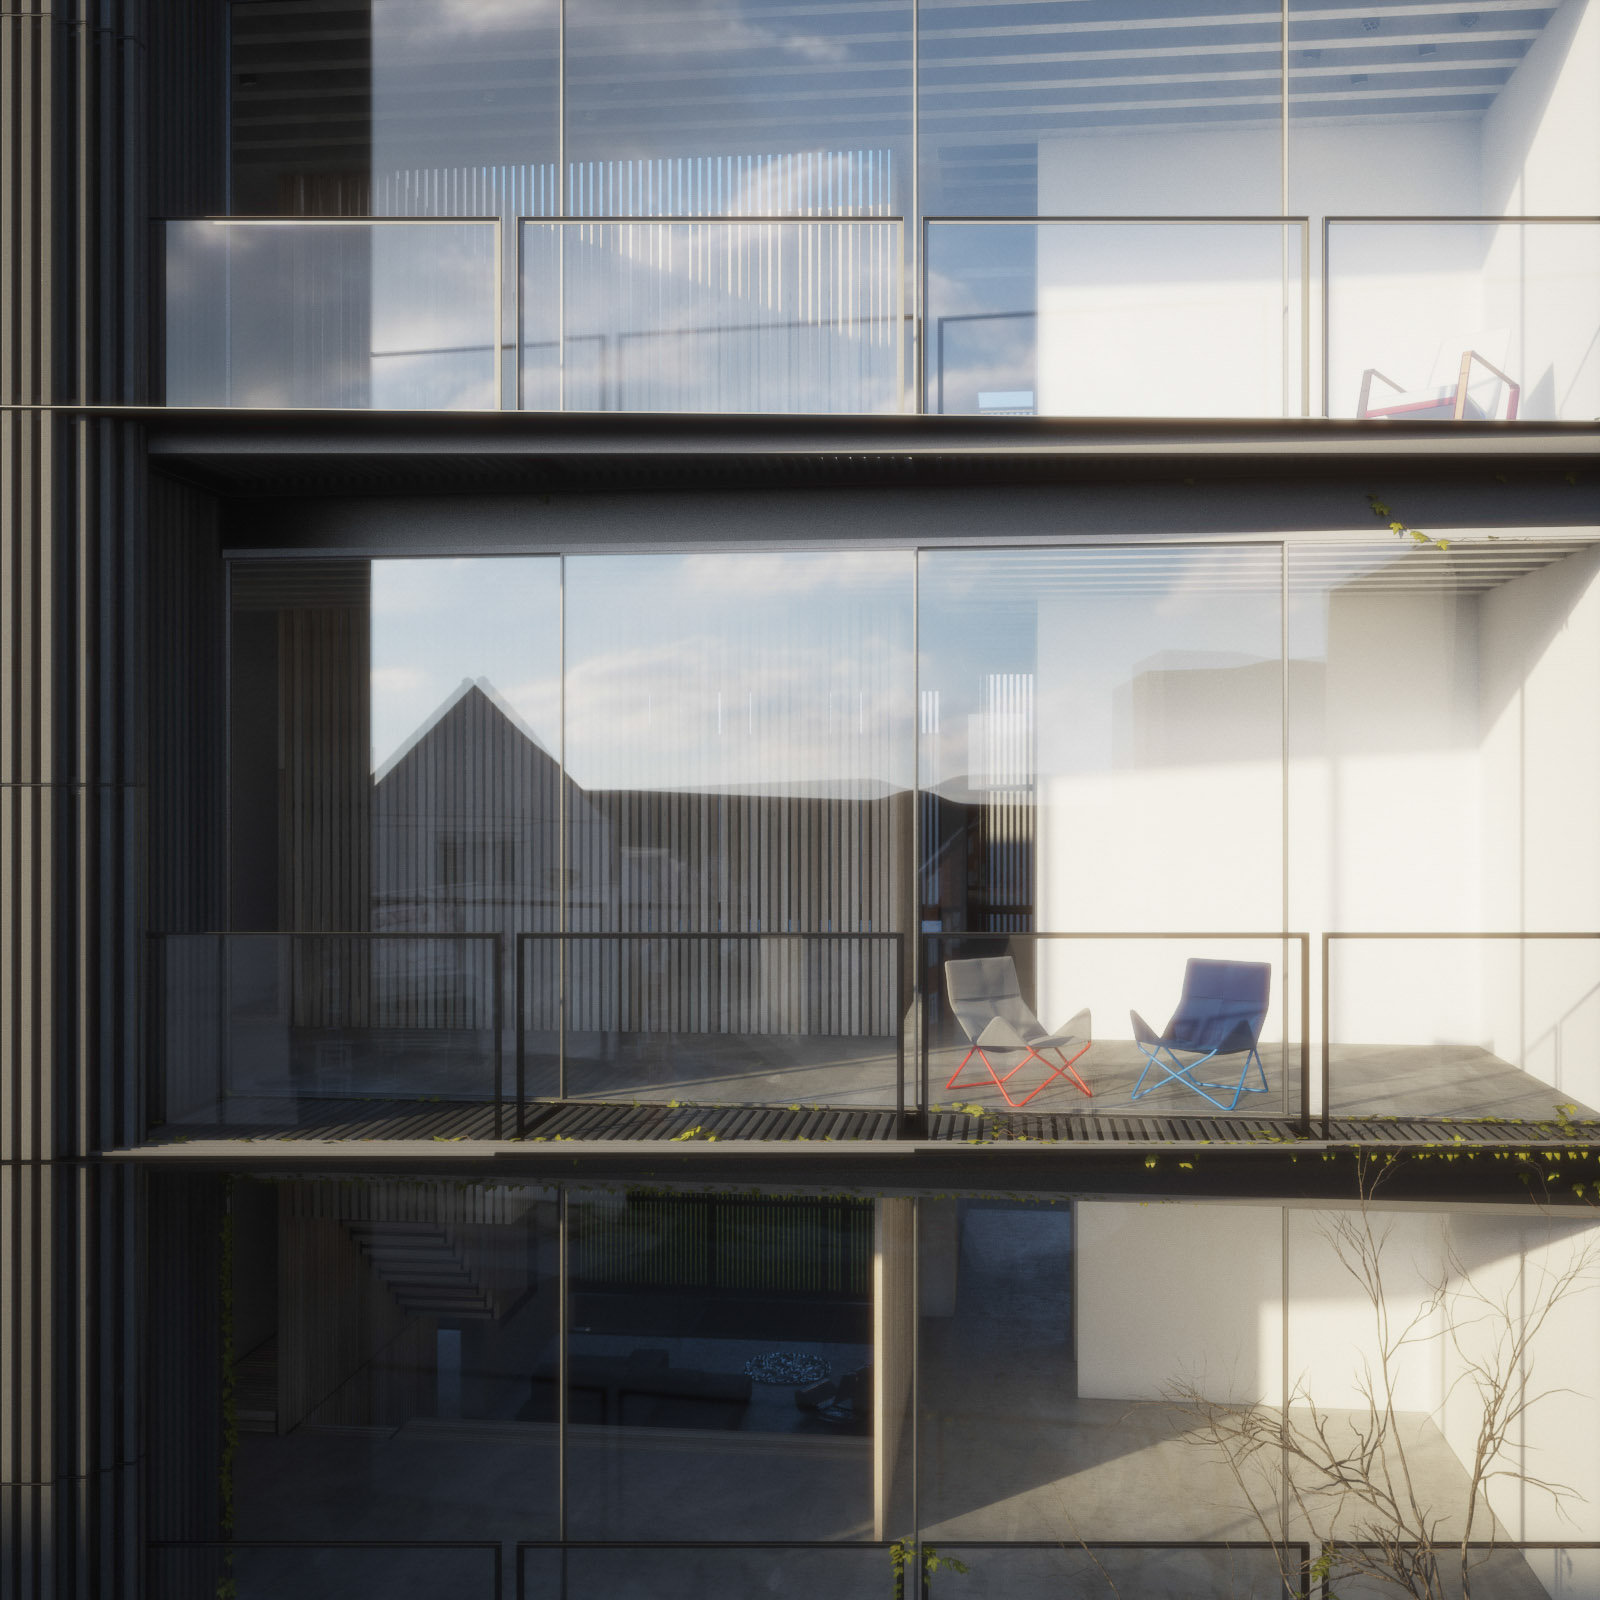
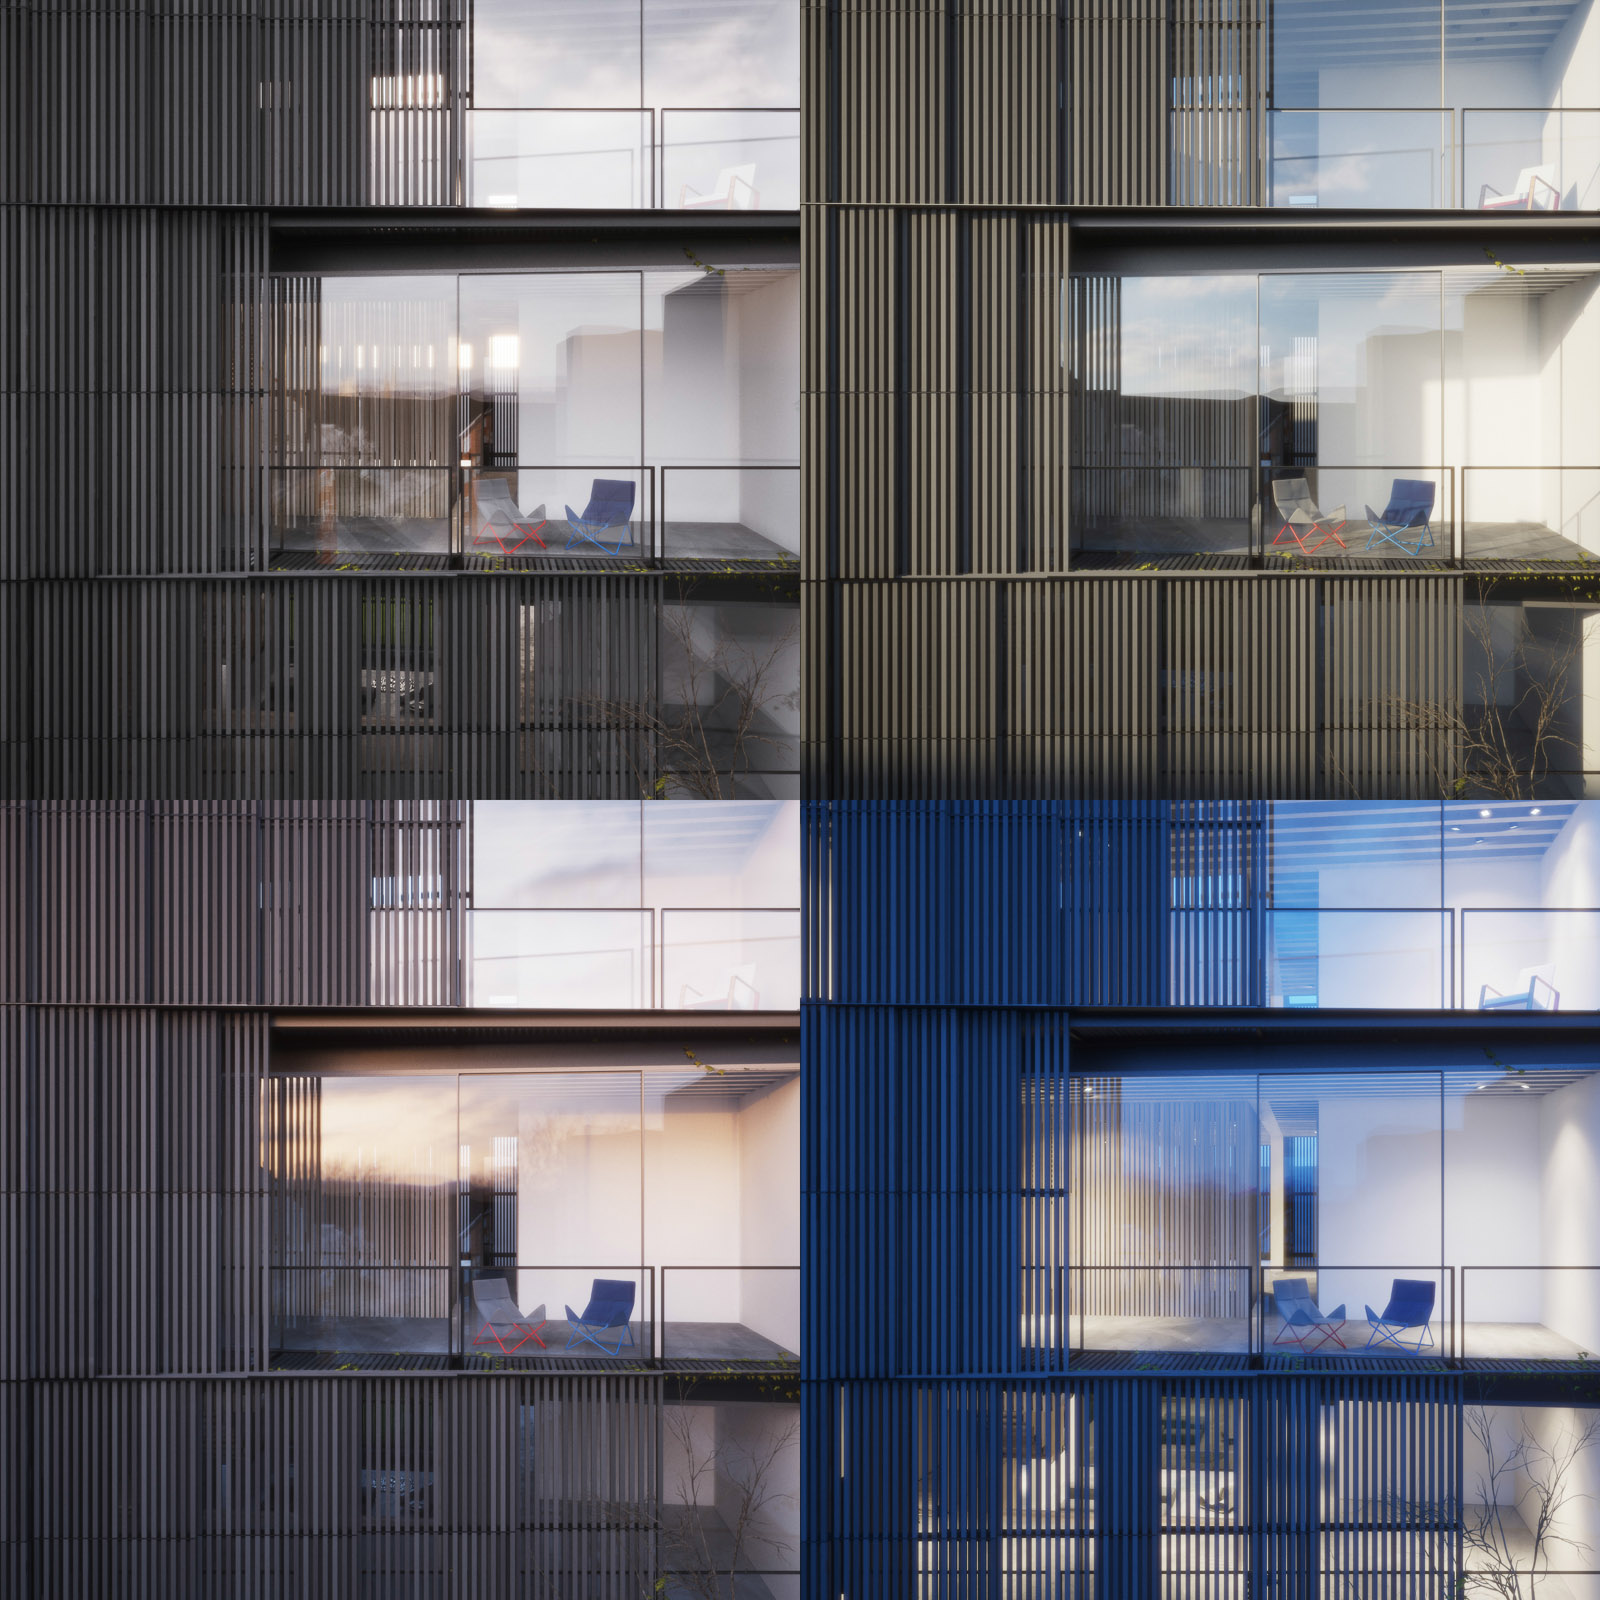
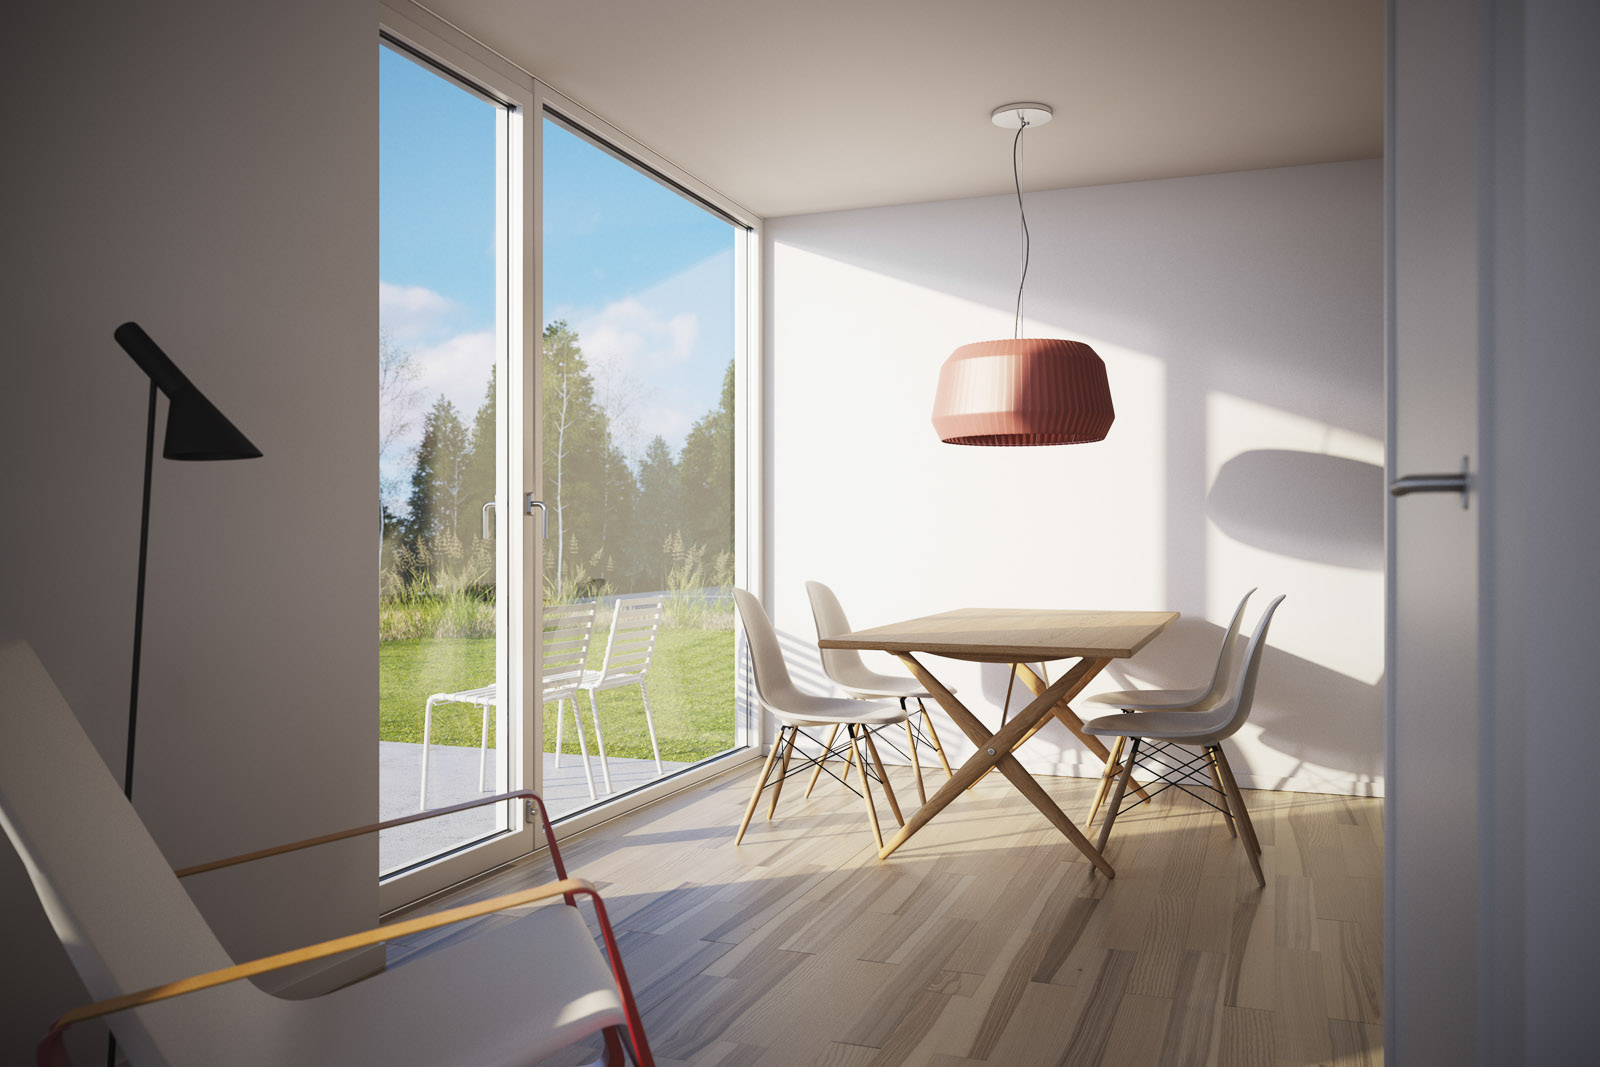
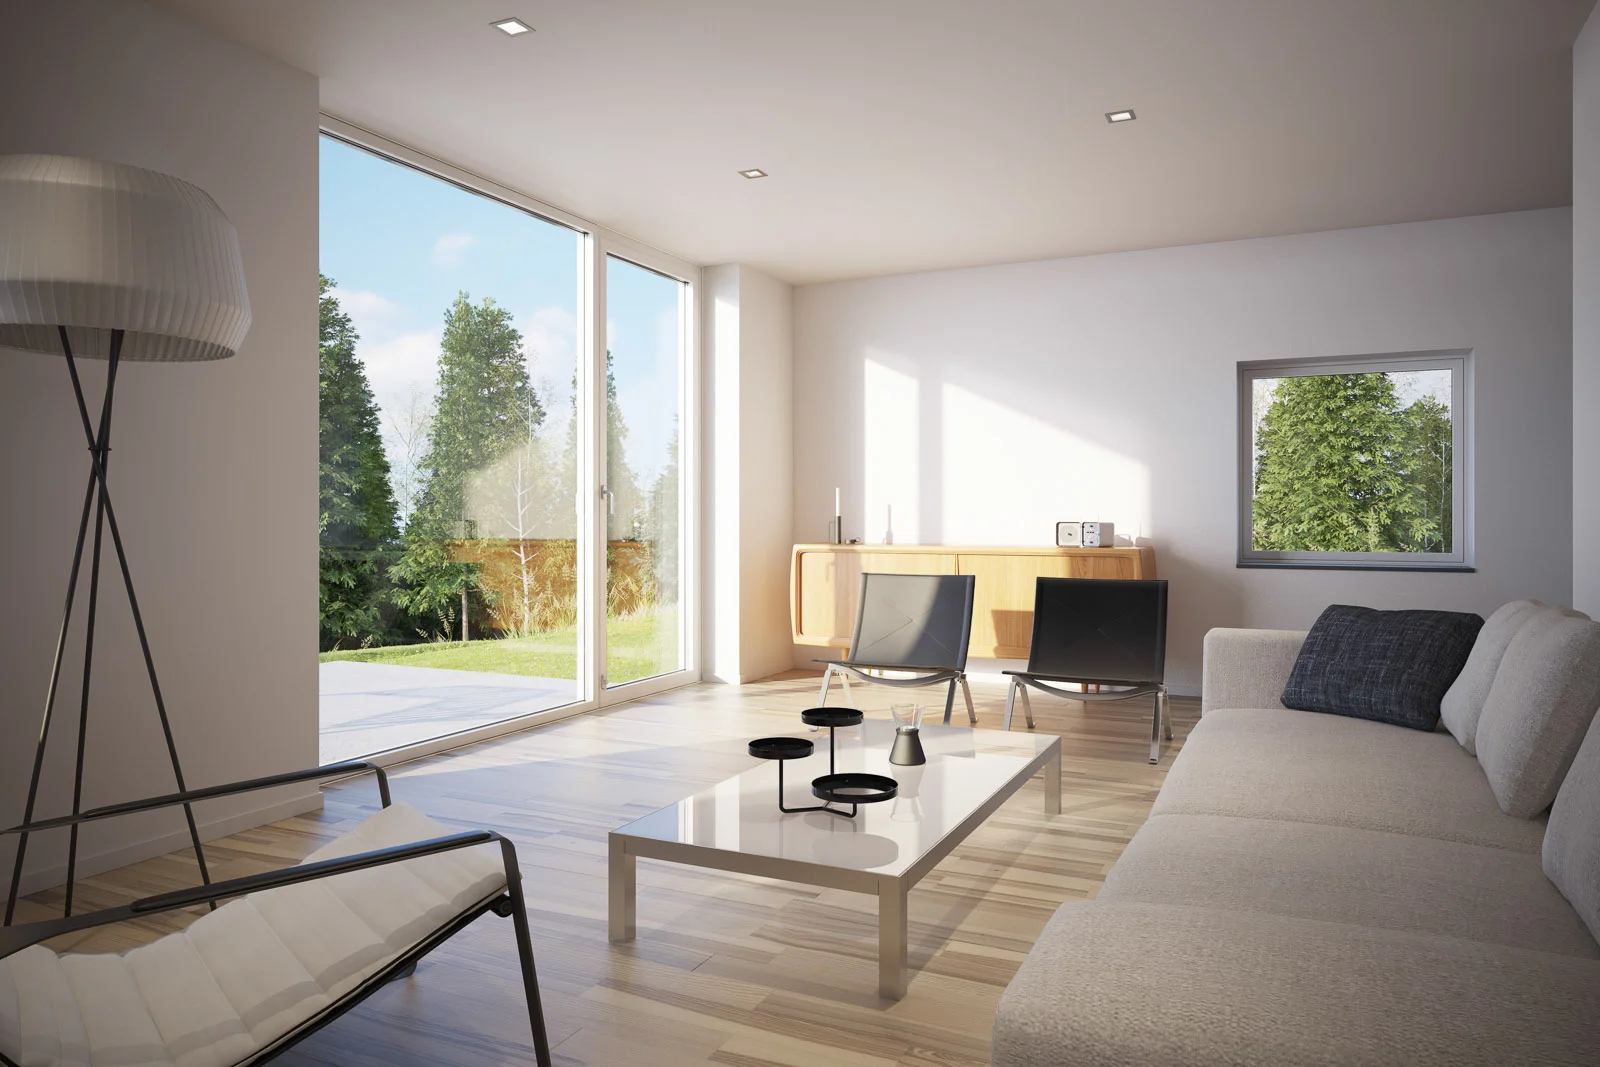
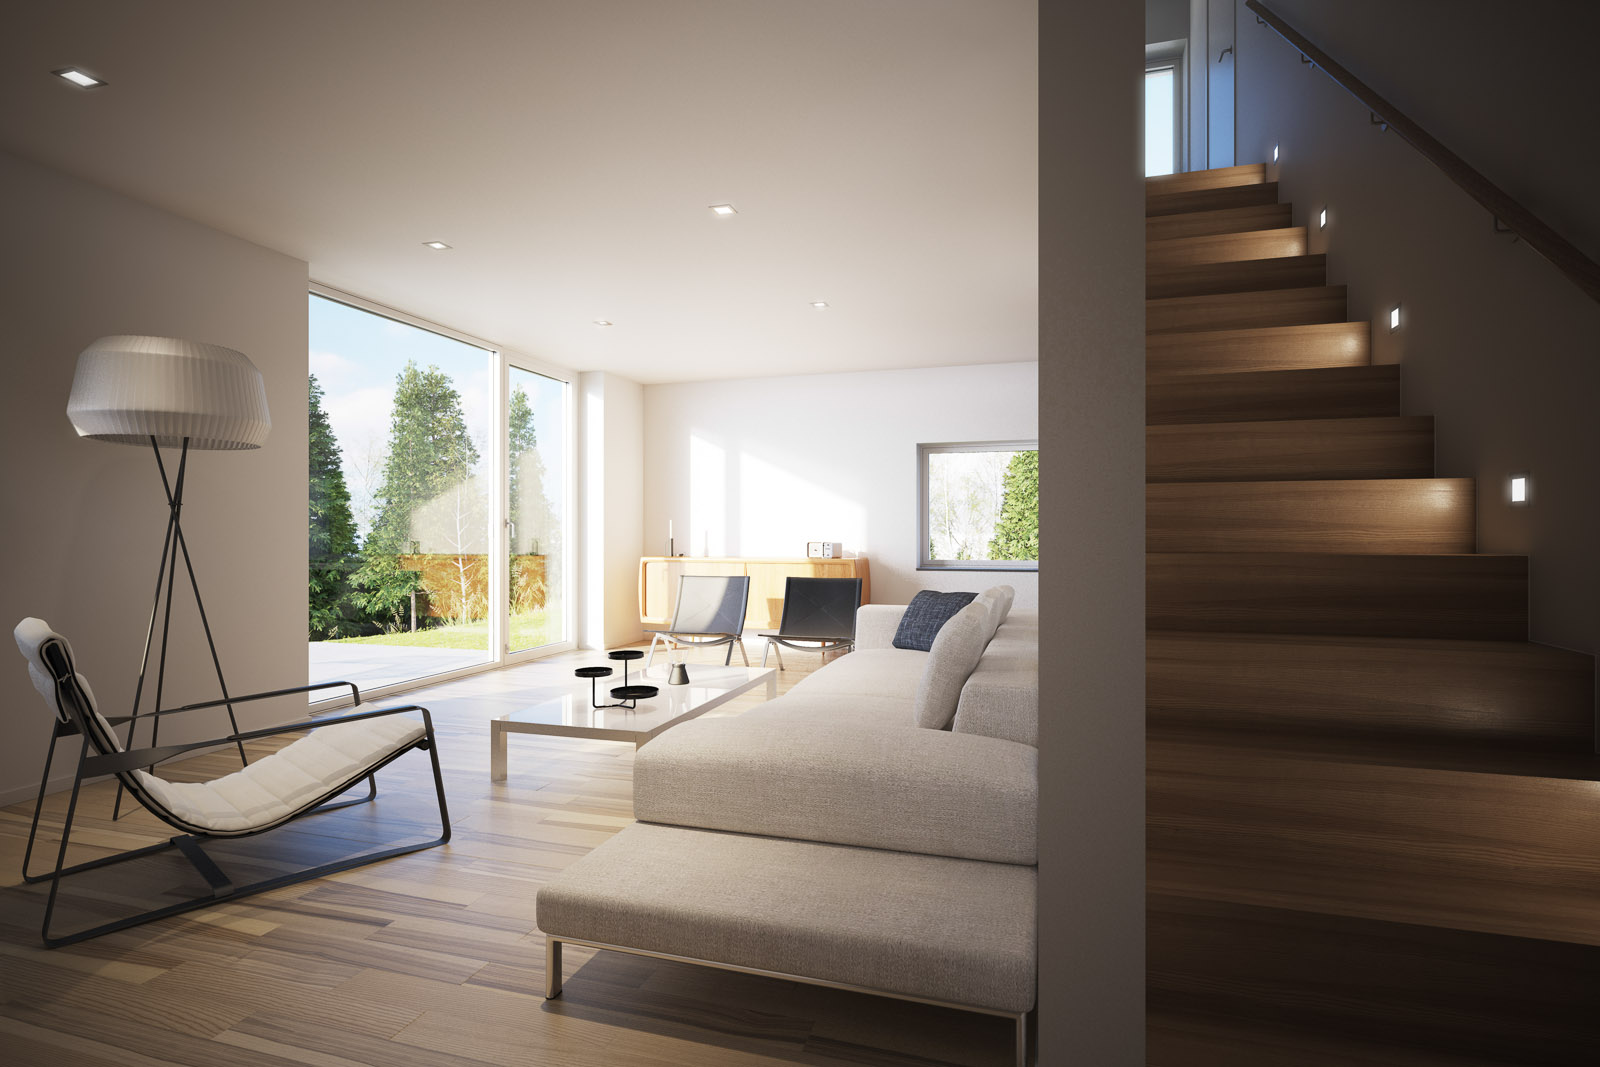
Colour balance was very important in this scene, and was something I experimented with right up to the final renders. Initially I had a very neutral colour balance, with slightly warm interior lights, but eventually I grew to like the blueish tint more and more. Being able to change kelvin values on lights and on the camera makes this process very intuitive in vray. I appreciate being able to think about these things in photographic terms rather than tweaking rgb values. I set the vrayphysicalcamera white balance to 4200K which gave a nice blue tint, then I had to push the interior lighting down to 3100K so that they still looked warm.