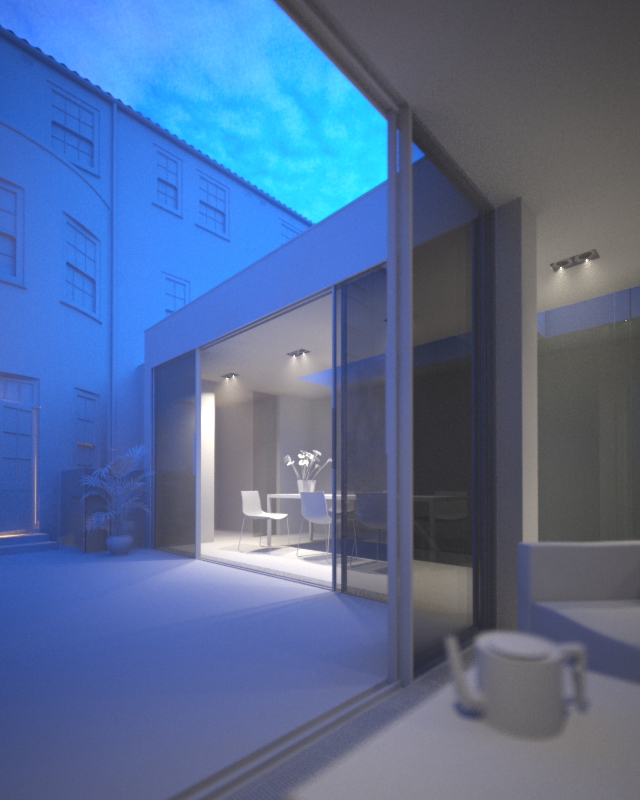
vray override material

ies02

The vray override material is a great way of previewing/checking your lighting even when you are a long way into a project. The scene below uses a homemade dusk HDR skydome and vrayIES internal lights which have a colour temperature of 4500 (6000 in the second image) kelvin. I wanted to check the effect 2 alternative IES web files made to the internal lighting in distribution as well as the fancy patterns on the walls. I find having all the materials a neutral colour really helps in balancing natural & artificial light.
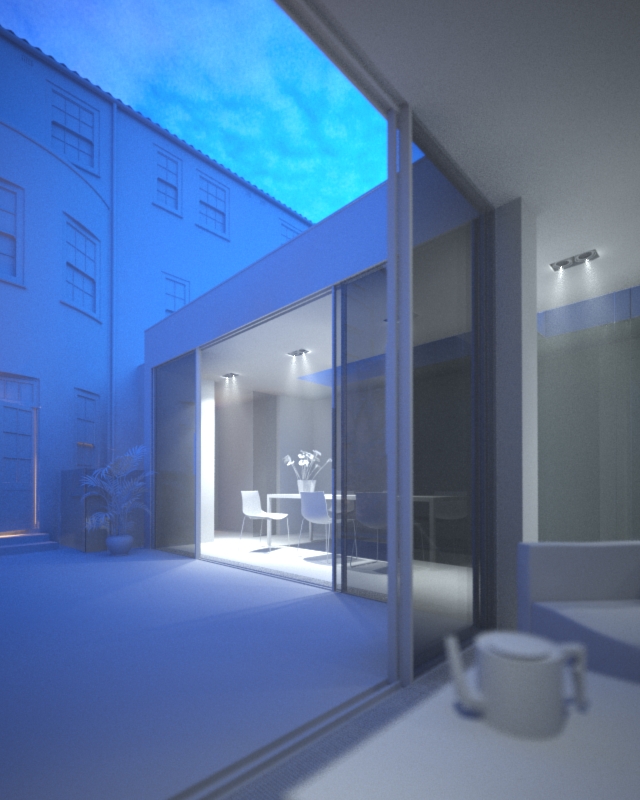
ies01

To set it up, you first make a mid grey material in the material editor and then drag it into the vray override mtl slot in global switches (in this instance I made a material called '200' which has the rgb values 200,200,200):

then you can specify which objects to exclude from the override material (normally glass) in the include/exclude dialog:

Vray grass tutorial part 1

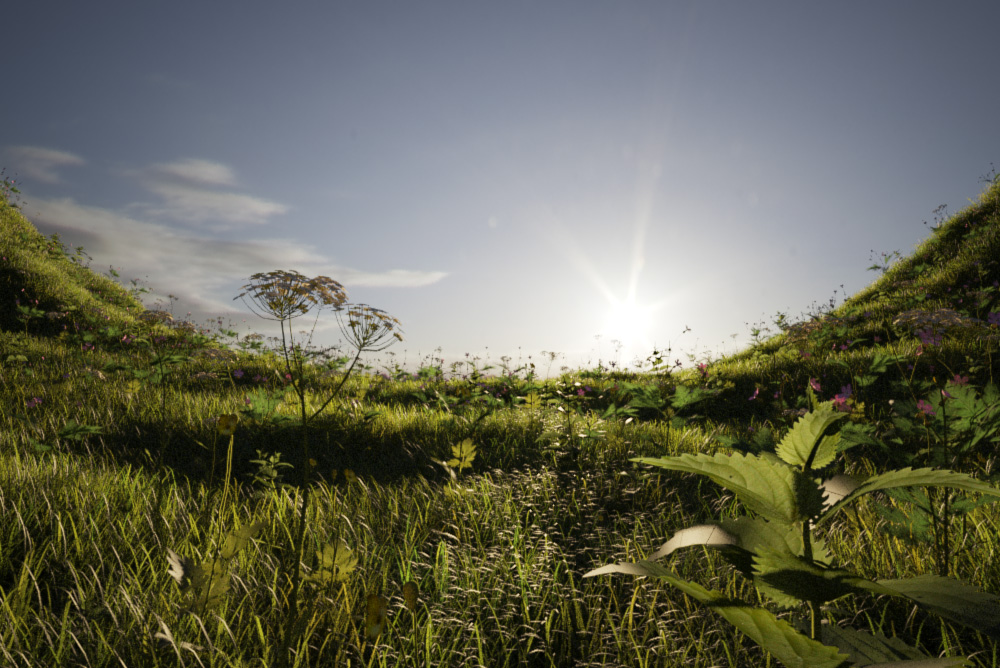
Or more specifically how to create a field of grass using vray proxy objects and the vrayscatter plugin. Software used: 3dstudio Max, vray (should work with mentalray proxies too), vrayscatter (for alternatives see below), advanced painter (free script)

valley

The first stage is to create some individual blades of grass and then make a small area of grass that can later be distributed thousands of times onto your terrain.

bladesofgrass

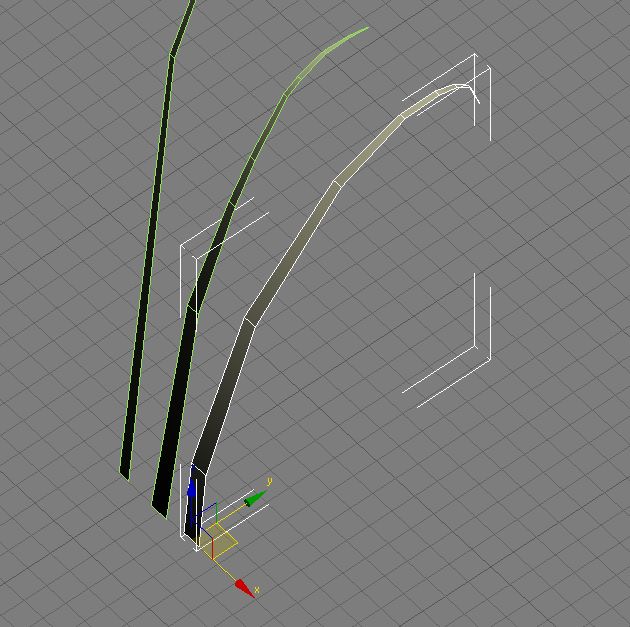
The 3 individual blades of grass were modeled as a plane object with 8x1 segments, collapsed to an editable poly and then I moved the vertices into position in the left and front viewports. You could use a bend modifier as well, just make sure the final object has as few polygons as you can get away with.

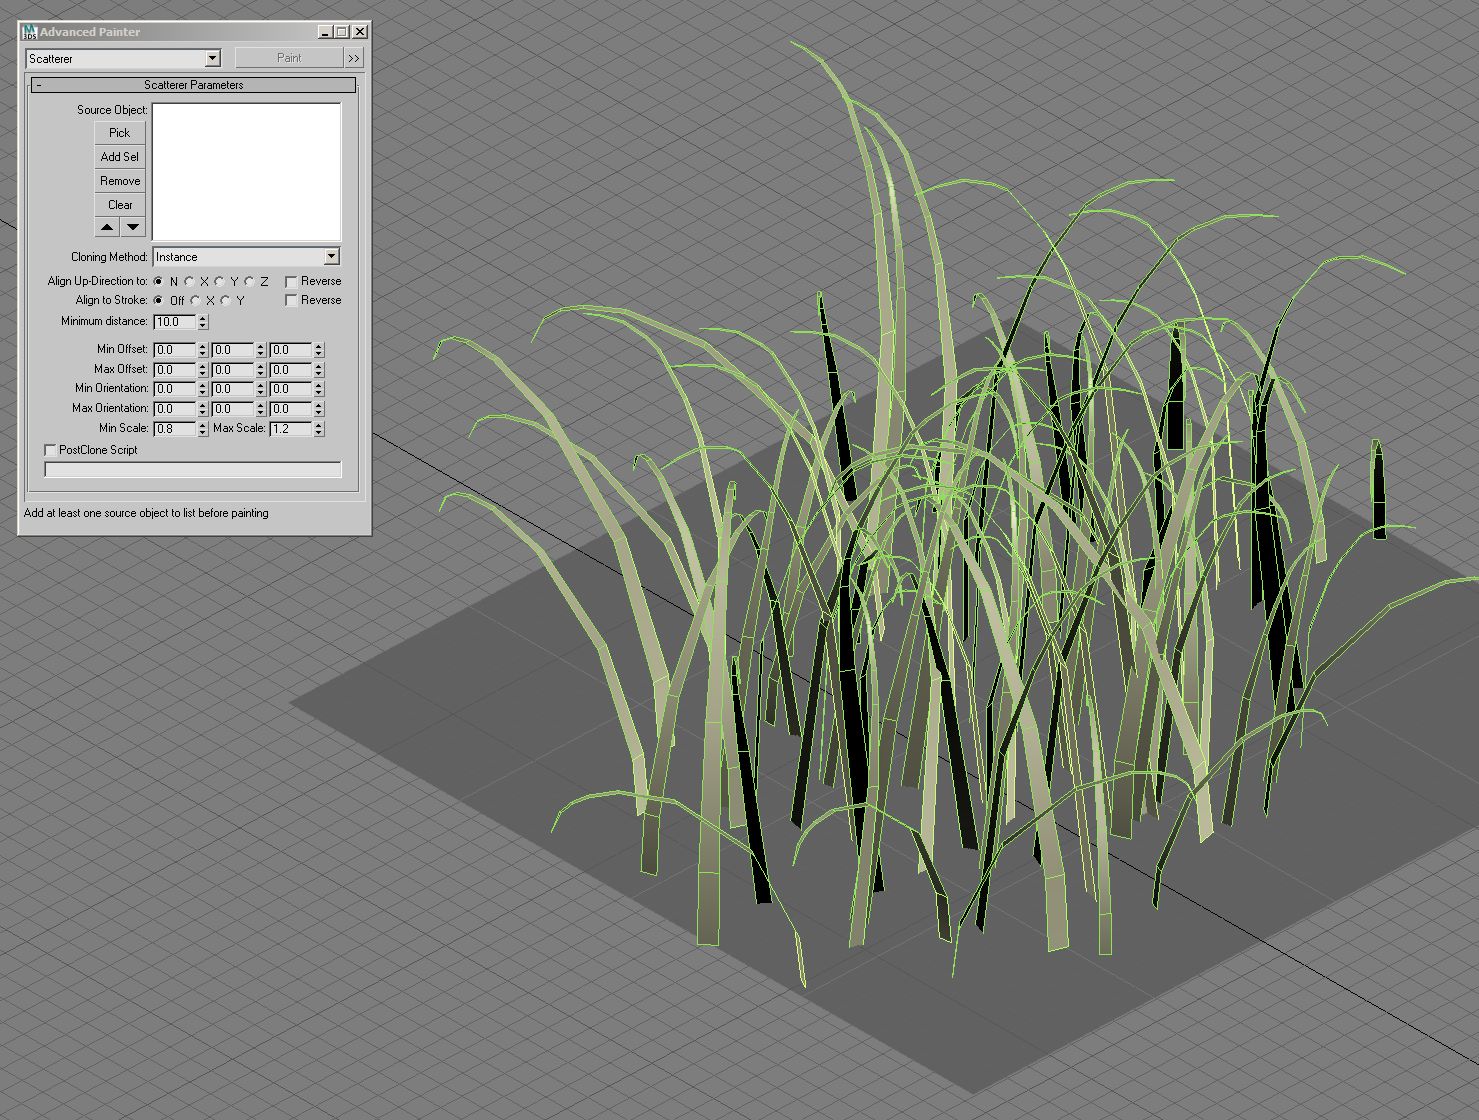
I then used a very handy script called advanced painter to 'paint' about 100 blades of grass over a 1m x 1m plane object. Set advanced painter to randomize mode, tell it to scatter as copies (not instances), pick the 3 blades of grass as the objects to be scattered and set the min and max scale and z rotation values to something like 0.75 - 1.25 and -45deg +45deg. Then select the plane object, click paint and paint the grass on until it looks like a natural clump of grass. I usually scatter some smaller blades round the circumference of the circle to the clumps blend together better when rendered. Instead of adv. painter, you could also use the 3dsmax compound scatter object, scatter by Peter Watjes, or just do it by hand!

The final stage here, before exporting as a vrayproxy, is to make sure your blades of grass aren't instances, otherwise you will run into problems later on. I normally collapse all the blades into one object (make one blade unique then attach all other blades to it when in editable poly mode). You could do a reset xform too, for good measure. Another thing I did was to apply a box Uvw map to it before I collapsed it, as I wanted to make the tips of the grass lighter. Right click on the mesh and choose the export to vray proxy option to save it as a vrmesh file.

advancedpainter

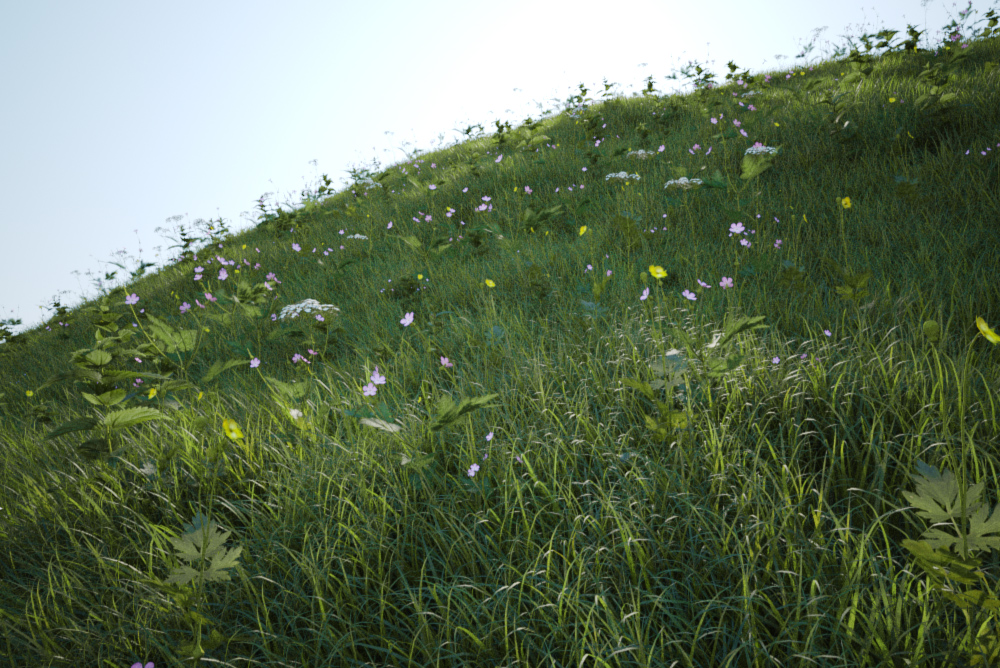
Now comes the fun part! Choose vrayscatter from create/vray and place it somewhere in your scene. Switch to the edit panel and load up the vrmesh you made in the earlier steps. Then you need to choose your terrain object and at that point you should see lots of boxes being scattered over your terrain.

There are alternatives to vrayscatter as well:

- The makers of vrayscatter are currently working on a new product called multiscatter which will supersede vrayscatter and will also support mentalray proxies. - Forest by Itoosoft is apparently very capable, and there is a free version so well worth trying out. - Groundwiz Planter can use vray/mr proxies - you can just as easily use the free advanced painter script to distribute the proxies once you have made them. It might take a while though, and your viewport will probably slow down after a while - you could distribute the proxies using 3dsmax particles

field-vrayscatter

Check out part two of this tutorial where I use similar techniques to make shorter grass and go over the material set up for the grass blades. If there's anything you'd like to see covered in future feel free to make requests in the comments.

Vray Edge Fillet Tutorial

render_4

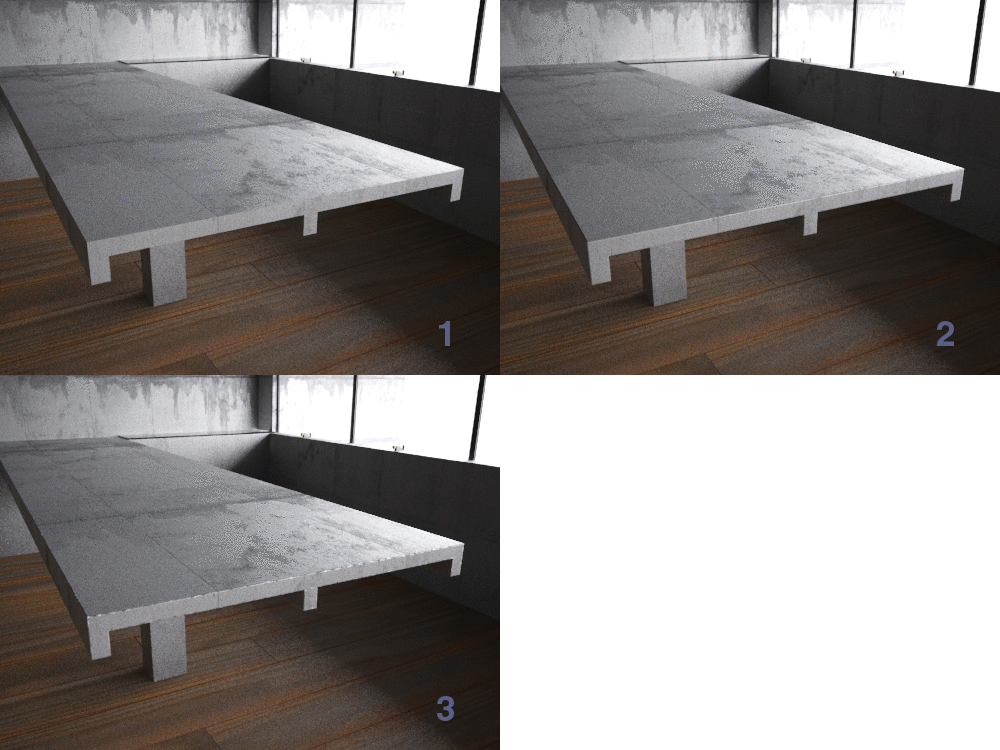
This is a quick tutorial to show how I add extra details to the edges of surfaces. In this scene, I wanted to make the hard edges of the concrete appear rougher and less uniform. Vray comes with a map called a vrayedgestex map that you would normally use to make wireframe materials (eg hidden line renders). It can also be used as a bump map to give the illusion of rounded edges.

In the 3 examples below, I have applied a vrayedgestex (red for clarity) to the diffuse channel of a grey material, the second is a black and white noise map, and in the third I have combined the two by using a vraycomptex map. The vraycomptex map is set to multiply which gives the effect of breaking up the otherwise smooth red line around all the edges of the table. Setting the vraycomptex to multiply is like blending modes in Photoshop, and about as easy to understand - I recommend experimenting with the various modes till you get a feeling for what each do.

process1
animrendered

In the animated gif, 1 is a render without any bump map, 2 is with just vrayedgestex and 3 is the final result.

material

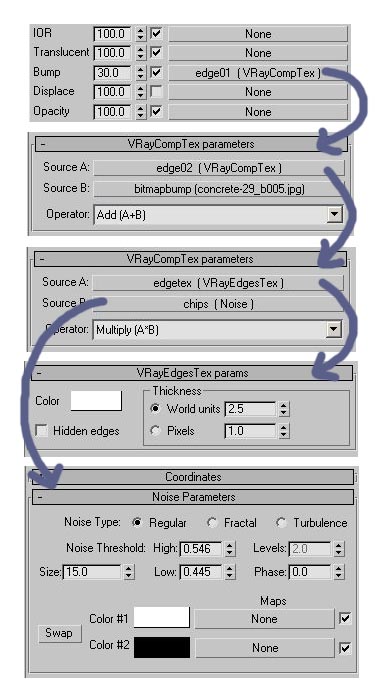
So in the material editor, at the top I have a vraycomptex in the bump slot called 'edge01' which adds together the next vraycomptex 'edge02' and the standard bitmap bump jpg for the concrete material. 'edge02'  is the one that multiplies together the vrayedgestex map and the noise map. You should set the vrayedgestex to white, and change it to world units. I work in millimeters so 2.5 was about right. You can then play about with different types of noise maps, but the settings I have above worked well for concrete.

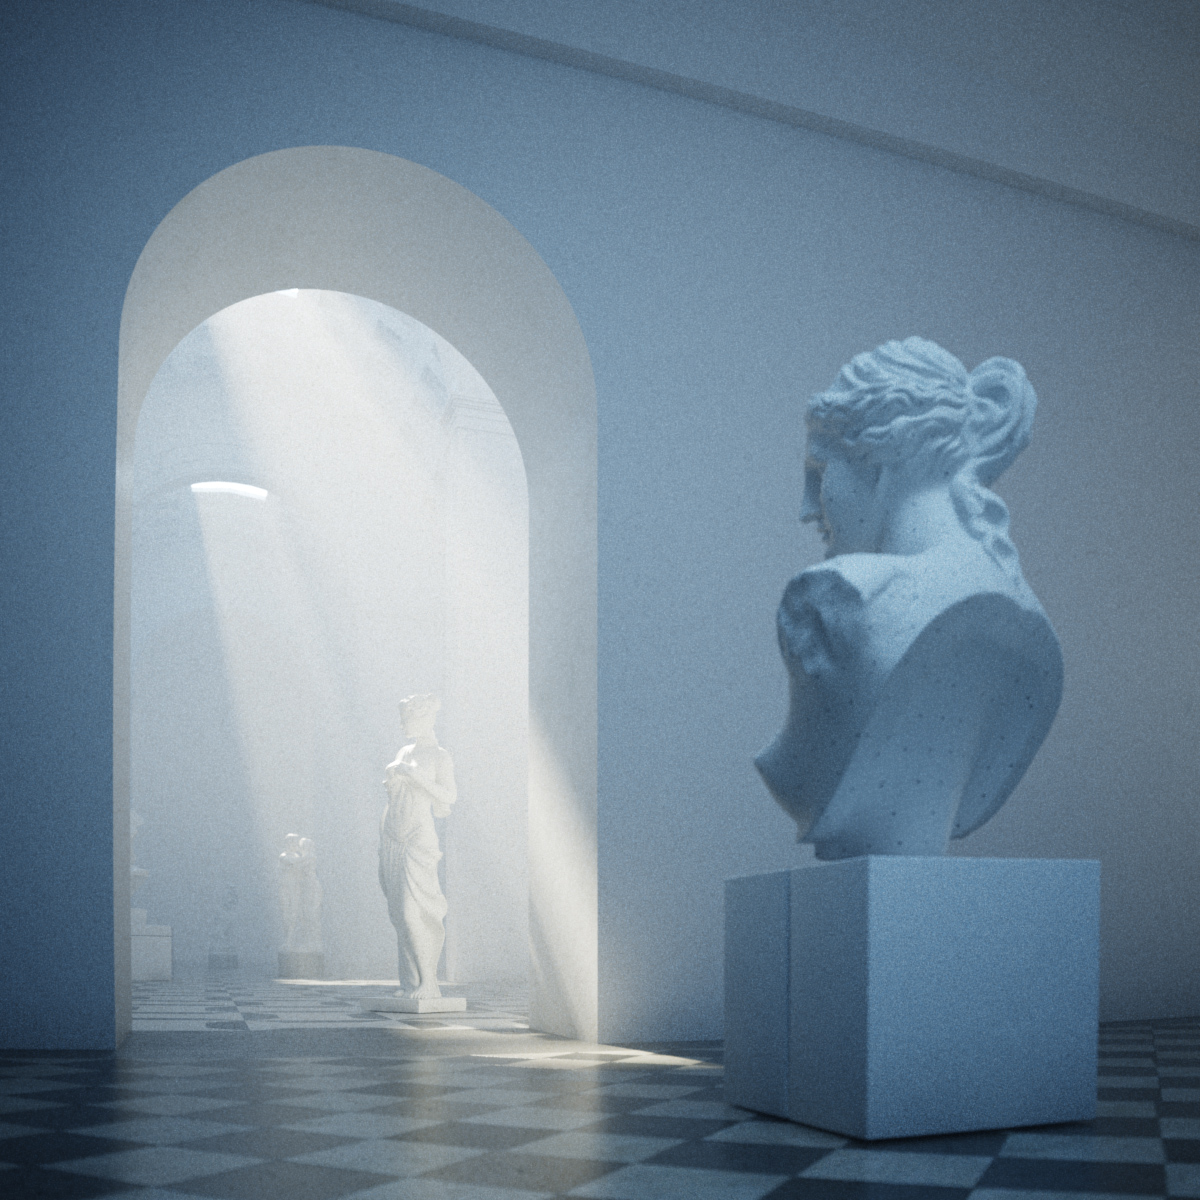
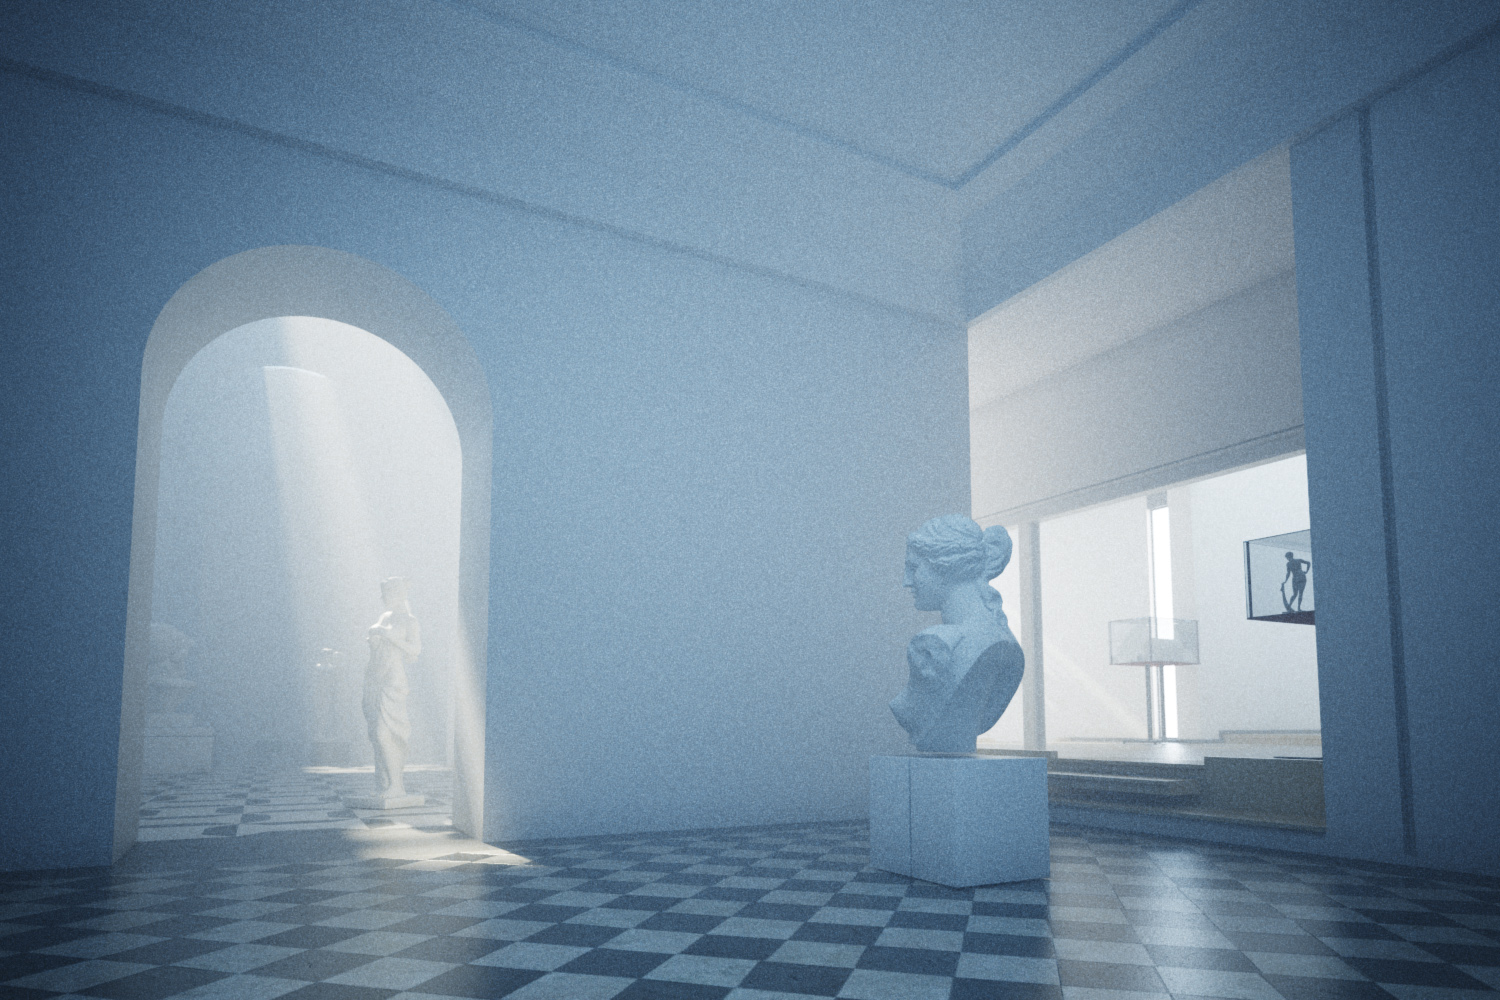
Canova Museum Take 3

1200camB

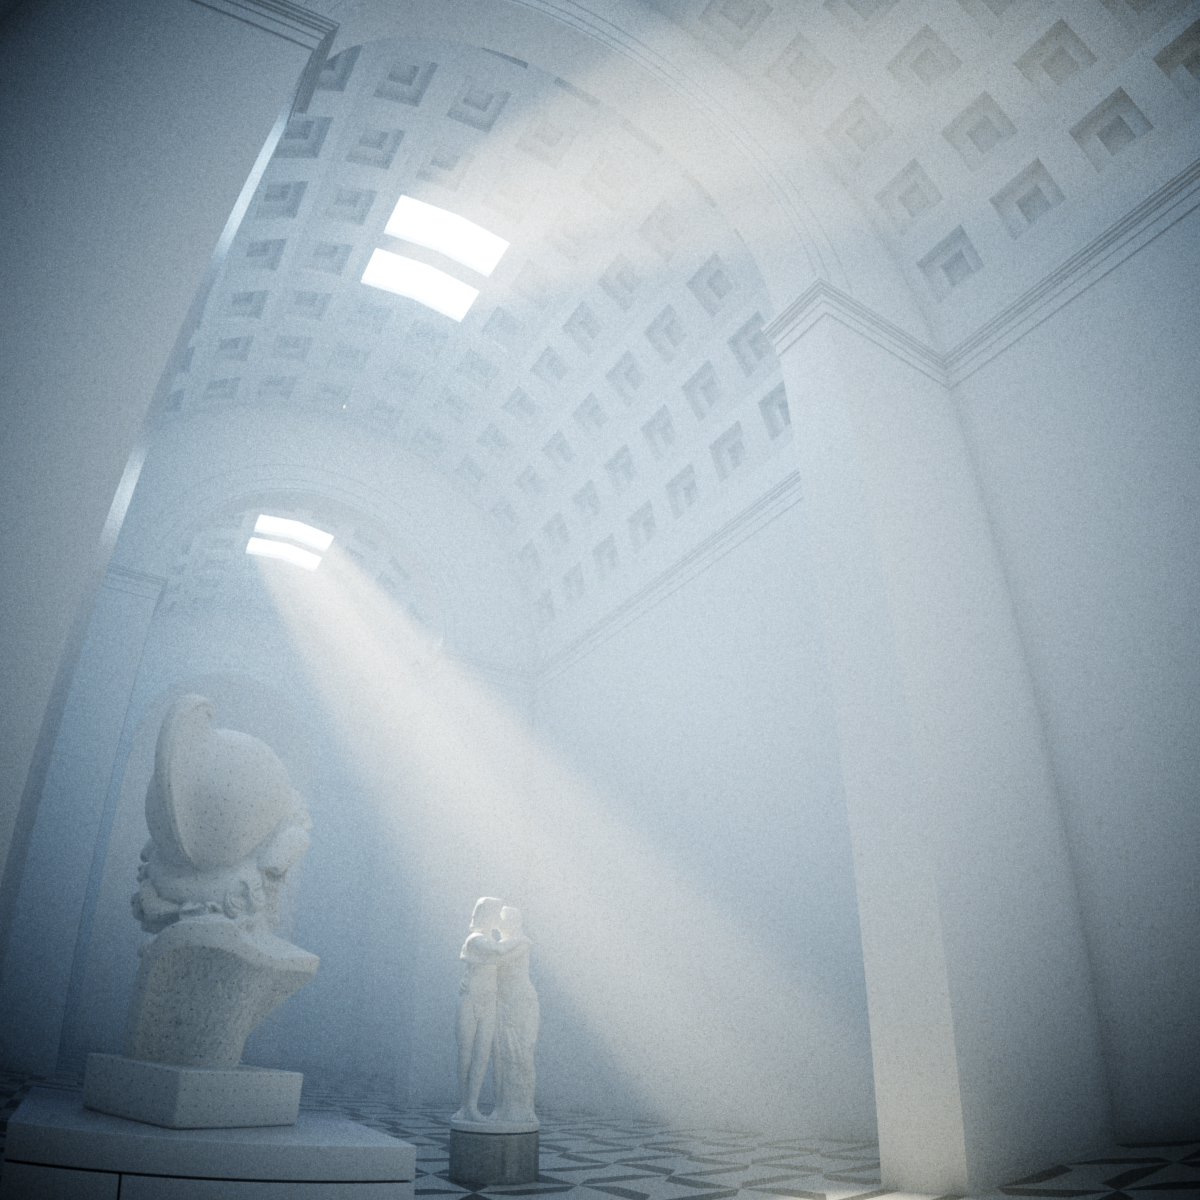
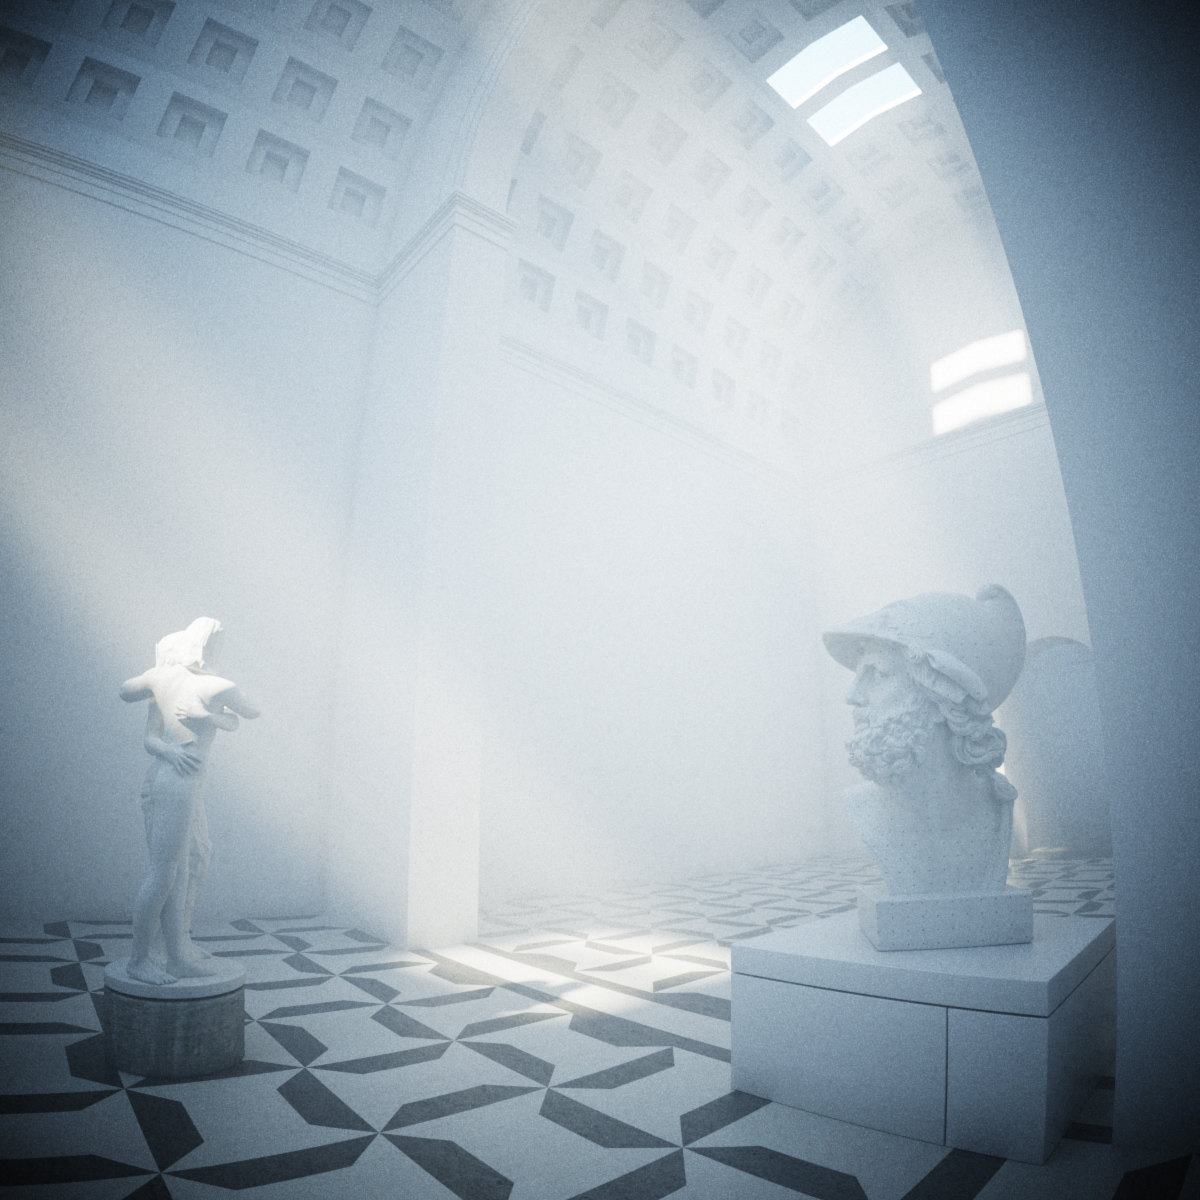
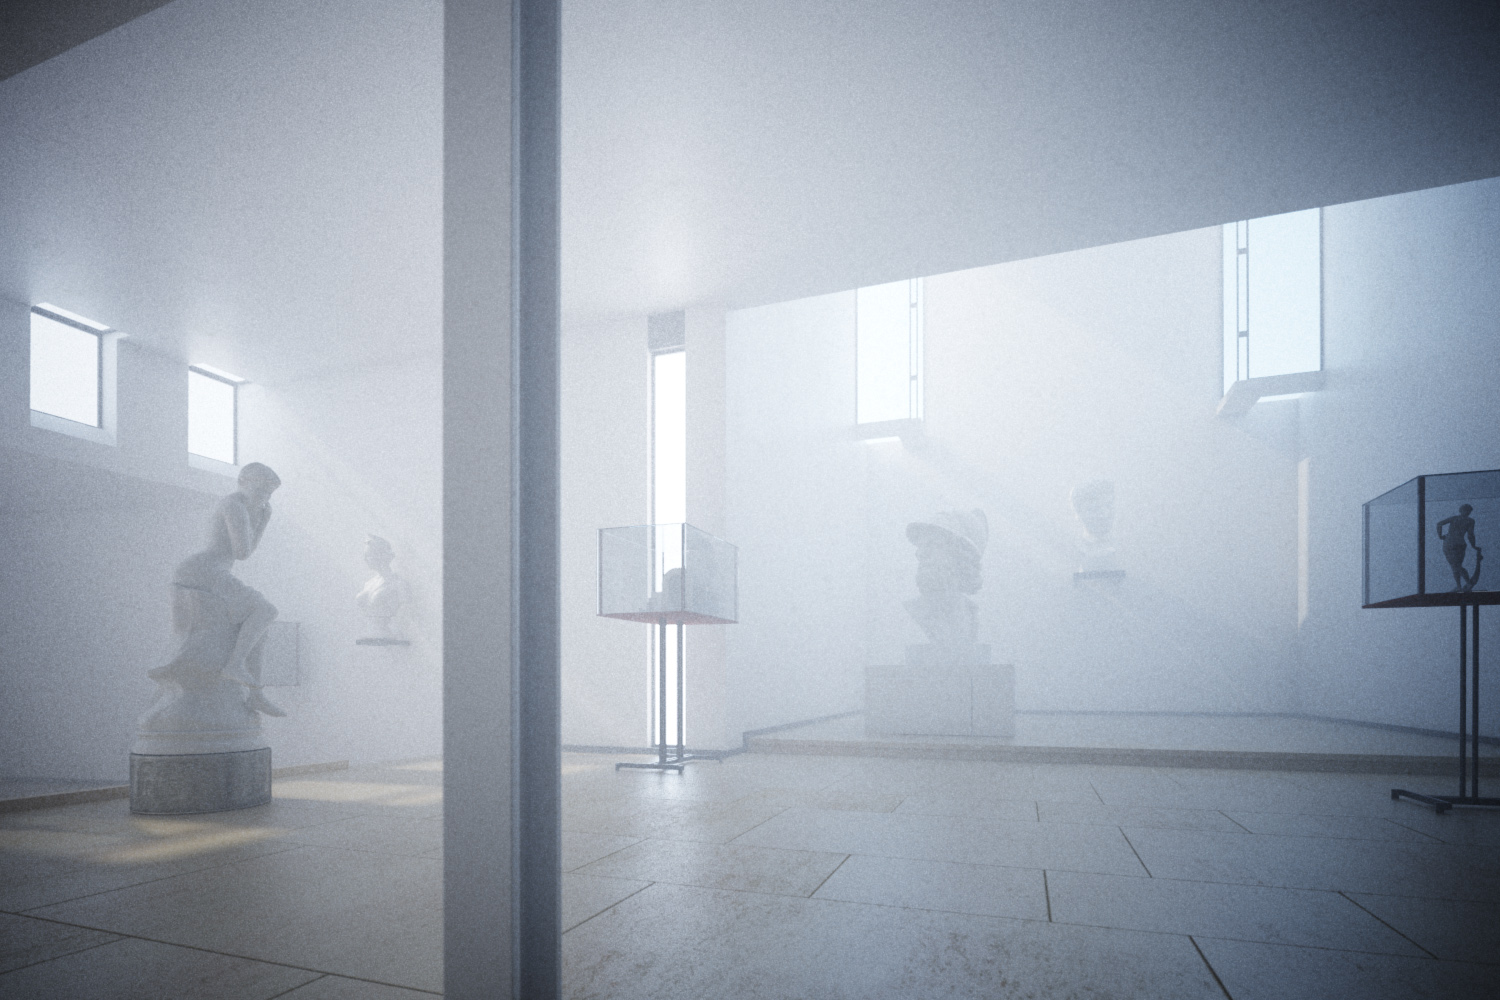
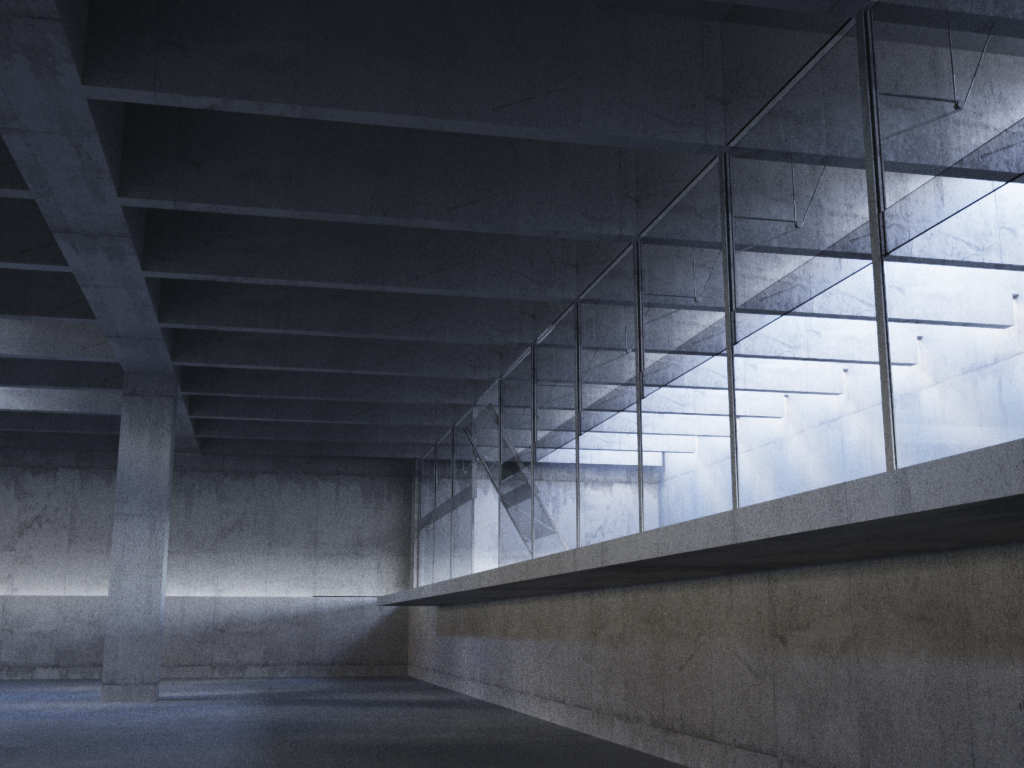
A scene I keep coming backto, this time to test out the new atmospherics capabilities of the recently released vray 1.5 SP3 for 3dstudio max.

1200camA
1200camC
1500camD
1500camE

These renders are straight out of 3dsmax, I used vray for the depth of field (lack of), vignetting, distortion & fog.

The steps for setting up the environment fog in 3dsmax couldn't be simpler: I just added a VrayEnvironmentFog effect in the environment & atmospherics window (8), set the density to 20,000 (20 metres), enabled scatter GI (100 bounces) and set the fog height to cover the whole building. Plus, from the vray manual: "When using VRayEnvironmentFog, it is recommended to turn on the Optimized atmospherics evaluation option in the System rollout of the V-Ray settings."

It is also possible to shape the fog by assigning procedural maps to change the density. Here is a nice tutorial by Francesco Legrenzi on using VrayEnvironmentFog to make clouds: Legrezni Studio Forum

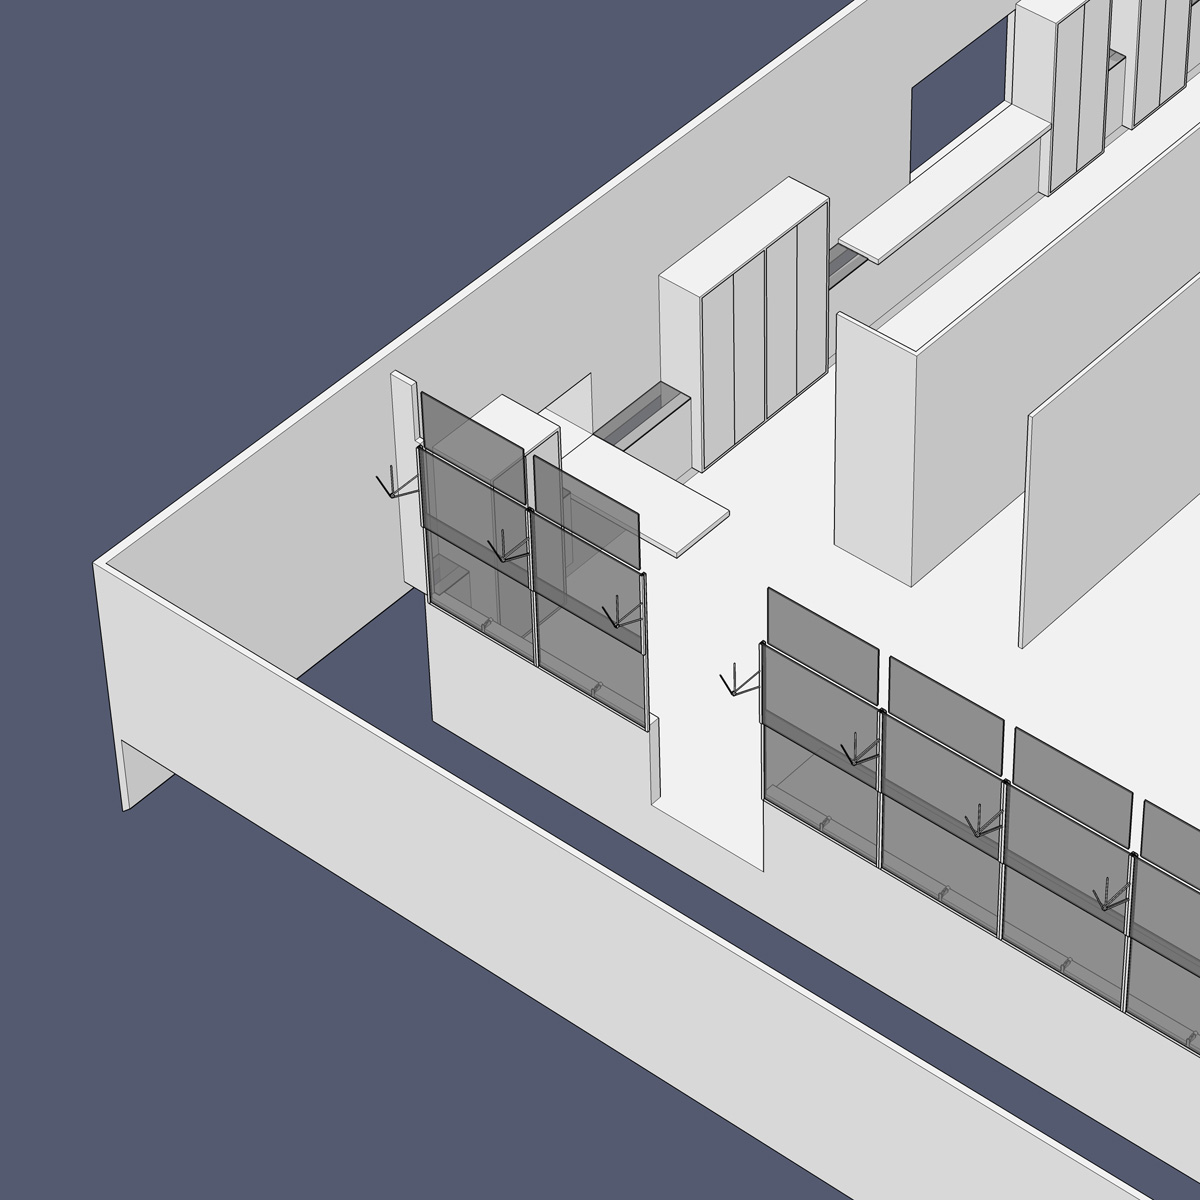
The sketchup model for the Scarpa scene is available to download on pushpullbar. Or you can grab it here.

Mendes da Rocha Residence

rocha_residence_02

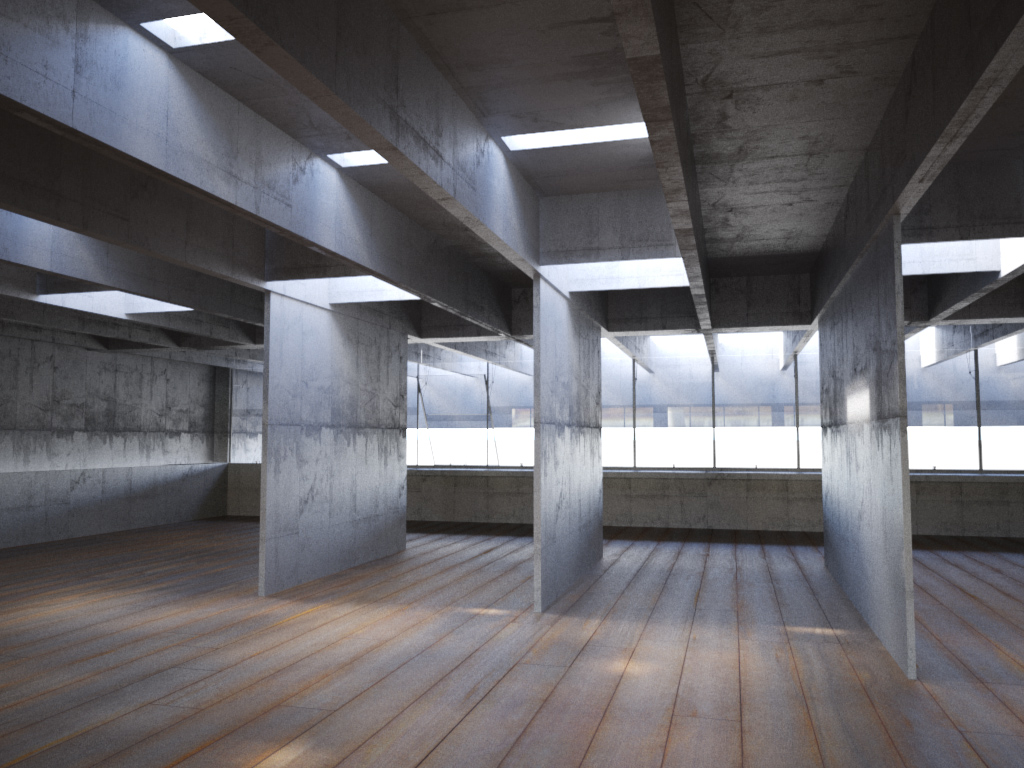
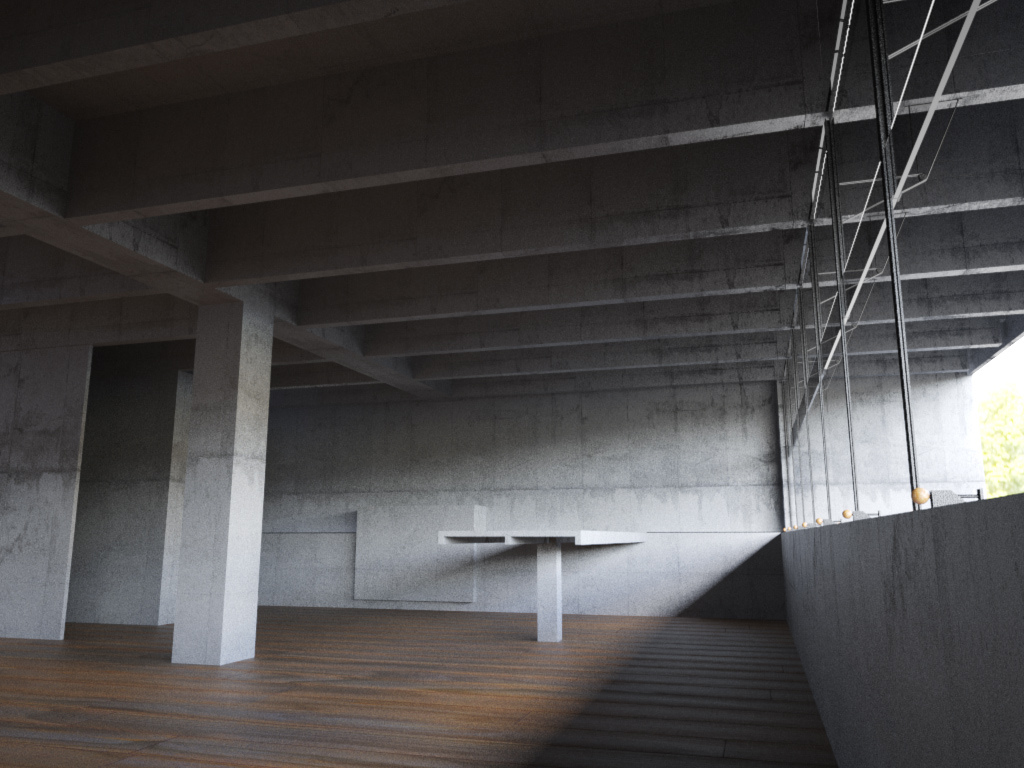
Something I started ages ago and need a new incentive to finish off. This is the Mendes da Rocha Residence in São Paulo, Brazil by Paulo Mendes da Rocha, 2006 Pritzker Architecture Prize Laureate.

test01
rocha_residence_04

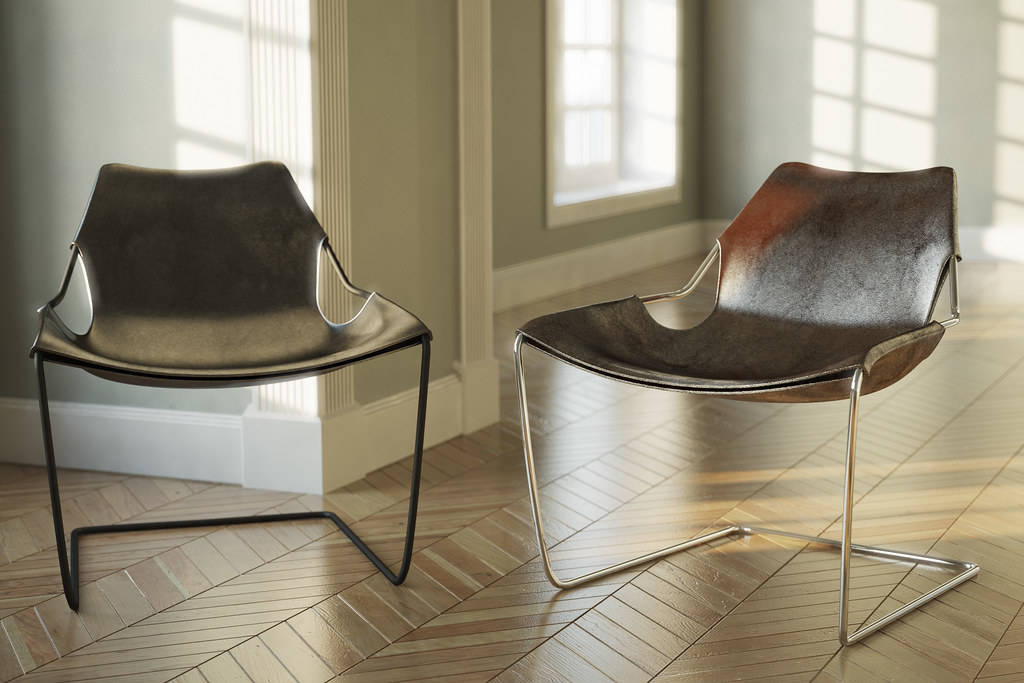
The concrete material is temporary, and I have more internal walls to add, then the furniture. The Paulistano (by Mendes da Rocha) is the main reason I decided to model this house, I really needed a more suitable location for it than this room:

Paulistano 2
wip

When its done, I intend to share the sketchup model on the pushpullbar forums, there will be an update here as well of course.

Website Update!

Welcome to my new blog, a replacement for the old personal section of www.peterguthrie.net. Many thanks as always to my friend Johnnie Walker of Random Sequence for his excellent work in integrating a wordpress blog seamlessly and beautifully into my website. I plan to write tutorials on all aspects of my work that will hopefuly be useful to 3d visualisers, architects, designers and anyone else with an interest in architectural visualisation. My main area of expertise is 3dstudio/vray but hopefully the techniques will also be applicable to some extent in other packages. There will also be posts on new personal projects and other random things I am interested in.

Feel free to make requests by email or in the comments if there's anything you'd like to see covered.